


Measure actual platen temperature.
Application control console
Heat Press Temperature & Time Guide
heat press temperature guide buyers need a controlled, practical decision process. There is no universal setting for every transfer and garment. Start from the supplier instruction, then validate temperature, dwell, pressure, peel and cooling on production fabric.
Five press controls
Treat every setting as part of one recipe
Time the complete pressure cycle.
Record machine setting and contact.
State hot, warm or cold release.
Material decision matrix
Use the transfer instruction and garment limit together
| Rhinestone transfer | Adhesive flow, carrier release and stone seating |
|---|---|
| TPU label | Film response, edge bond and surface marking |
| Silicone label | Adhesive activation and relief protection |
| Printed transfer | Ink surface, adhesive and peel sequence |
Test-square method
Qualify a recipe before full production
Identify fabric composition, finish and colour.
Verify platen temperature and pressure uniformity.
Apply a production transfer from the supplier start point.
Condition, flex and run the required care test.
Application references
Review constructions that need different press recipes
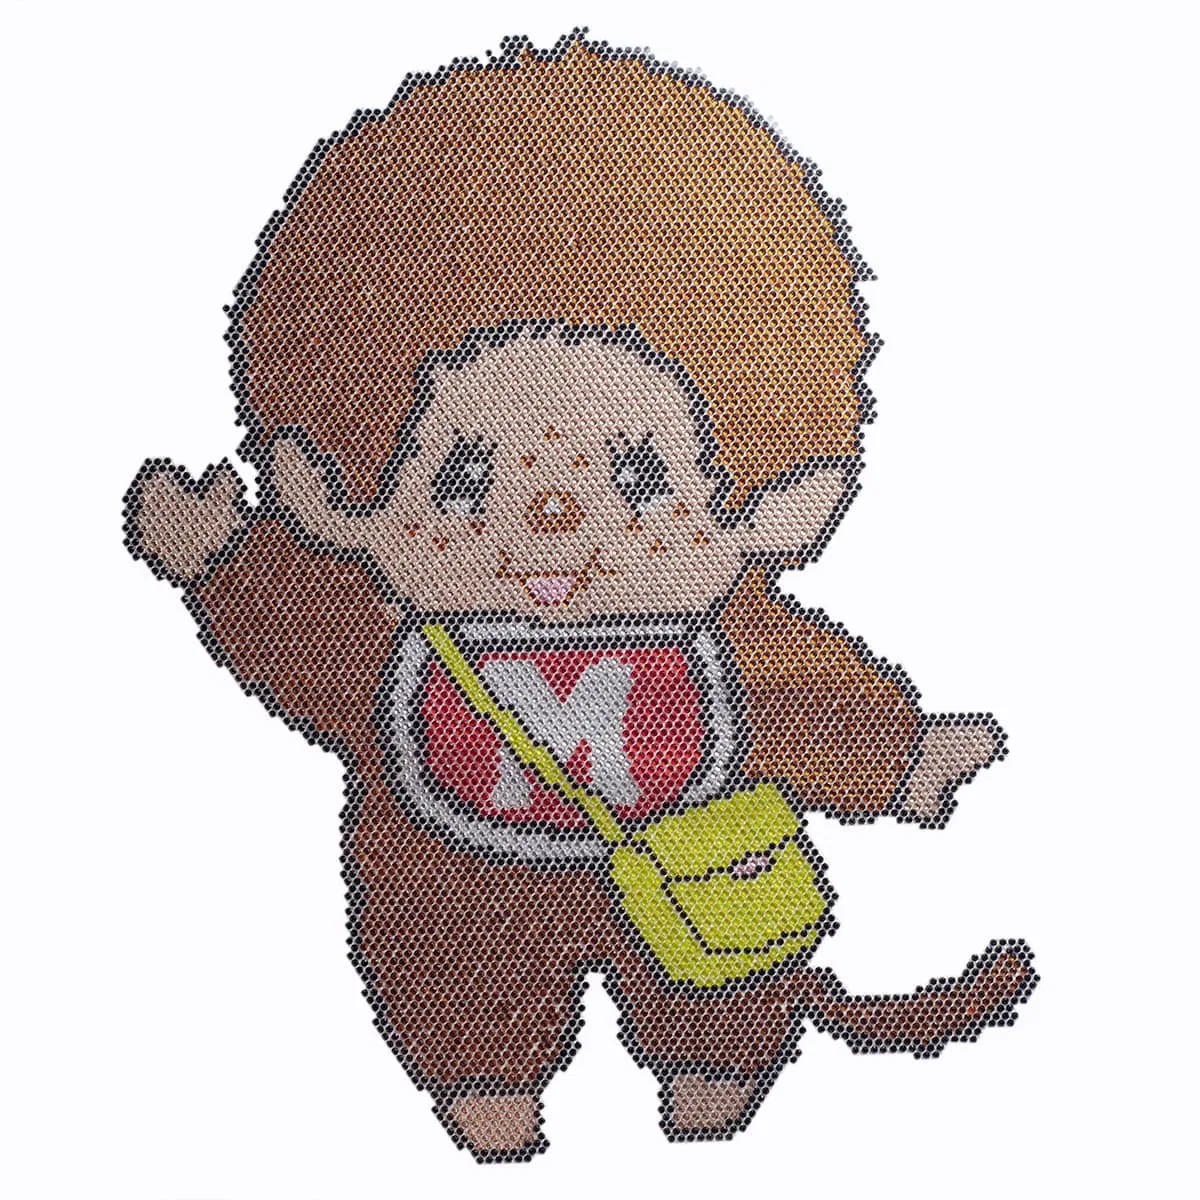
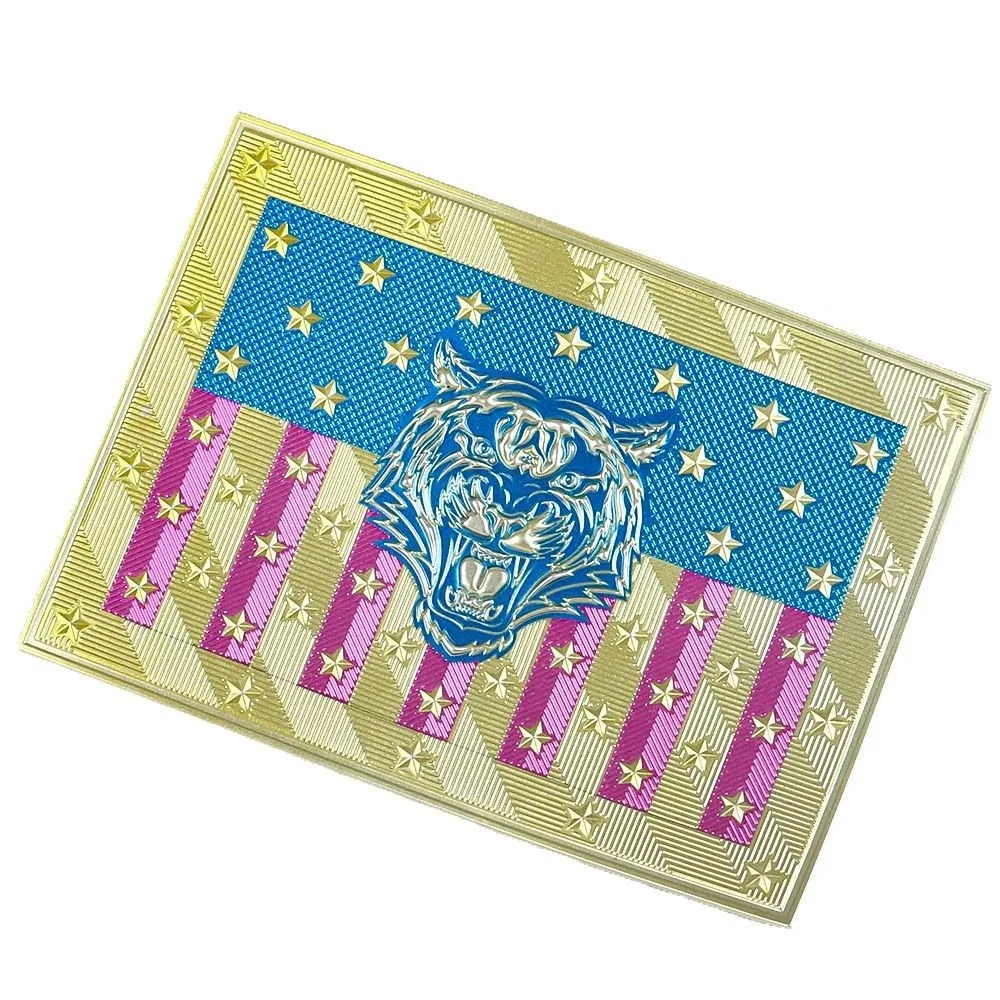

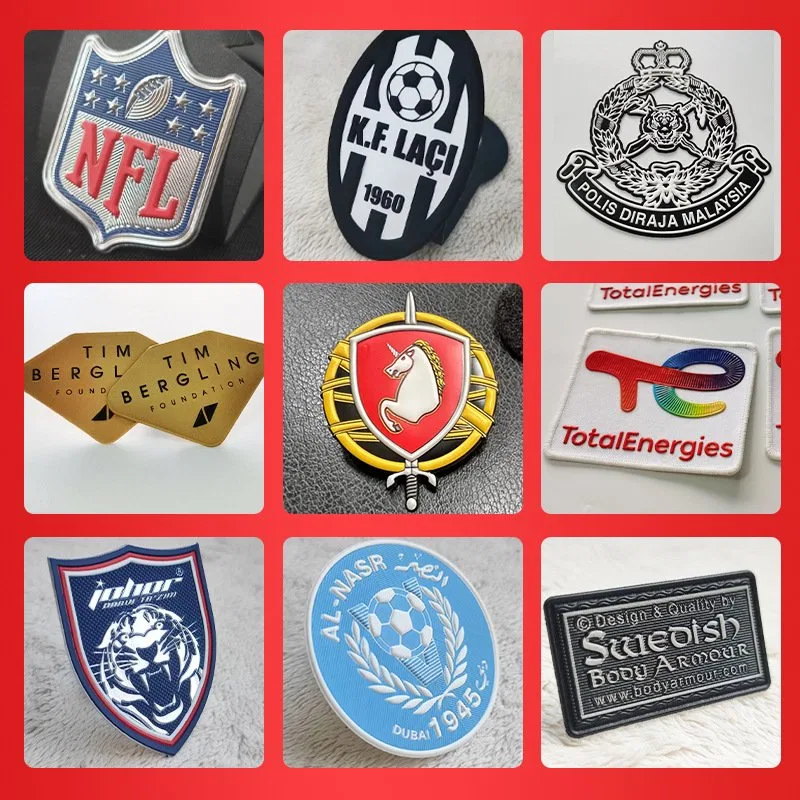
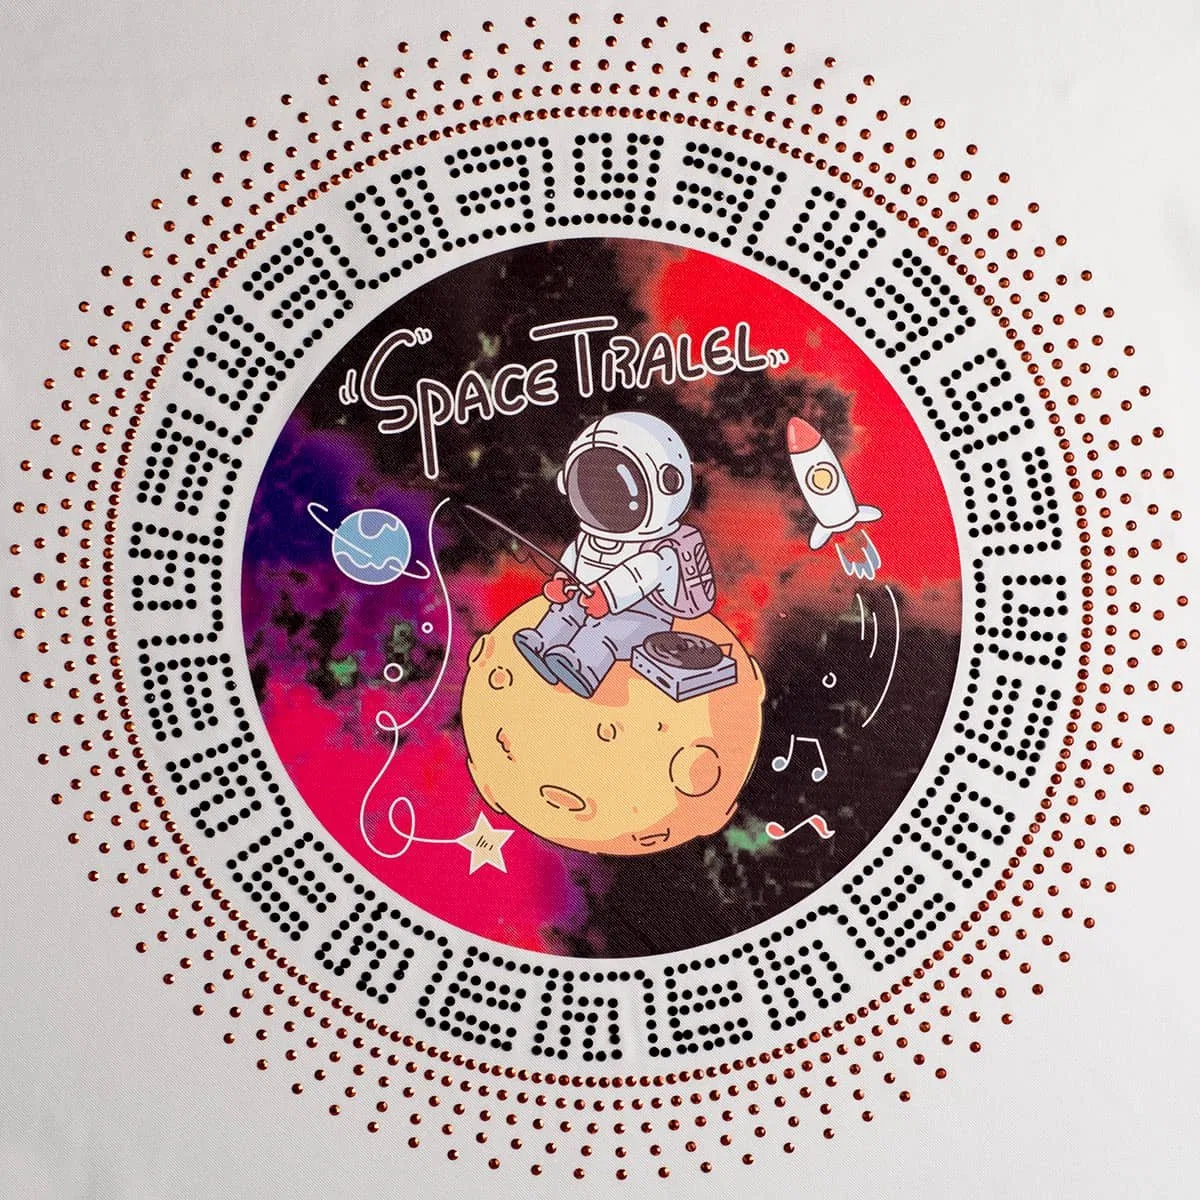
Pressure map
Check whether the whole artwork receives even contact
Use a pad or reposition when seams raise the garment.
Keep hardware outside the pressure zone.
Account for fleece, quilting and textured knits.
Protect raised components from crushing.
Peel and troubleshooting
Read the failure before changing the recipe
Review heat, pressure, dwell and fabric finish.
Review temperature, time and protective sheet.
Confirm the instructed peel temperature.
Check garment colour, coating and heat exposure.
Recipe record
Keep approved settings beside the transfer and garment
Product and material lot.
Fabric, finish, colour and placement.
Machine and measured platen condition.
Peel, appearance and care-test approval.
Current product records
Related catalogue products for this buying decision
Custom Hotfix Rhinestone Transfers for T-Shirts
Rhinestone DMC · MOQ 50
View product →Custom TPU Heat Transfer Labels for Clothing
TPU and Fabric · MOQ 100
View product →Custom 3D Silicone Heat Transfer Logo Patches
Silicone · MOQ 100
View product →Custom PU Film Heat Transfer Labels
TPU and PU · MOQ 100
View product →Rhinestone and Printed Heat Transfer
Rhinestone DMC · MOQ 50
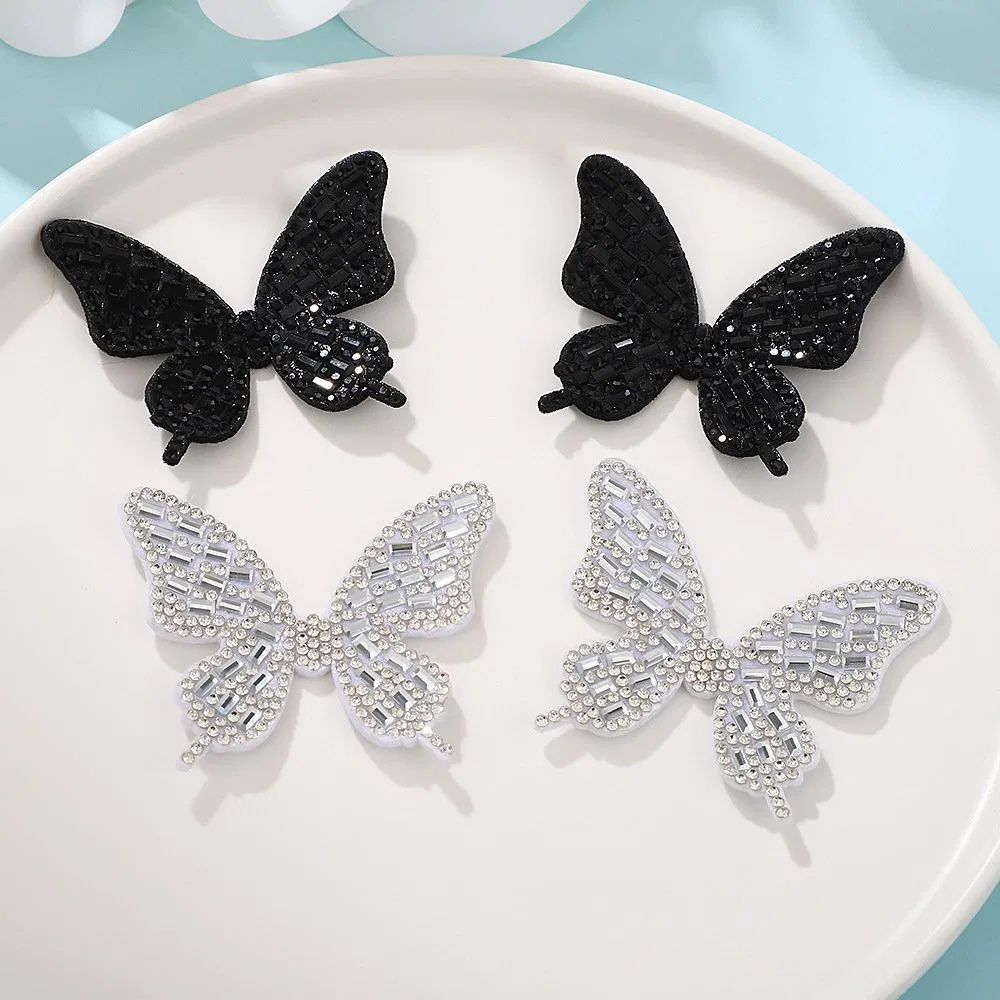
View product →Butterfly Rhinestone Iron-on Patch
Rhinestone and Felt fabric · MOQ 100
View product →What temperature should I use for heat transfers?
Use the approved instruction for the exact transfer and confirm it on the garment. Fibre, coating, colour and press calibration can change the safe recipe.
Should a transfer peel hot or cold?
Follow the specified release method. Peeling at the wrong stage can disturb adhesive or printed layers.
How is press pressure checked?
Record the machine setting and confirm even contact across the artwork, especially near seams and hardware.
Why do transfer edges lift?
Possible causes include incomplete heat or pressure, contamination, coating incompatibility, uneven contact or early handling.
Can one recipe be used for every garment colour?
Revalidate when fabric composition, finish or colour changes because heat response and dye movement may differ.
What should operators record?
Record transfer lot, garment lot, machine, measured temperature, dwell, pressure, peel, date and result.
Validate a press recipe on your garment
Send the transfer type, fabric composition, finish, placement and intended care method.