Define the product
Name the receiving garment or accessory, finished dimensions, quantity by variation and destination.
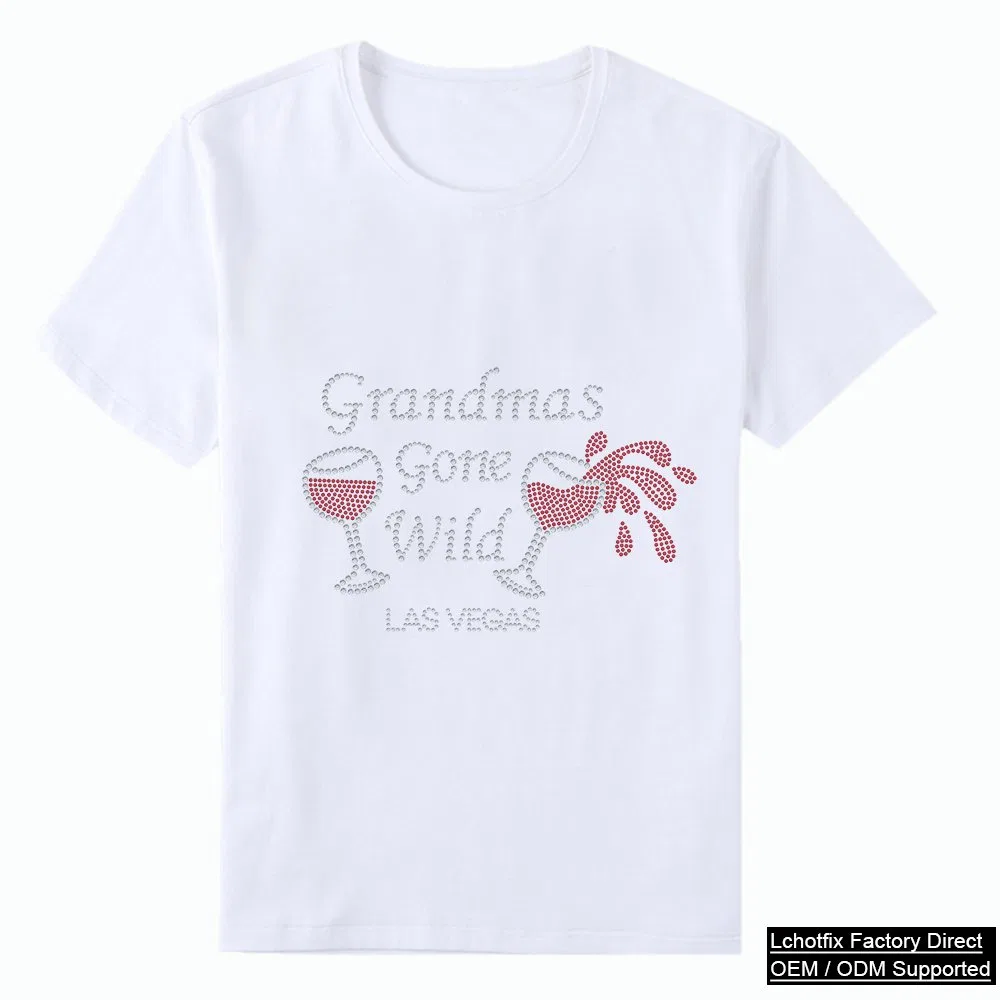
Build bulk product programs with Teebling across rhinestone heat transfers, decorated T-shirts, embroidered patches, raised TPU labels, crystal headwear, canvas bags and private-label accessories. Our wholesale hub connects product discovery, specification planning, sampling questions and quote intake so brands, distributors, decorators and merchandise teams can source with a clearer brief.
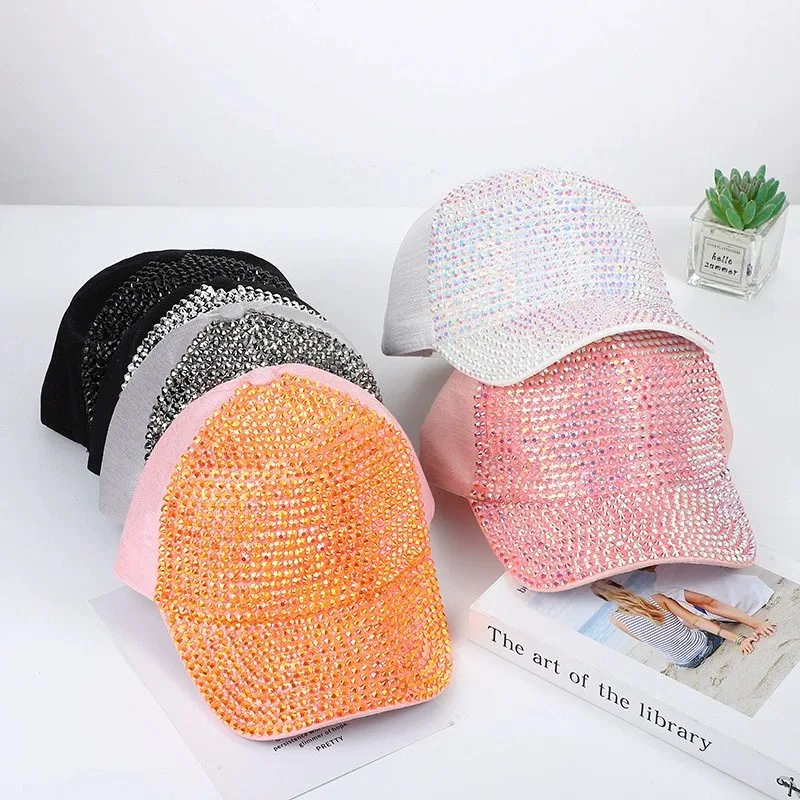
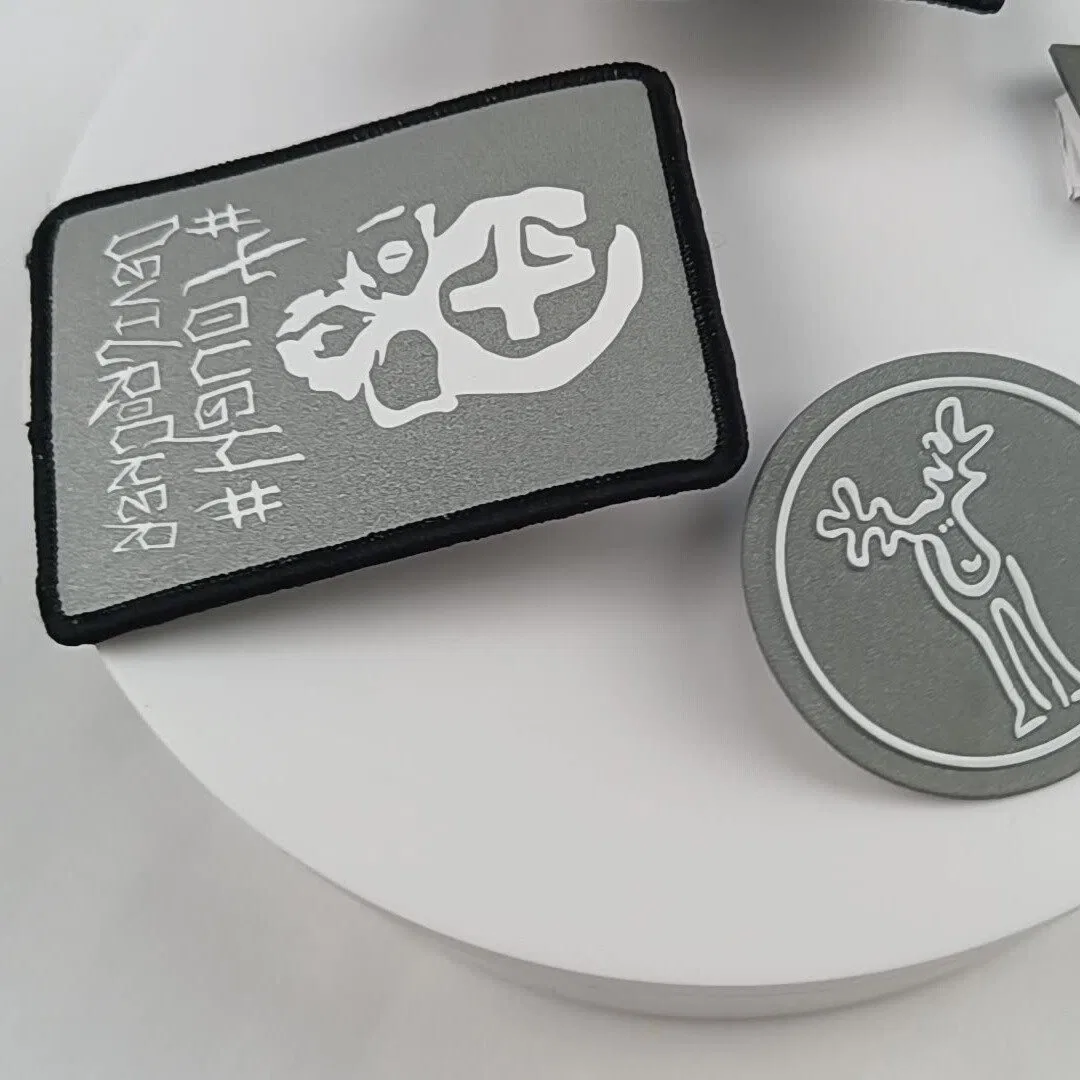
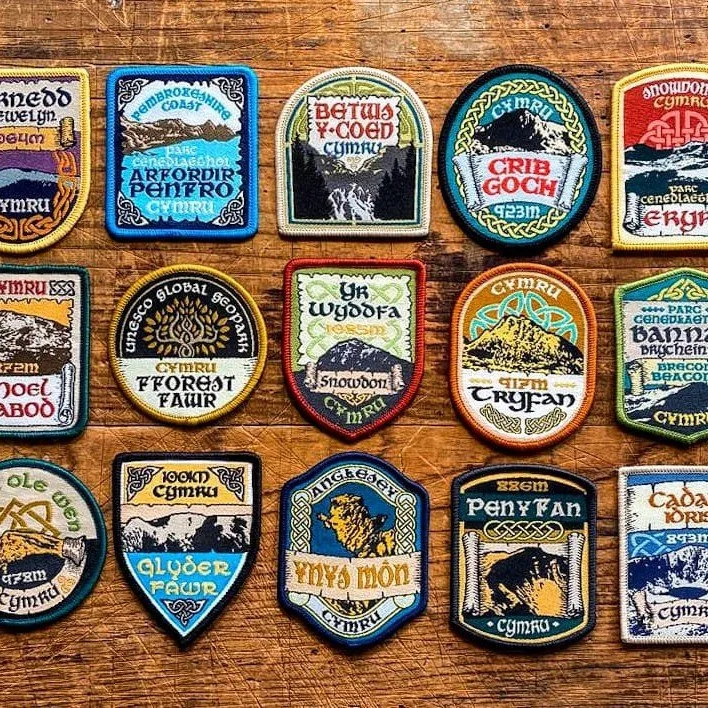
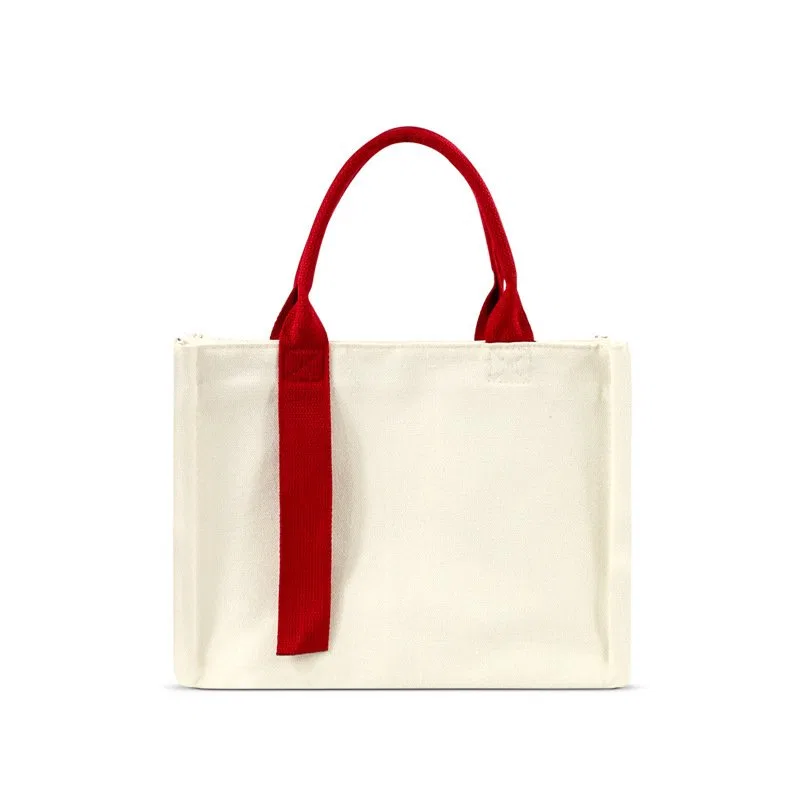
Begin with the product family closest to the item you intend to sell or decorate. Each route leads to live catalog references while the buyer guides below explain how to turn a visual idea into an auditable order brief.
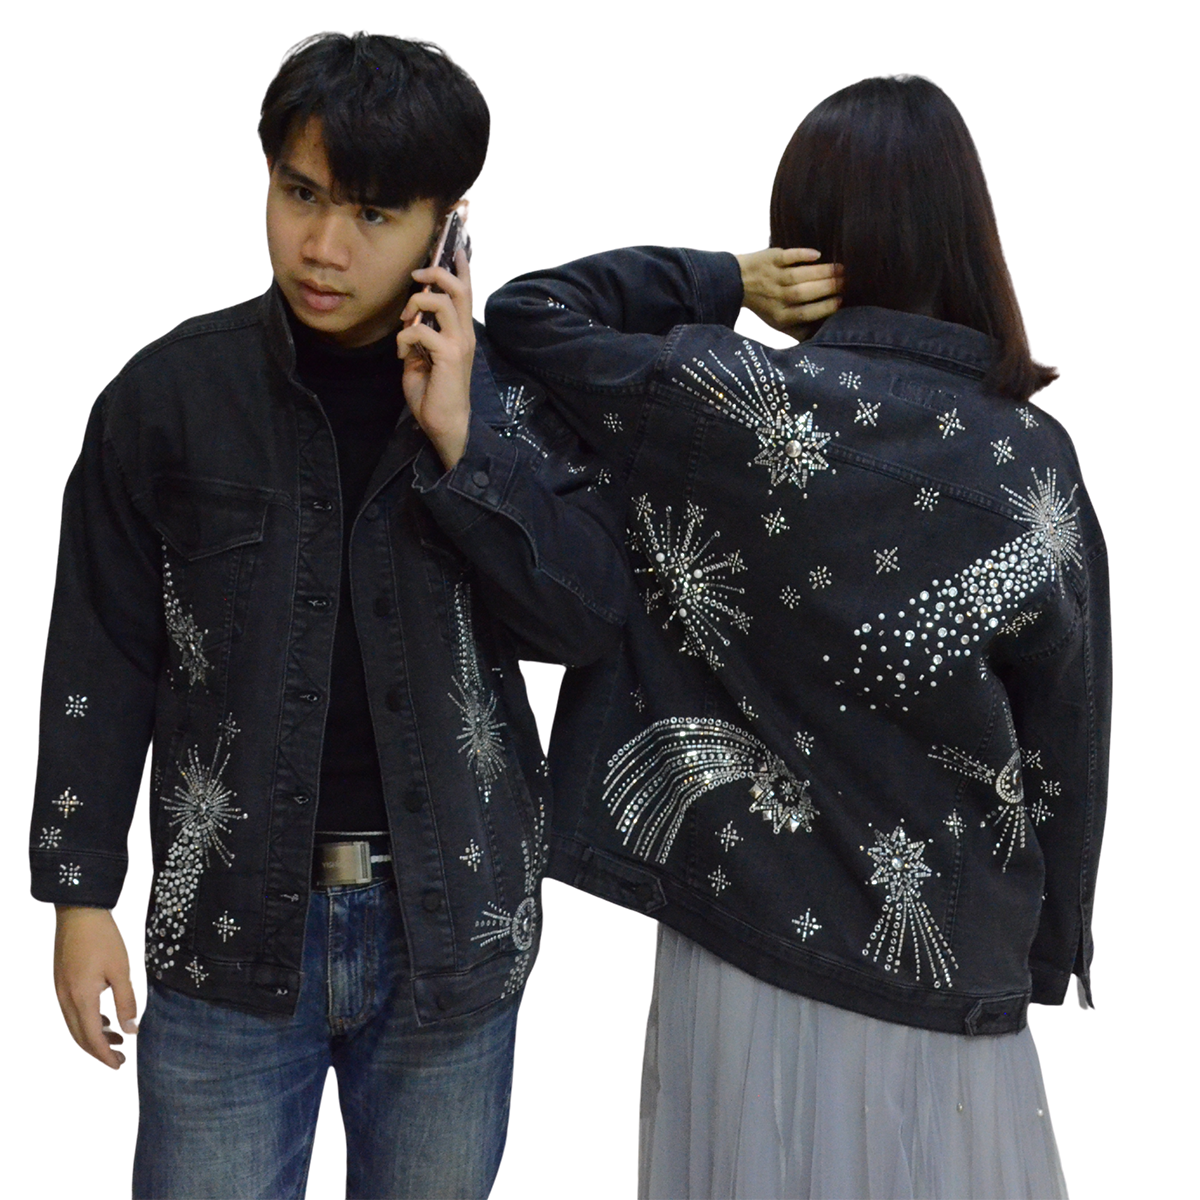
Explore Teebling rhinestone, hotfix, heat-transfer and embellishment products in one catalog.
Browse catalog →
Browse Teebling T-shirts and heat-transfer designs for apparel and repeat wholesale orders.
Browse catalog →
Browse Teebling caps, hats and decorated headwear in the consolidated wholesale catalog.
Browse catalog →Compare completed apparel, dimensional brand marks, retail accessories and textile components in one visual pass. These production references help buyers identify the closest category before discussing artwork, scale, attachment and order quantity.
A useful wholesale inquiry records what must be made, where it will be used, how approval will happen and how the final units must be identified. The sequence keeps product decisions and commercial assumptions visible.
Name the receiving garment or accessory, finished dimensions, quantity by variation and destination.
Provide authorized source files, visible text, colors, placement and any protected details that must remain legible.
Record the sample, material, construction, attachment and appearance observations included in buyer approval.
Freeze revision identifiers, assortment quantities, unit packing, carton marks and reorder references.
A sparkling transfer, textile patch, raised label and completed shirt solve different assembly problems. Use the intended substrate, handling method and visual profile to narrow the route before requesting a sample.
Coordinate stone map, carrier, finished scale, garment zone and buyer-selected application trial.
Separate face construction, border, backing, attachment route and receiving product requirements.
Translate relief, color zones, hand, placement and heat compatibility into a supplier-reviewed drawing.
Reconcile blank specifications, size-color allocation, decoration responsibility and finished packing.
Control motif, hardware, tassel, unit identity, display presentation and destination carton splits.
Connect product revisions to inserts, barcodes, unit packs, case marks and reorder-ready SKU data.
Every guide addresses a distinct product, application, comparison or control point. Search a construction or use the topic filters to reach the page closest to your current sourcing decision.
150 of 150 buyer guides shown
Plan original logo, wordmark and motif transfers for repeat apparel programs.
Read buyer guide → Shirt decorationChoose placement, dimensions and fabric testing for tees and hoodies.
Read buyer guide → Hotfix motifsOrganize stock-inspired and custom motif assortments for decorators and retail.
Read buyer guide → TeamwearManage logos, colors, rosters, garment sizes and competition deadlines.
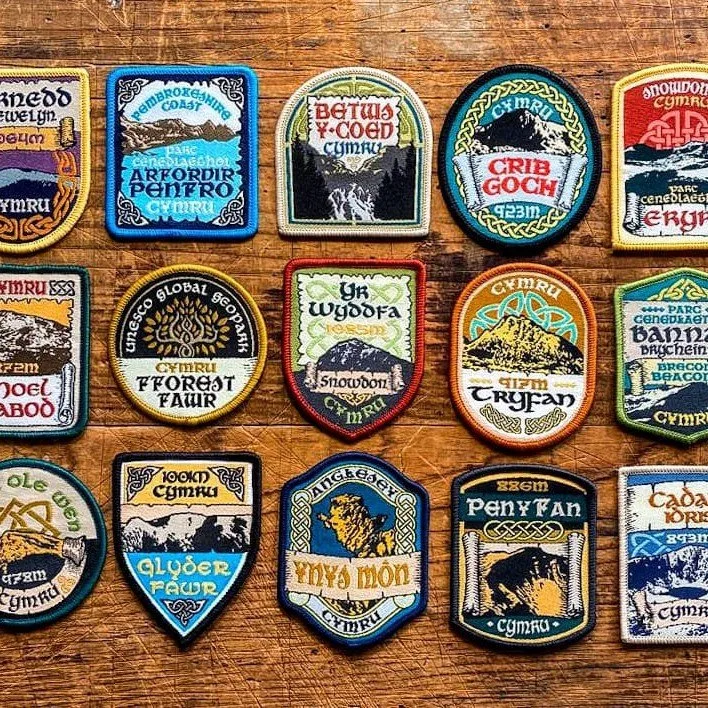
Read buyer guide → Embroidered patchesSpecify artwork, thread, edge, backing and final patch dimensions.
Read buyer guide → Heat-applied patchesReview embroidered construction, heat backing and substrate compatibility.
Read buyer guide → Removable patchesMeasure receiving panels and plan names, roles and backing requirements.
Read buyer guide → Clothing labelsChoose dimensions, fold, seam allowance, colors and sewing placement.
Read buyer guide → Dimensional labelsDefine logo relief, shape, color and attachment for apparel and accessories.
Read buyer guide → TPU labelsPlan flexible, dimensional and reflective logo effects for compatible materials.
Read buyer guide → Heat-transfer labelsCompare TPU, silicone, reflective and PU-film label directions by garment use.
Read buyer guide → Embroidered badgesPlan embroidery, borders, heat-seal or low-melt backing and garment testing.
Read buyer guide → Label comparisonCompare woven, silicone-style and TPU options by function and placement.
Read buyer guide → Hair accessoriesBuild boutique, cheer and branded bow assortments with retail packaging.
Read buyer guide → Rhinestone appliquesCompare motifs, backing, measured sizes and application requirements.
Read buyer guide → HeadwearDesign logos and sparkling treatments for curved cap decoration areas.
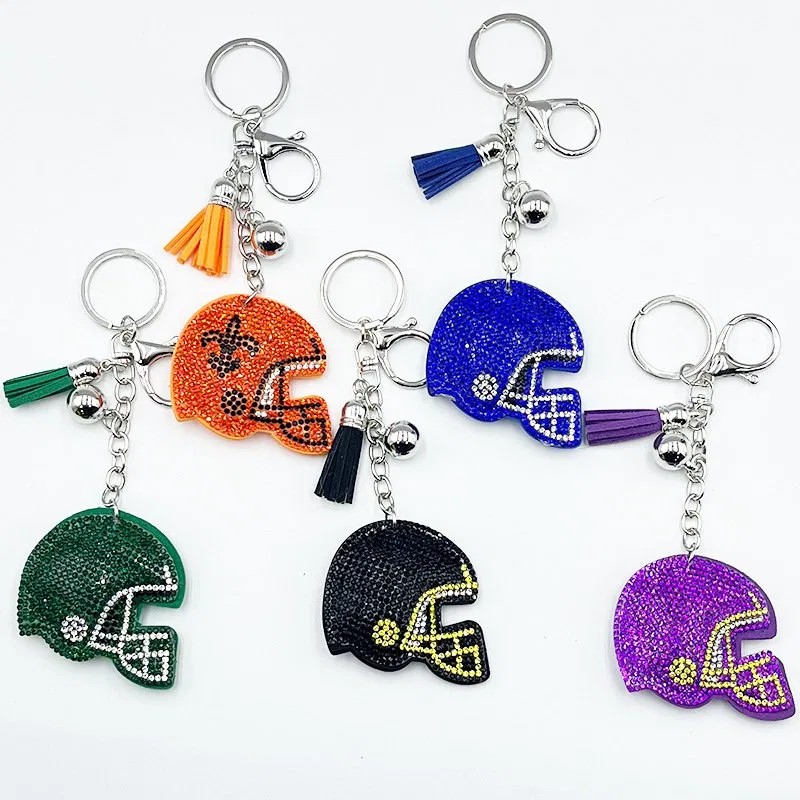
Read buyer guide → CharmsControl motif, hardware, tassel, color and packing assortments by SKU.
Read buyer guide → Tote bagsSpecify bag dimensions, handles, artwork safe area and decoration packing.
Read buyer guide → Finished apparelCombine garment, size run, artwork, placement and finishing in one brief.
Read buyer guide → Private labelCoordinate branding and packaging across patches, labels, bows and merchandise.
Read buyer guide → Garment sourcingRoute decoration, identification and accessory needs into clear specifications.
Read buyer guide → Decoration overviewCompare transfers, embroidered patches, rhinestone appliques and logo labels.
Read buyer guide → Brand graphicsTranslate approved brand marks into measured hotfix layouts and repeatable production files.
Read buyer guide → Oversized decorationPlan broad back, front and event graphics around garment seams and press limits.
Read buyer guide → Felt appliquesSpecify motif, felt base, measured edge and attachment for bulk patch assortments.
Read buyer guide → Artwork preparationPrepare vectors, dimensions, color keys and placement notes for a reviewable RFQ.
Read buyer guide → Application testingOrganize substrate trials and record approved application settings before production.
Read buyer guide → Quality controlBuild incoming and finished-garment checks around artwork, adhesion and packing.
Read buyer guide → Sample approvalRecord every visual, dimensional and application decision before bulk authorization.
Read buyer guide → Quantity planningConsolidate artwork variants and quantities into a commercially clear order plan.
Read buyer guide → Repeat ordersPreserve approved references, reconcile stock and prepare controlled replenishment briefs.
Read buyer guide → Export packingAlign labeling, carton information and destination requirements before dispatch.
Read buyer guide → Fleece apparelAccount for fleece surfaces, seams, pockets and garment construction during testing.
Read buyer guide → Event programsCoordinate artwork versions, event dates, apparel quantities and pack-out instructions.
Read buyer guide → TPU brandingDefine relief, finish, flexible construction and attachment for dimensional marks.
Read buyer guide → Silicone transfersPlan raised logo effects with measured artwork and garment compatibility tests.
Read buyer guide → Reflective brandingDocument daytime appearance, reflected-light intent and application requirements.
Read buyer guide → Rubber patchesSpecify shape, relief, colors, edge treatment and attachment for branded programs.
Read buyer guide → Raised patchesDevelop dimensional patch artwork with controlled levels, colors and backing.
Read buyer guide → Textile patchesCompare woven and embroidered constructions for detailed wholesale patch programs.
Read buyer guide → Mixed techniquesSequence stitched and crystal decoration without crowding important artwork details.
Read buyer guide → Names and numbersBuild legible alphabets, rosters and number systems for controlled personalization.
Read buyer guide → Stone sizingCompare visual density and line detail before approving a production artwork scale.
Read buyer guide → Performance apparelTest stretch fabrics and placement zones using the actual garment construction.
Read buyer guide → Denim decorationPlan jacket, jean and accessory placements around seams, weight and wash treatment.
Read buyer guide → Color planningReview stone appearance against garment colors, brand palettes and lighting.
Read buyer guide → Method comparisonChoose a decoration route by substrate, production workflow and finished use.
Read buyer guide → RFQ planningAssemble artwork, garment, quantity, testing, packing and destination information.
Read buyer guide → Patch dimensionsBalance artwork detail, text height, border and garment placement at final scale.
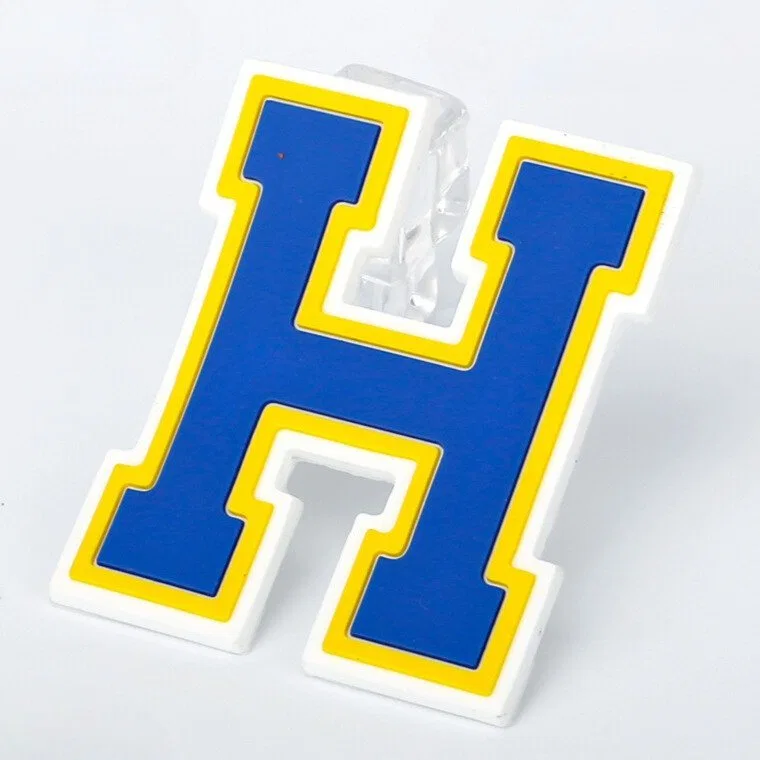
Read buyer guide → Chenille programsPlan varsity-inspired lettering, felt layers, embroidery details and attachment.
Read buyer guide → Footwear motifsMap a measured leaf motif around footwear curves, seams and heat-sensitive components.
Open placement guide → Badge attachmentCompare requested backing routes through receiving-fabric samples and documented trials.
Compare backing paths → Iron-on formatsSeparate transfer formats before matching artwork, shirt surfaces and application access.
Choose a transfer route → TPU applicationBuild a controlled press notebook without assuming one universal application setting.
Prepare a TPU trial → OEM apparelTrace blank selection, stone artwork, size runs, pilot approval and packing release.
Plan the factory traveler → Crystal alphabetsBuild an A–Z assortment around base color, letter demand and labeled character counts.
Arrange the alphabet → Sequin embroideryInspect the large tiger reference at physical scale before selecting garment placement.
Study the tiger patch → PersonalizationControl initials, names and roster variants through a reconciled personalization ledger.
Organize variable orders → TPU constructionConfirm the face, receiving substrate and attachment plane as one tested assembly.
Review attachment layers → Raised logosShortlist TPU, silicone and rubber-style directions by relief, edge and flexibility.
Compare tactile options → Label preflightPrepare dimensions, relief layers, colors and missing-data questions for supplier review.
Clear the artwork deck → Film terminologyDistinguish the visible logo layer from a possible carrier before specifying materials.
Separate the film roles → Pearl monogramsPlan pearl-and-crystal letter combinations, demand quantities and alphabetical packs.
Visit the monogram atelier → Animal patternsKeep evidenced leopard references separate from a new cheetah-pattern request.
Classify the patterns → Reflective testingRecord appearance across daylight, low light, flash, distance and viewing angles.
Enter the light tunnel → Stage accessoriesDevelop a performance assortment with measured coverage and hygienic pack separation.
Open the wardrobe dossier → Flexible logo labelsTranslate a rubber-style request into confirmed material, profile and attachment evidence.
Define the molded mark → Themed charmsBalance ambulance, fire-truck and medical-kit motifs without implying official affiliation.
Build the response assortment → Destination apparelPlan a retail mix by motif, garment color, size run and evidenced product minimum.
Light the destination strip → Star patchesProtect pointed tips while confirming the actual backing and receiving-fabric trial.
Run the five-point test → Butterfly appliquesCompare flat felt forms with a larger dimensional mesh butterfly at true scale.
Inspect the wing forms → Capability inquiryFrame the desired moving sequin effect while asking a supplier to confirm construction.
Scope the sourcing request → Cap applicationMeasure transfer geometry against crown seams, curvature and platen access.
Draft the cap placement → Supplier diligenceRequest traceable capability, sample, material, packing and responsibility evidence.
Use the audit clipboard → Cap compositionCompare full-crystal and zoned layouts across crown panels, brim and viewing angles.
Map the crystal coverage → Name-patch quantitiesSeparate repeated bases from variable names before allocating a personalized patch order.
Build the quantity ledger → Bear motifsCompare evidenced bear references by silhouette, surface detail, scale and requested attachment.
Review the bear specimens → Bow charmsCoordinate bow shapes, crystal colors, tassel hardware and assortment labels for resale.
Arrange the bow collection → Travel charmsAssess globe-themed charm proportions, metal hardware and gift-ready grouping from real references.
Chart the travel assortment → Outdoor emblemsTranslate trail, mountain and nature artwork into a measured, application-aware badge request.
Map the outdoor emblem → Cartoon patch setsPlan mixed character assortments without assuming licensed artwork or an unverified backing.
Compose the motif set → Badge positioningPlot chest, sleeve and back coordinates against seams, size grading and finished badge dimensions.
Use the placement grid → Transfer receivingCheck carrier alignment, loose stones, artwork orientation and pack identity before pressing.
Open the inspection station → Pattern selectionChoose motif density and visual scale by garment area, audience and viewing distance.
Sort the pattern library → Format comparisonClarify loose marketplace terms by comparing permanent layers, carriers, textile bases and edges.
Trace the construction layers → Relief artworkOrganize raised levels, recessed fields, color wells and edge profiles for sample review.
Draft the relief map → TPU quote briefAssemble dimensions, relief intent, colors, quantity and attachment questions into one inquiry.
Complete the quote dossier → Pearl accentsBalance pearl scale, crystal accents, motif families and color grounds across a coordinated range.
Curate the pearl cabinet → Bow patchesCompare bow outlines, tails, centers and backing evidence before a garment application trial.
Inspect the bow anatomy → Sports motifsCombine team-inspired bow styling with measured embroidery and brand-safe custom artwork.
Plan the sports bow board → Laser-cut transfersEvaluate cut edges, layered fabric shapes, stone placement and pressing access as one assembly.
Study the cut-layer stack → Decoration choiceCompare flat color reproduction with dimensional sparkle using artwork-specific decision criteria.
Compare the visual systems → Fine stone detailFrame ultra-small stone requests around legibility, handling and supplier-confirmed capability.
Examine the micro scale → Crown monogramsControl initials, crown proportions and personalization records for a repeatable transfer program.
Build the royal lockup → Garment blanksReview fabric surface, seam placement, color, size run and decoration access before sampling.
Inspect the blank rack → T-shirt ordersReconcile garment sizes, artwork versions, placement codes and transfer quantities before quoting.
Assemble the order matrix → Transfer storageDefine flat support, separation, labeling and stock rotation for unpressed transfer sheets.
Set up the storage archive → Carrier handlingProtect alignment through receiving, lifting, positioning and pre-press inspection steps.
Follow the handling path → Bulk packingSeparate motifs, sizes and lots with counted inner packs and readable carton information.
Design the packing system → Artwork checklistVerify final dimensions, text, colors, cut boundaries and attachment assumptions before sampling.
Run the artwork check → Format decisionContrast carrier-sheet stone layouts with edged applique components at the intended finished scale.
Compare the constructions → Buyer terminologyIdentify whether a thin transferred layer or a bounded patch element suits the receiving garment.
Resolve the format choice → Label comparisonEvaluate textile identity labels against heat-applied marks through placement, hand and artwork detail.
Open the label matrix → Material languageConvert acronym-led inquiries into supplier-confirmed layer, profile and attachment specifications.
Decode the material brief → Effect selectionDecide whether directed-light response belongs in the visual brief before sampling a TPU-style mark.
Review both appearance paths → Assembly routeCompare a heat-applied raised face with a perimeter-sewn component using one receiving product.
Choose the assembly path → Stitch characterMatch stitch-built relief or flatter woven detail to scale, edge, placement and brand intent.
Inspect the textile options → Care-cycle trialDocument an applied badge through the buyer-selected laundering sequence without broad durability promises.
Set up the observation log → Backing strategyStart with shirt, jacket, bag, hat or removable panel construction before naming an attachment method.
Match backing to substrate → Placement systemDefine exterior and interior anchors with measured offsets, grading rules and wearer-facing considerations.
Plot the label coordinates → Profile definitionCommunicate relative raised levels while reserving final dimensions for the approved supplier drawing.
Map the profile stack → Dual-view artworkPreserve logo recognition in ordinary viewing and the intended directed-light observation setup.
Shape the contrast plan → Stone mappingCheck gaps, bends, corners and mixed diameters on a full-size artwork map before sampling.
Audit the stone field → Trial diagnosisSeparate garment, equipment, access, procedure and transfer identity when a press test does not hold.
Follow the diagnostic tree → Obstruction planningPosition artwork near raised construction while accounting for platen contact and alignment access.
Survey the pressing zone → Quotation inputsOrganize documented artwork, size, quantity, construction and packing variables without invented price bands.
Prepare the cost brief → Supplier shortlistCompare candidate vendors through evidence for files, samples, construction scope, packing and change control.
Build the selection scorecard → Process diligenceRecord process ownership, outside operations and inspection responsibility after the supplier shortlist.
Walk the process chain → Minimum allocationDistribute minimum quantities across products, colorways, logo versions and packaging configurations.
Balance the MOQ grid → Approval recordConnect the logo component, receiving item, branded pack and included variants in one signed record.
Assemble the approval packet → Pack specificationSpecify unit packs, labels, inserts, assortments, carton marks and destination splits independently.
Engineer the packing flow → Campaign sourcingLink authorized artwork, audience, product mix, packout and in-hand timing in a campaign brief.
Scope the promotion program → Capability mappingPair every requested accessory construction with documented equipment, ownership and inspection evidence.
Complete the capability map → Purchase briefReconcile dimensions, folds, edges, colors, placement, quantities, packing and approval scope.
Finalize the woven-label order → Assembly validationEvaluate one quoted label against one exact garment material and finish before production release.
Design the compatibility trial → Color controlConnect digital references, molded color zones and garment swatches through a physical approval record.
Enter the color booth → Mold artworkTranslate flat logo geometry into supplier-reviewed relief levels, boundaries, corners and color dams.
Draft the cavity map → Relief notationDescribe raised and recessed logo regions without inferring construction solely from a reference image.
Read the elevation set → Edge observationCreate a program-specific specimen method, observation scale and disposition path for applied label edges.
Set up the peel bench → Border designCoordinate emblem silhouette, stitch path, corner behavior and intended attachment before sampling.
Visit the frame wall → Patch trialRecord one backed patch, one receiving garment and supplier-approved application instructions as a controlled trial.
Prepare the test kitchen → Findings assemblySpecify rings, clasps, connectors, tassels and finish direction as one traceable hanging assembly.
Open the findings cabinet → Tassel palettePair motif, tassel color and hardware finish while keeping every retail variant identifiable.
Arrange the color wall → Retail presentationPlan card geometry, hanging orientation, barcode space, fixture density and replenishment before packing.
Lay out the mini store → Team accessoriesDevelop generic sport motifs and authorized color assortments without borrowing protected league marks.
Stock the locker board → Destination charmsGroup globe, earth and outdoor references into a destination-ready story with documented hardware.
Stamp the travel route → Novelty assortmentBuild a clearly named produce-and-snack range from original motifs rather than licensed characters.
Browse the market crates → Keychain packsDefine display card, fastener, protective sleeve, retail data and carton split around the chosen charm.
Open the dieline studio → Original animal artDevelop new animal silhouettes with crystal maps, textile bases and explicit artwork-rights boundaries.
Turn the storyboard page → Symbol patch setUnify three energetic shapes through controlled scale, sequin direction, thread edges and pack identity.
Frame the effects panel → Floral componentsPreserve petal recognition, center detail and color grouping while confirming the actual backing route.
Study the botanical folio → Pearl butterfliesReview wing symmetry, pearl fields, rhinestone accents, felt support and hot-melt trial evidence independently.
Follow the butterfly build → Shoe accessoriesTest tube diameter, requested length, tip finish and lacing behavior on the intended footwear.
Enter the lacing lab → Garment bowsBalance ribbon silhouette, crystal placement, attachment, waist position and movement on a sample garment.
Pin the mannequin study → Capsule buyingOrganize motif families, placements, blank colors, SKU roles and replenishment into a coherent retail capsule.
Assemble the buying board → Size planningSeparate fit groups, colors and artwork quantities while grounding the purchase grid in buyer evidence.
Distribute the demand tokens → Garment contrastCompare identical crystal artwork across light, midtone and dark blanks under defined viewing conditions.
Stage the wardrobe test → Nightlife capsuleCoordinate original artwork, shirt silhouettes, placements and size-color splits across an after-dark collection.
Open the collection lookbook → Responsibility briefAssign ownership for artwork, blanks, transfers, application, approvals and finished packing before quotation.
Set the responsibility board → Relief terminologySeparate direct substrate deformation from an attached dimensional component before asking about capability.
Compare the relief plates →Try a broader product word, or open the contact dialog and describe the construction you are trying to source.
Attach the latest authorized artwork and identify the exact product, dimensions, colors, material or receiving garment, quantity by variation, packing destination and required in-hand date. Unknown details can remain open when they are named clearly.
Need ready-to-ship items instead? Browse the Teebling retail catalog for individual products and available variants.