


Preserve recognition
Prioritize the outline, letterform and contrast that make the logo identifiable. Do not protect incidental detail at the expense of the main mark.
Build a fabric patch specification that connects artwork scale with base, stitched coverage, edge, attachment and final placement. Teebling helps buyers organize those choices around an authorized logo and a named end product so the physical sample—not a generic patch description—becomes the controlled reference.
 Base + thread + edge
A brand file designed for screens may contain gradients, thin lines or small type that do not translate directly to a fabric component. Separate the primary mark, supporting copy, border and background, then review each at the intended finished dimensions. Identify which relationships are mandatory and which details may be simplified during a controlled proof cycle.
Prioritize the outline, letterform and contrast that make the logo identifiable. Do not protect incidental detail at the expense of the main mark.
Measure the available product zone and print the proof one-to-one. Enlarged artwork can hide crowded gaps and unreadable copy.
Number every proposed change and identify the approved vector file, color schedule and physical sample with the same revision.
The base is part of the visible design and the physical interface. State whether it should disappear beneath stitched coverage, remain visible as a deliberate field or create contrast at the perimeter. Ask Teebling to identify available base options for the quoted patch rather than assigning a composition from an image.
Use a named color direction where exposed fabric forms the background. Review the physical appearance with the intended thread.
When thread covers most of the face, confirm what base remains visible around letters, gaps and edges.
Explain how the patch should sit on the receiving product and review the selected sample rather than assuming stiffness.
Share garment or bag surface information because weight, movement and assembly stage influence a useful base direction.
Thread direction, density and exposed base work together to form the image. Define visual zones rather than requesting maximum coverage everywhere. Large fill fields, outlines, lettering and small accents may need different treatment, all subject to a production proof for the selected patch.
Review narrow gaps and internal counters at physical size. If two thread fields meet too closely, a controlled base reveal or revised outline may improve separation. Record the accepted simplification so reorders do not return to the original screen file.
Confirm direction, color and how the field meets nearby outlines or exposed base.
Protect readable openings and consistent stroke relationships at the finished size.
Retain only the details that remain clear in the approved physical sample.
Choose the outside shape through the logo and the receiving product. A contour silhouette can feel integrated but may create narrow projections. A geometric badge can protect a complex mark and provide a consistent border. Ask Teebling which edge constructions apply to the requested patch, then approve the physical perimeter.
Simplify fragile points and mark every essential notch. Maintain enough space between the main logo and outside boundary.
Use a regular field when the brand benefits from a stable shape across multiple products or size versions.
Define border width and color as deliberate parts of the artwork, not an unreviewed production allowance.
Backing and attachment are product-specific decisions. Provide the surface description, placement, access behind it and who performs assembly. The quote should confirm the patch construction and applicable backing direction; a sample should confirm the chosen pairing.
Show a usable stitch path, thread relationship, lining access and any seam or padding obstruction. Decide whether the patch is attached before or after the product is fully assembled.
State fabric information and available press access. Test the exact component and receiving product under recorded conditions rather than borrowing a universal setting.
If a hook-and-loop or another removable format is desired, specify both mating surfaces, perimeter and end use, then ask what can be quoted.
Describe the intended process plainly. Do not assume an adhesive or backing capability from a product photograph or category name.
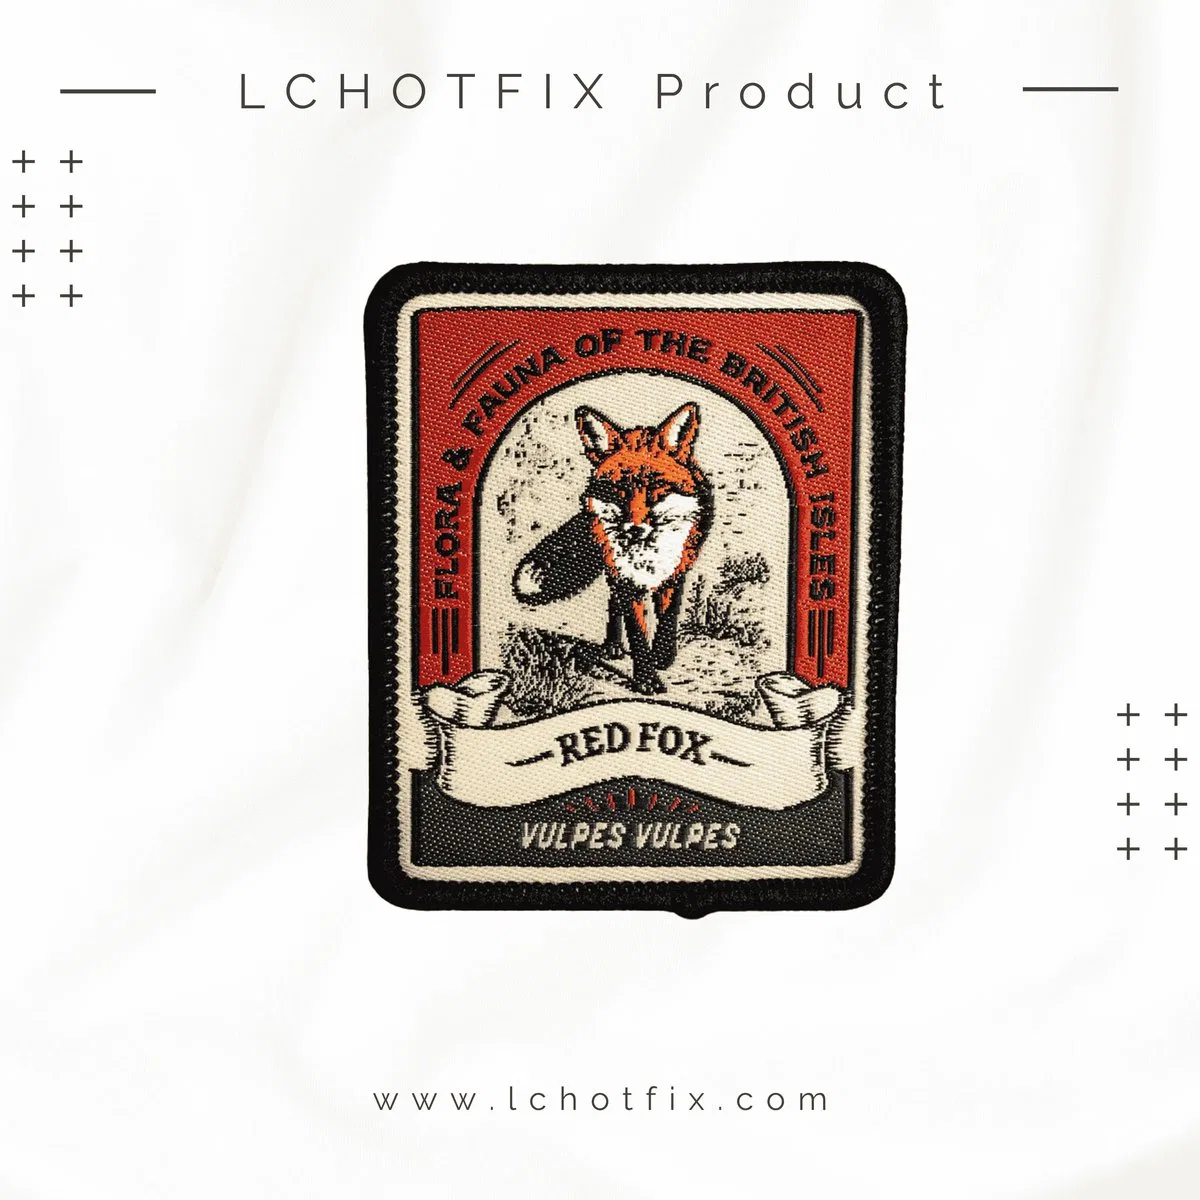
Measure the clear field on the finished item, including seams, curves, closures and movement zones. A chest, sleeve, hat, tote and backpack panel do not offer the same geometry or attachment access.
Record garment size range, stretch direction, lining and whether placement must align across multiple sizes.
Identify coating, padding, pocket depth and assembly stage so the proposed attachment route can be reviewed.
Place a one-to-one proof beside the physical sample and inspect the outline, text, negative spaces, thread boundaries, exposed base, edge and attachment. Photograph the full patch and critical details under neutral light, but keep the approved sample or traceable evidence as the governing reference.
Ask a reviewer unfamiliar with the art file to read any words and identify the symbol. If explanation is required, adjust the design before volume production. Record the final artwork revision, sample code, finished dimensions and accepted exceptions in one approval note.
Define packaging from the next handling step. A garment factory needs countable, identified bundles that issue cleanly to sewing. A retailer may need separate presentation, labeling or barcode data. List those needs before pricing because special presentation should not be inferred from ordinary wholesale packing.
State inner quantity by item and color, orientation, line identification and how the bundle maps to the assembly order.
Provide the exact ratio by design rather than a blended total. Similar patches should remain identifiable at receiving.
Describe card, bag, barcode, warning or buyer-supplied artwork needs so applicable options and charges can be confirmed.
These answers help connect artwork, material direction and attachment without turning a catalog example into an unsupported specification.
Send authorized vector artwork, finished dimensions, intended base and thread direction, edge preference, receiving product, placement, backing or attachment request, quantity per version, packing needs and destination. Mark any catalog reference used for visual direction.
Review it at the physical finished size and request a production proof or sample. Fine strokes, tight counters and close outlines may need adjustment. Approve the exact revised geometry instead of relying on enlarged screen artwork.
That should not be assumed. Receiving fabrics, coatings, stretch, access and assembly processes differ. State the end product and preferred route, ask Teebling what applies to the quoted patch, and approve the actual pairing through a representative sample.
Inspect the finished outline, corner clarity, border width, exposed base, thread relationship and how the edge sits on the end product. The selected edge should be recorded with the artwork revision and sample code.
Describe the channel, inner quantity, identification, barcode or card requirement and preferred orientation. Teebling can review applicable packing options and any related commercial terms for the specific request.
Send authorized artwork, finished dimensions, base and thread direction, edge, receiving product, placement, backing request, quantity per version, packing needs and destination. Teebling will review the defined patch and return current terms for that scope.