Heat-transfer branch
Label face, total boundary, carrier or liner, supplier-confirmed reverse, receiving garment and application trial.
A raised silicone-style appearance does not decide how the component joins the garment. Split the brief into transfer and sewing paths, then require physical evidence for the branch the buyer approves.
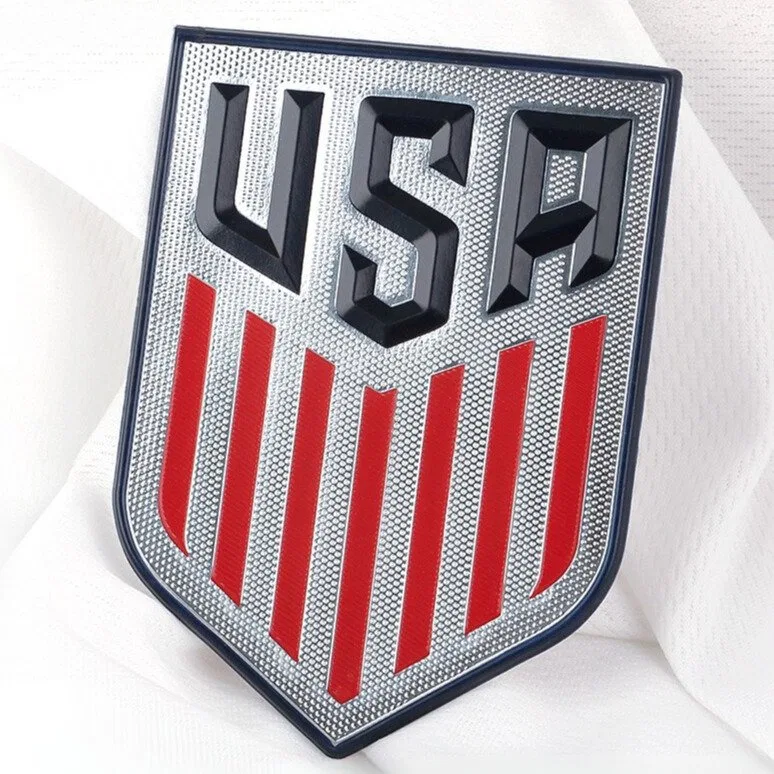
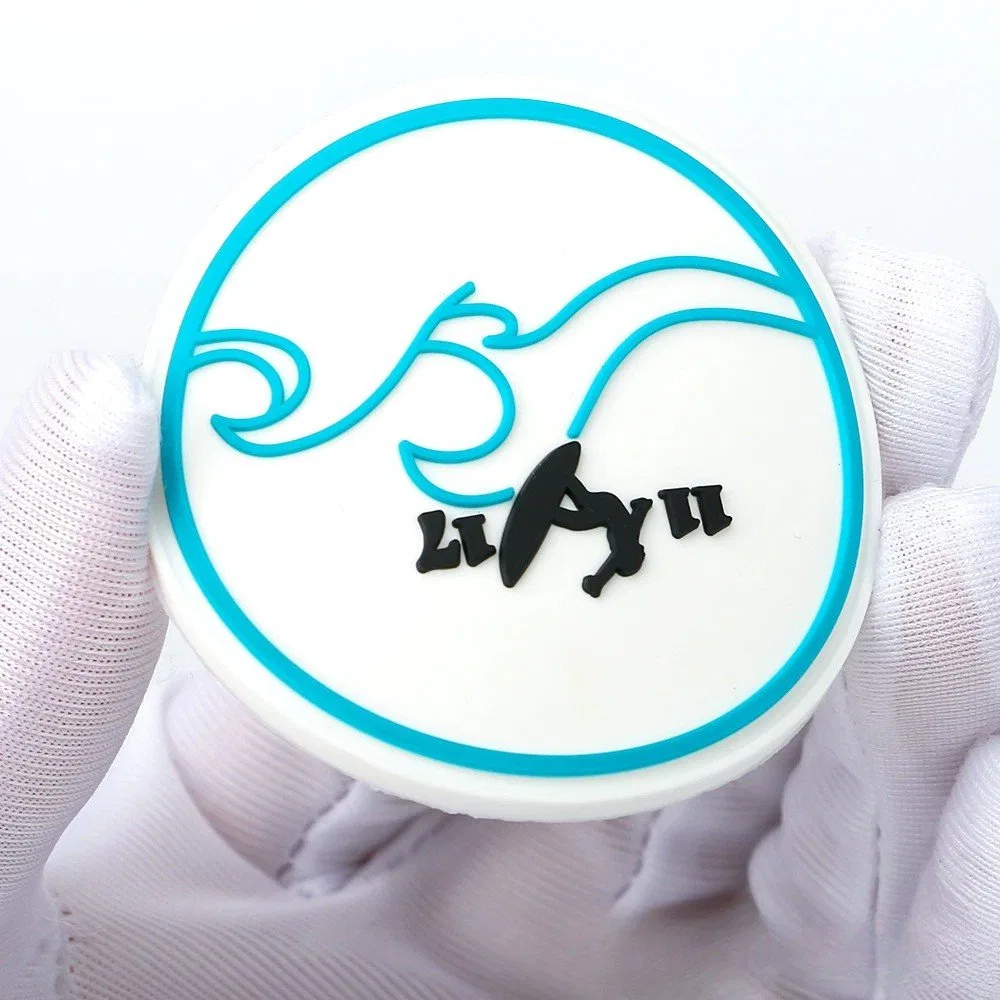
Product 48 records TPU and silicone, 6 × 8 cm, MOQ 100 and item code GZ-FC-007. Product 50 records silicone, 6 × 8 cm, MOQ 100 and item code GZ-FC-009. Both product names use heat-transfer language. Product 76 records silicone and rubber, 6.5 × 6.5 cm, MOQ 100 and item code GZ-FC-11, but its database fields do not confirm a sew-on reverse. That evidence supports 3D silicone labels, a silicone heat transfer logo and a soft-rubber comparator; it does not prove a stocked sew-on option.
A proposed sew-on silicone logo patch needs more than a raised center. Mark the intended stitch path and preserve clearance from text, relief and critical color boundaries. Define the outer edge, corner radius, flange width and whether the sewing line should remain visible. State the thread direction and garment-side access. Ask the supplier to confirm how the component behaves under the proposed needle and seam process, then sample it. The database provides no flange dimensions for Product 76, so no measurements are transferred from that record. A clean mockup cannot replace a buildable sewing drawing.
Protected logo and relief zones.
Clear area around critical artwork.
Proposed needle route and spacing.
Shape and corner treatment.
Placement and reverse access.
A heat-applied proposal should show the complete visible face, total label boundary, any transparent or quiet edge and carrier orientation. Ask which parts remain after application and which are removed. Obtain current supplier instructions for the coded sample and receiving garment; do not borrow settings from a generic silicone article or a different product. If the design uses raised areas, inspect them after application for alignment and visible deformation without assuming a guaranteed result. The silicone heat-transfer logo patch guide can hold construction questions, while the silicone label relief artwork guide develops the relief map.
Identify whether the label is applied to an open panel or a finished product. A transfer trial needs suitable access for the supplier-directed process and enough clearance from seams, hardware and shaped areas. A sew-on trial needs needle and presser-foot access, a stable seam path and an acceptable reverse-side result. Map the zone across all garment sizes and variants. Curved accessories, pocket edges and lined products can change feasibility. Neither branch should be declared easier without testing the actual product and production sequence. Record who performs the attachment and where inspection occurs.
Record panel dimensions, later seam allowances, orientation and how subsequent assembly could affect the label.
Record access limits, nearby hardware, lining, visible reverse and operator handling constraints.
Start both samples from the same authorized logo and visual target, but give each a distinct code. Measure finished dimensions and relief rather than relying on render scale. For the transfer version, document the supplier-directed garment trial and inspect the face, perimeter and surrounding substrate. For the sew-on proposal, document stitch path, thread, seam appearance, reverse and any component movement. If care evaluation matters, define the protocol and acceptance rules before exposure. Searches for 3D silicone patches do not establish the care result of either candidate. Archive photographs and failed samples with their identities so only the accepted revision can enter the order.
The purchase line should identify the exact material wording, sample code, artwork revision, colors, relief map, finished dimensions, receiving garment and placement. For the transfer route, retain carrier, reverse and application instruction revision. For a sew-on route, retain flange, edge, stitch path, thread and attachment responsibility. Add quantity by variation, MOQ allocation answer, packing orientation, interleaf or face protection and destinations. Use the 3D silicone patch sourcing guide for broader component questions and private-label accessory sample approval to connect the released order to physical evidence.
Please quote the heat-transfer assembly and the proposed sew-on assembly separately, identify all layers and attachment details, and do not represent the sew-on route as confirmed until a coded specimen and sewing specification are supplied.
These responses keep a raised visual direction separate from a verified heat-transfer or sewn assembly.
No record used here confirms that exact assembly. Product 76 records silicone and rubber but does not record a sew-on attachment. A sew-on silicone proposal therefore needs a current sample, flange and sewing specification before it can be represented as available.
Product 48 records TPU and silicone at 6 by 8 centimeters, MOQ 100. Product 50 records silicone at 6 by 8 centimeters, MOQ 100. Their names identify heat-transfer label or logo-patch directions, but no universal application settings are stored.
A sewing path needs sufficient perimeter area outside critical raised artwork, along with a defined stitch line, corner treatment and needle-clear zone. The supplier must propose and sample those details for the selected construction.
One authorized source can begin both proofs, but the transfer version and sew-on version require separate boundaries, reverse details and safe areas. Approve each returned proof at finished physical size.
Keep exact material wording, sample code, dimensions, artwork revision, color zones, relief map, attachment specification, receiving garment, trial observations, quantity, packing and current quote terms together.