
Read Our Refund & Return Information
Dimensional component showroom

3D Silicone Patches for Apparel and Accessories

Plan a silicone-style patch as a complete branded component: relief hierarchy, visible face, perimeter, receiving product, attachment direction and protective packing. Teebling reviews those linked decisions against the selected catalog reference and confirms the actual quoted construction rather than treating every dimensional logo as interchangeable.

Compare transfer-logo planning
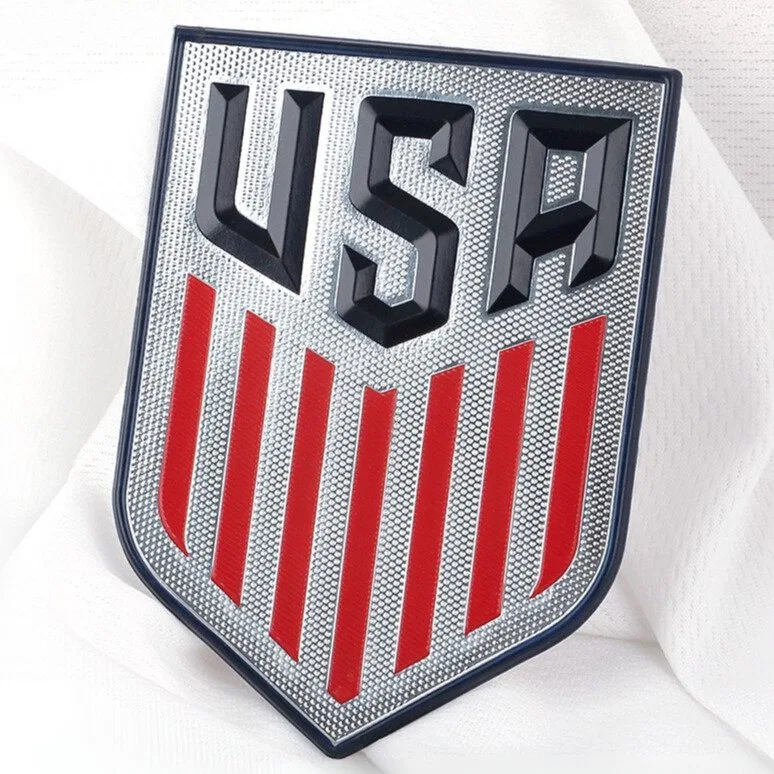
3D silicone-style heat transfer label reference displayed on a component plinth
Use this catalog-described label as a visual reference; the written quotation identifies whether the requested build is a patch component, transfer format or another construction.
01 / Product definition

Patch Component vs Transfer Label

Before drawing relief, define what will be supplied and who will attach it. A standalone patch is received, handled and assembled as a component with a finished perimeter. A heat-transfer label may arrive on a carrier for direct application. Both can look dimensional in a photograph, so the order record must name the quoted format.

PATCH

Component-first brief

Control the outside edge, supplied orientation, pack protection and chosen assembly route. State whether the buyer, garment factory or another party performs attachment.

Provide the receiving product and placement even when Teebling supplies only the component, because those facts shape edge and assembly decisions.

TRANSFER

Application-first brief

Control the carrier presentation, receiving surface, access and trial record. The transfer and product must be approved together under the intended operating conditions.

Do not convert one format into the other by changing terminology; request the construction appropriate to the program and confirm it in writing.

02 / Relief architecture

Three-Dimensional Layer Plan

Assign each plane a visual job and number it in the artwork. The lowest visible field establishes the boundary; the principal logo layer carries recognition; limited accents add hierarchy. Review the stack in a monochrome diagram as well as color so height relationships remain understandable.

1

Outer foundation

Defines the component footprint and supports the intended edge treatment.

2

Background field

Creates contrast around lettering, symbols and open counters.

3

Primary relief

Carries the main brand mark at the relationship shown by the approved proof.

4

Optional accent

Adds a restrained highlight only where the finished scale can support it.

03 / Visible face

Surface Finish and Color

A screen rendering cannot finalize a physical surface. Use it to define intended relationships—lighter or darker, quiet or contrasted, uniform or intentionally differentiated—then review the physical sample in the lighting relevant to the product. Request actual material and color information for the selected construction.

Color fields

Name every bounded zone and provide an agreed physical or brand reference where color matters.

Surface direction

Describe the desired appearance without assuming that a reference image proves texture, gloss or composition.

Approval state

Record the sample code, light condition, artwork revision and accepted observations together.

04 / Silhouette

Shape, Edge and Border

The perimeter needs enough visual breathing room and enough physical stability for the intended handling and attachment. Compare a close logo contour with a regular badge shape. Simplifying the edge can preserve small projections and make placement easier without changing the central brand mark.

Contour cut

Follows a simplified outside silhouette. Mark which notches and projections are essential.

Rounded field

Provides a consistent margin around the logo and a clear component boundary.

Badge profile

Uses a deliberate geometric form when the artwork itself has a complex outer edge.

Clean border

Separates the raised face from the receiving product and can organize an attachment zone.

05 / Assembly route

Sew, Heat or Adhesive Direction

These are questions to define, not automatically available options. Describe the preferred assembly route and end product, then ask Teebling to confirm what applies to the quoted component. Any approved route must be evaluated on the actual receiving surface.

DIRECTION 01

Sewing request

Show the intended stitch zone, access behind the placement, thread relationship and any lining or padding. Confirm that the selected edge supports the proposed process.

DIRECTION 02

Heat-application request

Provide fabric information, placement access and equipment. Test the selected construction under recorded conditions rather than borrowing settings from another item.

DIRECTION 03

Adhesive request

Explain whether the need is temporary placement or final assembly and describe the surface. Do not assume an adhesive layer or capability unless it is included in the quote.

07 / Physical review

Flex and Attachment Sample

A meaningful sample review uses defined checkpoints instead of a general “looks good” message. Inspect the component flat, then on the representative receiving product. Bend or handle it only in ways relevant to the actual use, and record observations without extending them into unsupported performance promises.

Geometry

Finished dimensions, outline and critical gaps follow the approved proof.

Relief

Layer roles and small features remain visually distinct.

Face

Color boundaries and surface direction match the accepted sample.

Edge

Perimeter condition suits handling and the confirmed assembly route.

Interface

Placement, attachment and receiving-product appearance are documented.

08 / Receiving condition

Packing to Protect Relief

Raised components should reach the buyer identified, countable and protected from avoidable compression or face-to-face contact. Define inner quantity, orientation, separation and pack label before quotation. If the product is destined for retail presentation, separate that need from ordinary factory handling so Teebling can review the additional scope.

Face protection

Request an arrangement that limits unwanted contact with raised zones, based on the actual component geometry.

Line identification

Show item code, colorway, artwork revision and count so receiving can distinguish similar versions.

Assembly issue

Choose an inner quantity that fits the buyer’s sewing or application workflow, subject to quoted packing options.

09 / Buyer questions

Buyer Questions About 3D Silicone Patches

These answers keep component, transfer, material and attachment decisions tied to the selected Teebling item.

How is a 3D silicone-style patch different from a transfer-only logo?

A buyer planning a patch treats the dimensional piece, perimeter and attachment as one component specification. A transfer label may use a carrier and direct application format. Confirm which construction the selected Teebling item actually uses instead of relying on the visual name alone.

What artwork should I provide for layered relief?

Provide authorized editable vector paths, finished dimensions, separate height-role layers, bounded color areas and a one-to-one proof. Mark the outside edge and identify details that may or may not be simplified during production review.

Can I select sewing, heat application or adhesive from the website image?

No. State the receiving product and preferred assembly route, then ask Teebling which attachment options apply to the quoted construction. Approve the chosen patch and end-product pairing through a representative physical sample.

What should a dimensional patch sample approval cover?

Review finished scale, outline, relief hierarchy, small-detail clarity, color boundaries, surface appearance, flexibility relevant to the use, edge condition and the tested attachment. Record the sample code and artwork revision with the approval.

How should raised patches be packed for a wholesale order?

Describe inner quantity, orientation, identification and the need to avoid crushing or unwanted surface contact. Teebling can review a packing method for the actual component; requested retail presentation or special protection should be listed for quotation.

10 / Defined component

Quote the 3D Patch Build

Send authorized layered artwork, finished dimensions, color direction, receiving product, placement, preferred attachment route, quantity per version, packing need and destination. Teebling will confirm the construction and current commercial terms for the reviewed scope.

View a silicone-style label reference
Define reliefLayer roles, edge and finished scale
Define interfaceProduct, placement and assembly route
Define deliveryQuantity, pack identity and destination
Welcome Guest!