Read Our Refund & Return Information
Tactile identity studio / Apparel label guide

Custom Silicone Labels for Clothing

Create a custom silicone clothing label by designing the physical brand touchpoint, not only the logo printed on a mockup. Teebling helps B2B apparel buyers organize finished dimensions, edge shape, raised and recessed detail, color direction, placement, attachment trials and variant counts in one brief. This approach supports fashion labels, active-inspired collections, bags, hats and branded soft goods that need a dimensional identity element with a clear approval record.

Browse label references
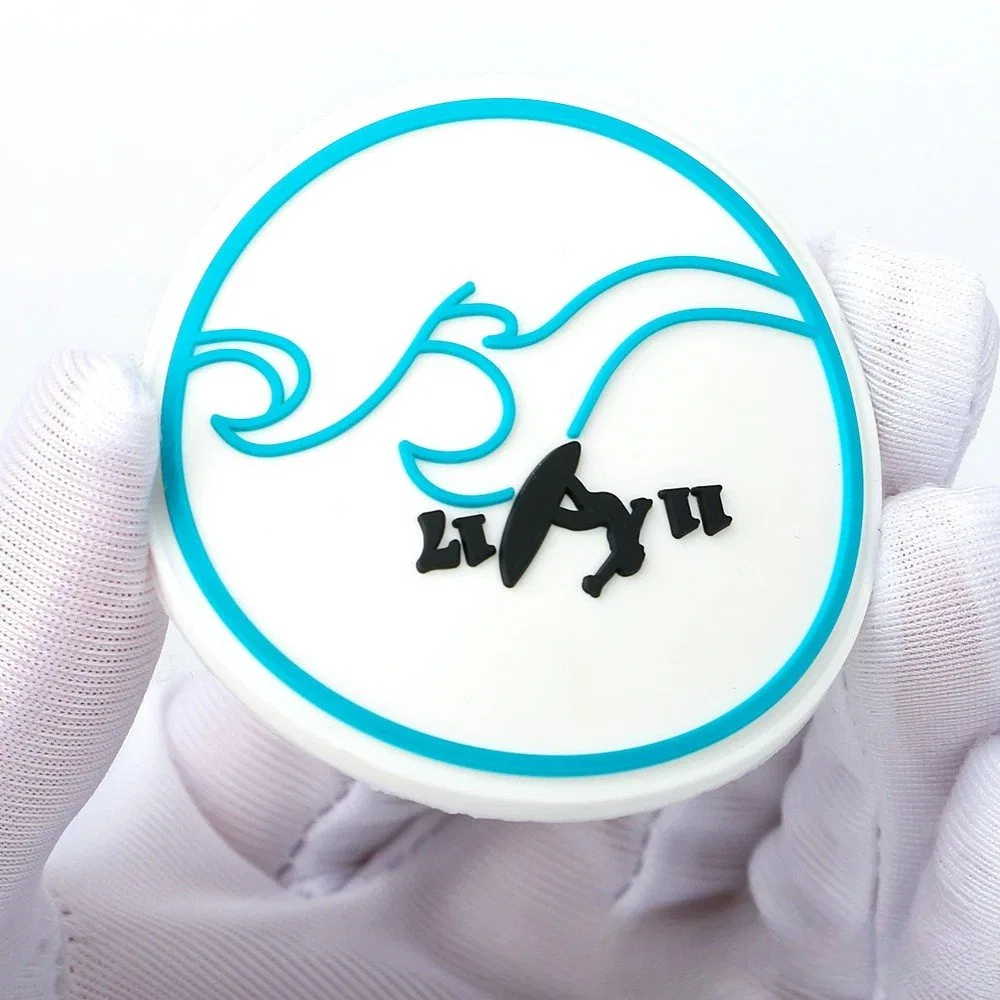
Three-dimensional silicone labels showing raised logo and surface detail
Approve dimension, relief, color and attachment on a physical reference for the intended garment.
01 / Brand role

Decide what the dimensional label should do

A label can identify the maker, mark a product family or add a visible design accent. Naming that role helps control size, contrast and placement before technical details take over.

Quiet identity marker

For a neck, hem, pocket or accessory detail, prioritize readable branding at a compact scale. Keep the logo simple, specify the viewing distance and show how the label relates to seams and neighboring hardware. A subtle tonal palette may still need enough physical definition for the mark to remain recognizable.

  • Compact logo with protected clear space
  • Measured relationship to a seam or edge
  • Color direction coordinated with the garment

Visible collection signature

For an exterior chest, sleeve, pocket or bag placement, establish the label as a deliberate design component. Define the silhouette, relief hierarchy and palette alongside the apparel artwork so the label feels part of the product rather than an unrelated add-on.

  • Distinct edge shape or layered logo treatment
  • Placement mockup at actual finished dimensions
  • Variant plan across garment colors and categories
02 / Relief vocabulary

Translate flat artwork into surfaces and levels

Mark which areas sit above, below or level with the base. A simple annotated drawing makes the intended hierarchy easier to discuss than a dramatic rendering with no measurements.

Base field

Define the overall shape, finished width and height, background color and visible border. State whether the base follows the logo outline or uses a geometric carrier.

Raised mark

Identify the letters or icon that should stand forward. Preserve enough separation around small details so the physical form remains clear at garment scale.

Recessed detail

Use inset lines selectively for secondary information or visual texture. Very fine internal features should be reviewed in the physical sample.

Edge behavior

Choose square, rounded, molded-outline or another referenced edge direction. Consider how the shape sits beside seams, pockets and curved product areas.

Surface character

Describe the desired visual finish with reference photos and explain which face or detail the reference applies to. Final appearance is confirmed through project sampling.

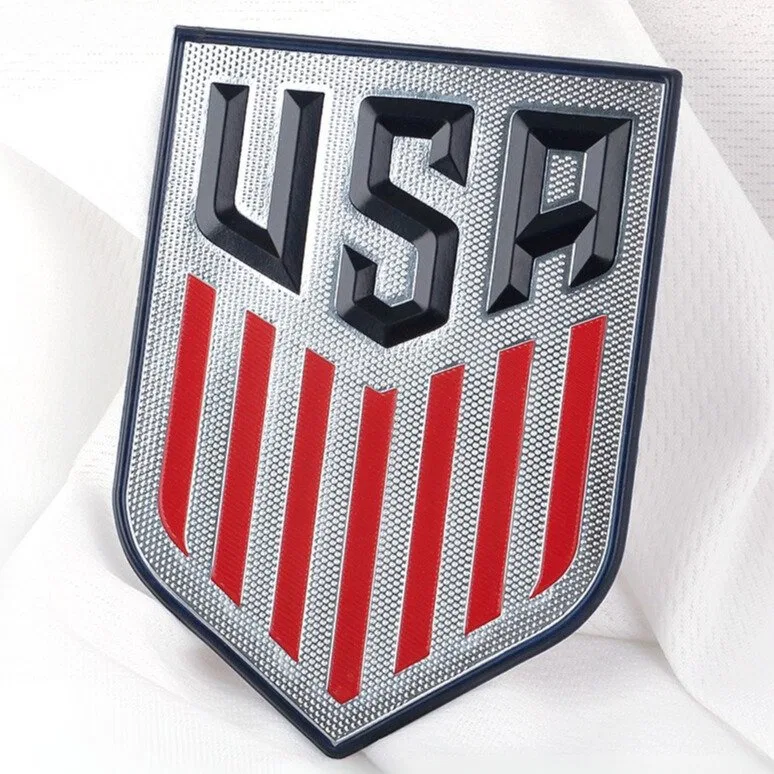
Custom silicone logo patch reference for apparel placement planning
Use an actual garment or accessory image to show scale, orientation and distance from construction lines.
03 / Garment map

Design placement around movement and construction

A label near a pocket corner behaves differently from one on a flexible sleeve or a curved cap. Identify the target product, fabric, location and orientation. Add a measured placement box and explain how the area bends, stretches or receives handling during ordinary use. This context helps Teebling review the label and attachment direction together.

  • Neck and inner identity: balance brand visibility with the garment’s existing seam and label system.
  • Hem and pocket accent: show the distance from finished edges, topstitching and corners.
  • Sleeve or leg placement: consider curvature and the way the panel moves when worn.
  • Bag and cap placement: identify reinforcement, panels, hardware and any tight-radius surface.
04 / Color studio

Build contrast deliberately, including tonal labels

Color should be assigned by component: base, raised logo, inset detail and any border. A garment mockup shows the relationship, while the approved physical reference resolves the final appearance.

Deep base
Brand violet
Fresh accent
Warm signal
Soft neutral

For several garment colors, create one row per label and garment combination. Do not assume that a single label colorway provides the same readability or visual balance on every substrate.

05 / Attachment decision

Review the label, substrate and application as one system

The attachment direction depends on label construction, garment material, placement and production workflow. Buyers should name the preferred process, but allow the actual combination to be tested before it is treated as approved.

Heat-assisted direction

Provide the target fabric composition, surface finish and a representative panel or garment. Document the equipment and process used for the accepted trial, then connect those notes to the label revision.

Sewing or captured edge

When stitching is part of the construction, show the seam path, visible allowance and thread color direction. Confirm that the label shape and edge leave practical space for the intended operation.

Project-specific alternative

For bags, caps or unusual panels, share the full assembly drawing and handling needs. Teebling can review the request without implying that one attachment method suits every material or placement.

06 / Material reference wall

Compare dimensional labels without treating them as interchangeable

Reference images help explain relief, edge shape and visual weight. The requested material family, construction and attachment still need to be named in the Teebling brief.

07 / Sample touch log

Evaluate the physical label in context

Use a written checklist and labeled photographs so every comment can be traced to the same sample and garment combination.

Shape and scale

Measure the finished width and height, inspect edge symmetry and confirm that the label occupies the intended visual area on the garment.

Logo readability

Check small lettering, counters, line separation and raised or recessed hierarchy from normal viewing distance as well as in close detail.

Color and surface

Compare the physical sample with the agreed references under consistent light. Record which face, level or border requires adjustment.

Attachment result

Inspect alignment, edges, surrounding fabric and reverse after the representative application or sewing trial. Save the exact process notes.

Garment behavior

Move and flex the product naturally around the placement. Confirm that the size and location support the intended look and wear experience.

Pack and identity

Verify variant labels, quantities and protective packing. The receiving team should be able to distinguish every logo, color and size without opening mixed bundles.

08 / Label dossier

Send Teebling a dimensioned silicone label RFQ

Include the brand purpose and garment context alongside technical files. An annotated relief drawing, measured placement mockup, variant matrix and substrate information give the project a strong starting point for review, sampling and commercial discussion.

IdentityVector logo, exact wording and protected proportions
Physical designDimensions, shape, relief map, colors and surface direction
Garment systemSubstrate, placement, attachment preference and trial needs
Wholesale planQuantity by variant, packing, destination and requested timing
09 / Buyer questions

Custom silicone clothing label FAQ

These answers help structure an inquiry. Final appearance, construction and attachment are confirmed against the individual Teebling specification and approved physical reference.

What details are needed for a custom silicone clothing label quote?

Share vector artwork, exact finished dimensions, desired relief or surface direction, shape, colors, target garment and placement, attachment preference, quantity by version, packing, destination and requested timing. Include a physical reference when texture is central to the brief.

How should small lettering be prepared for a raised silicone label?

Show the artwork at its real finished size and identify the smallest text that must remain readable. Narrow counters, thin rules and tightly spaced letters may need adjustment, so buyers should review a physical sample rather than approving from a large screen image alone.

Can silicone labels be planned for different garment fabrics?

Different fabrics and finishes should be listed separately. The label construction and attachment direction must be reviewed against the intended substrate, placement and care expectations, with a representative trial used before the combination is accepted for the order.

What should buyers inspect on a silicone label sample?

Check dimensions, shape, logo proportions, edge definition, relief, color direction, surface appearance, placement and attachment result. Flex the garment naturally around the placement and document comments on labeled close photographs.

How are multiple logo or color versions organized?

Create a variant matrix with one line for each artwork, color, size, garment placement and quantity combination. Stable names make quoting, sample feedback, packing labels and future reorders easier to trace.

Welcome Guest!