


Identity
Place the brand where the intended customer or receiver can find it without disrupting fit.
Convert a preferred label location into coordinates that pattern makers, sample reviewers and production operators can repeat. The plan connects brand purpose, garment anatomy, physical label size, wearer contact and the attachment route instead of treating a collar sketch as a complete specification.
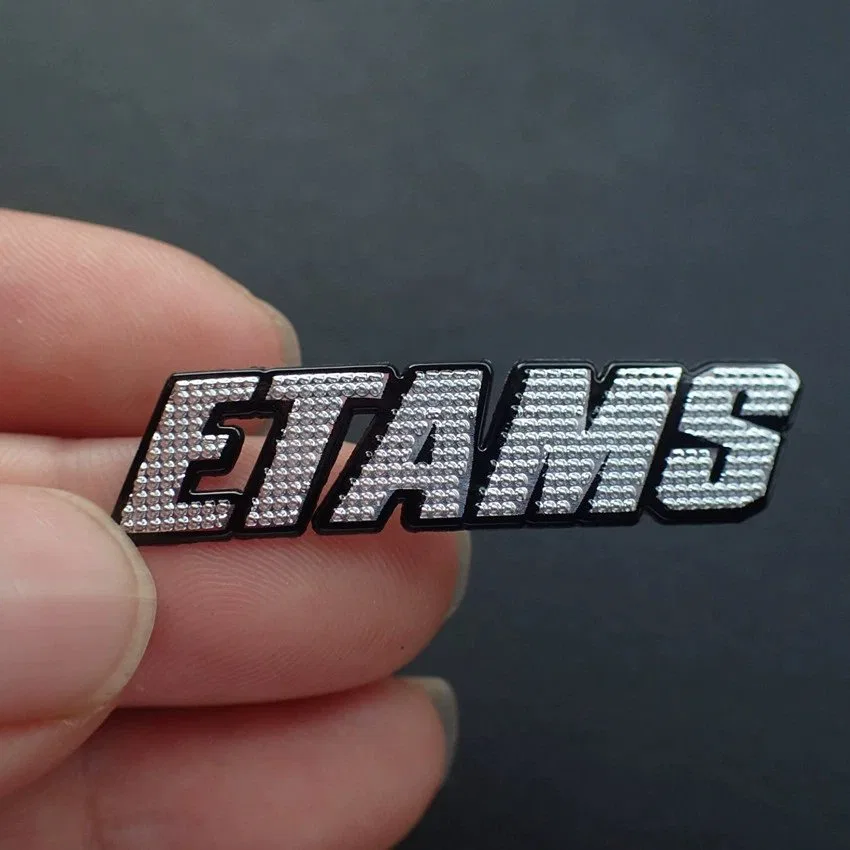
A brand mark, size tab, care label and decorative exterior badge serve different readers. Write who must see the label, when they see it, what information it carries and whether it should be concealed, discreet or intentionally prominent. That purpose eliminates attractive placements that fail during dressing, retail display, laundering or inspection.
Place the brand where the intended customer or receiver can find it without disrupting fit.
Reserve enough readable area for size, fiber, care or trace fields that the project requires.
Treat an exterior label as part of the garment composition, with measured alignment and color contrast.
Use a coded marker only when it survives the correct manufacturing and packing stage.
Custom clothing label placement becomes auditable when the label's purpose appears on the pattern note and sample ticket. A placement copied from another garment may look familiar while failing the current construction.
Mark the actual seam lines, allowances, facings, plackets, pockets and reinforcement rather than drawing on a blank torso. Interior positions need wearer-contact review and access for sewing or application. Exterior positions must be assessed with the complete garment silhouette, neighboring decoration and likely folds in use.
Measure from the finished collar seam and confirm whether the label touches skin, a facing or a separate yoke.
Define left or right orientation, height from hem and whether a folded label enters the seam construction.
Map turnback, cuff, cover stitching and visible distance from the finished edge.
Locate from stable landmarks and check visual balance across the included size range.
For custom woven labels, document fold direction, seam capture and visible finished face as requested variables; no woven construction is inferred from the product images on this page.
Product 46 is Custom TPU Heat Transfer Labels for Clothing, with TPU and fabric material wording, a 5 × 8 cm reference, MOQ 100 and code GZ-FC-005. Product 12 is Embroidery Garment Badge for T-Shirts, recorded as thread, 5 × 6 cm, MOQ 100 and code TB-2FEE31D63C73. Neither record substitutes for a woven-label specification.
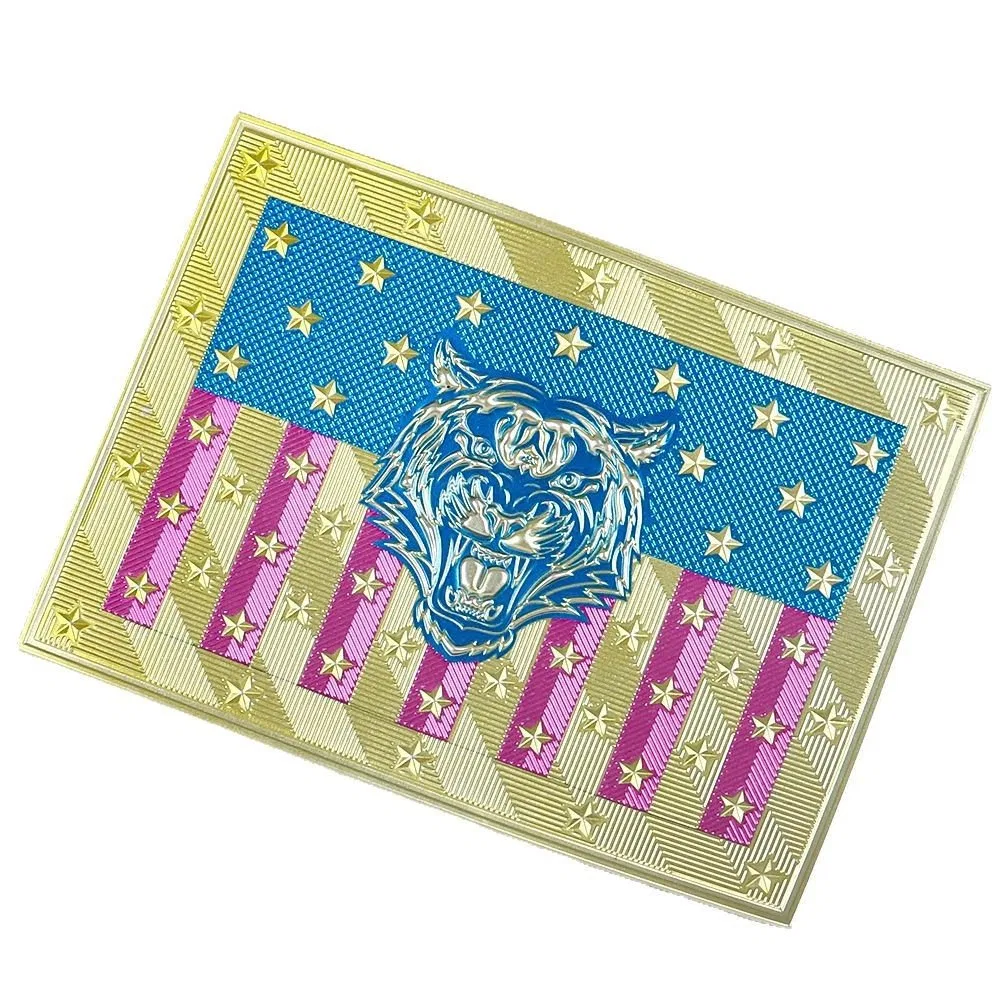
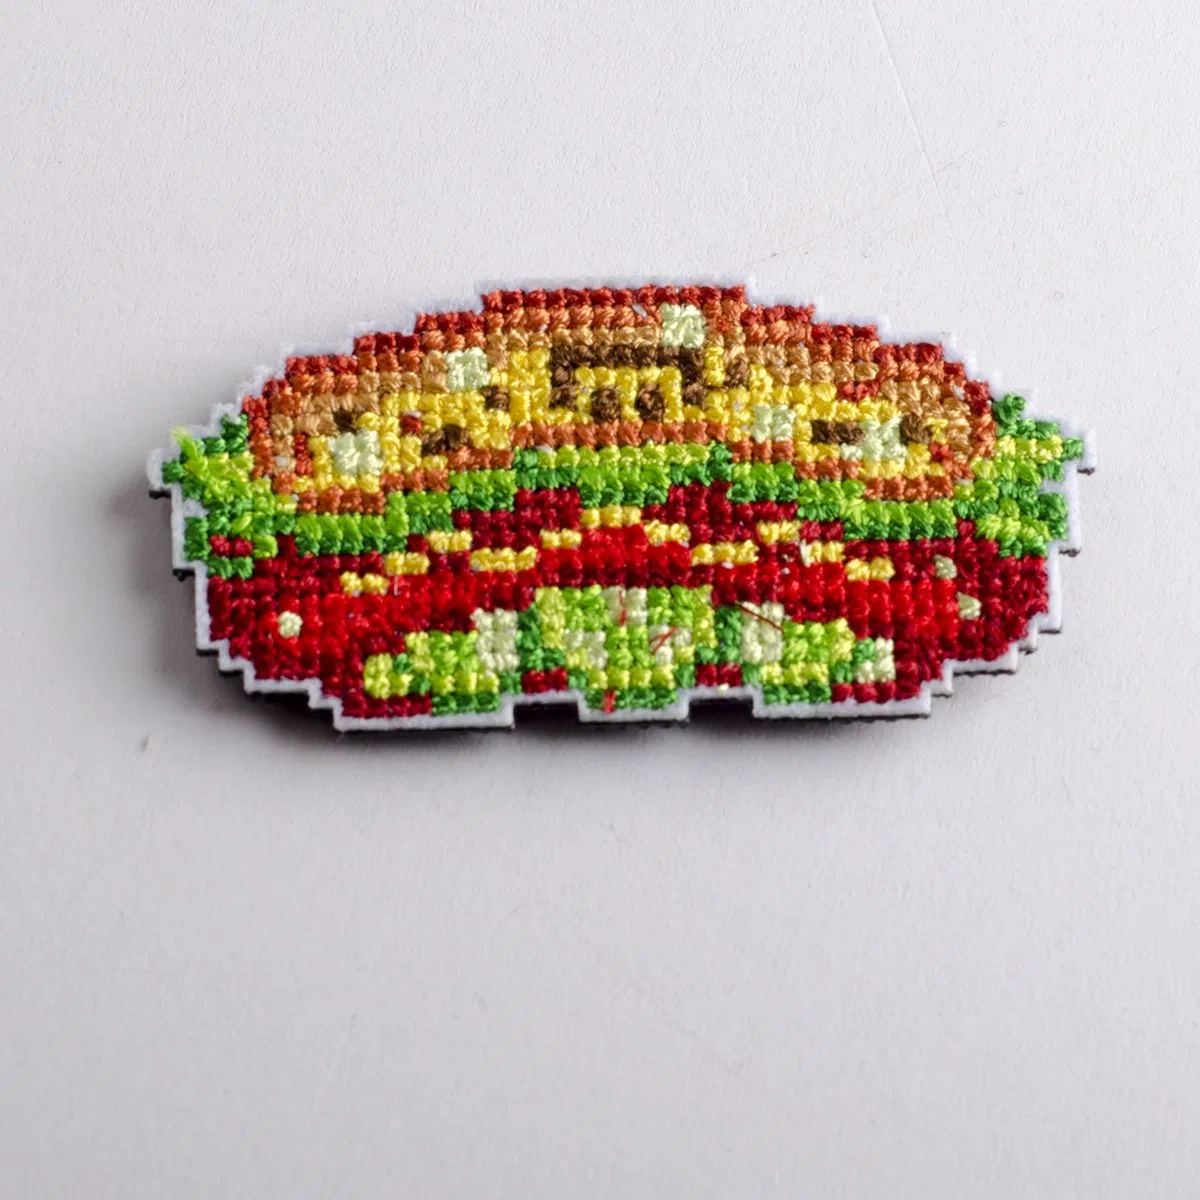
Open Product 44, Product 46 and Product 12 when citing catalog facts.
State the origin, direction and dimension for every label. “Two centimeters down” is incomplete unless the drawing identifies the exact collar, seam or edge from which the distance begins and whether it reaches the label top, center or baseline. Add left-right orientation and rotation so mirrored pieces cannot be assembled from memory.
Name a stable finished seam intersection, fold or centerline that exists on every included garment.
Dimension horizontal and vertical travel to a declared point on the label boundary.
Record upright, parallel-to-seam or deliberate rotation with a reproducible reference.
Show full label width and height plus required clearance from stitching and hardware.
Identify which side is visible and the reading direction when the garment is worn.
Request a project-specific proposal and approve it in writing rather than publishing a universal value.
The heat-transfer label guide adds construction questions after the garment coordinate is known.
A fixed distance may shift visually when collar depth, body length, sleeve scale or seam geometry changes. Place the true-size label outline on the smallest and largest patterns, then inspect a physical sample where the difference matters. Group garment sizes only when the same origin and offset preserve the approved relationship.
Check crowding near the neckline, hem turnback, narrow sleeve or limited exterior field.
Maintain a photographed master with the dimensioned placement used for operator training.
Confirm that the label does not appear unintentionally displaced or underscaled.
Issue a second coordinate code when one rule cannot carry the planned proportion.
Garment labels wholesale orders should list quantities by garment group and label revision so packing can reconcile the correct component with each size.
An interior component can be visually correct yet uncomfortable at an edge or raised area. Record which surfaces contact skin, whether the garment stretches under wear and how a fold or seam changes the profile. Exterior applications also need access analysis: a pocket, lining or closed sleeve can prevent the intended sewing or heat-assisted method.
Wear the representative sample and note edge, relief and movement observations without promising universal comfort.
Inspect the label where the garment bends, stretches or gathers in ordinary use.
Confirm whether the component is applied before or after seams, linings and closures are completed.
Private label clothing accessories require the same receiving-product evidence as a larger badge. Brand ownership does not remove the need for a physical placement and attachment trial.
Use woven-label planning for woven-specific folds and badge planning for a distinct embroidered construction.
Review the label flat and worn, photograph the full garment and close details, and measure from the declared origin rather than a convenient nearby point. The record should say whether the face, position, angle, edge, attachment and wearer interaction passed, failed or require revision.
Custom heat transfer labels for clothing should be retested when the receiving style or placement field changes materially; the label alone is only one half of the approved pairing.
The answers separate garment coordinates, label construction and sample evidence so a drawing remains useful after it reaches production.
Placement depends on label purpose, garment construction, wearer contact, visible branding, care information and production access. Define a measured zone on the exact style instead of selecting a location from a generic illustration.
Only after the graded pattern is reviewed. Test the smallest and largest included sizes, compare seam and edge relationships, and issue separate coordinate groups when one anchor does not preserve the intended result.
No. Product 44 records TPU and silicone at 5 by 3 cm, while Product 46 records TPU and fabric at 5 by 8 cm. Each has MOQ 100 and its own item code.
No. Product 12 is recorded as thread at 5 by 6 cm. A custom woven label request needs its own material, fold, edge, attachment and sample confirmation.
Keep the label or artwork revision, physical dimensions, garment style and size, anchor measurements, application or sewing record, wearer-contact review, photographs and signed sample decision.
Send label identity, construction request, dimensions, artwork revision, garment style, graded size groups, anchor diagram, wearer-contact notes, attachment route, quantities and sample deadline. Ask Teebling to state current feasibility, commercial terms and proof requirements for that exact combination. Keep interior and exterior versions under different codes when their physical locations or methods differ.
The final sheet should allow another operator to find the same origin and inspect the same relationship without opening old email threads. Preserve the approved garment photograph beside the dimensioned pattern, and route every later change through a dated revision.