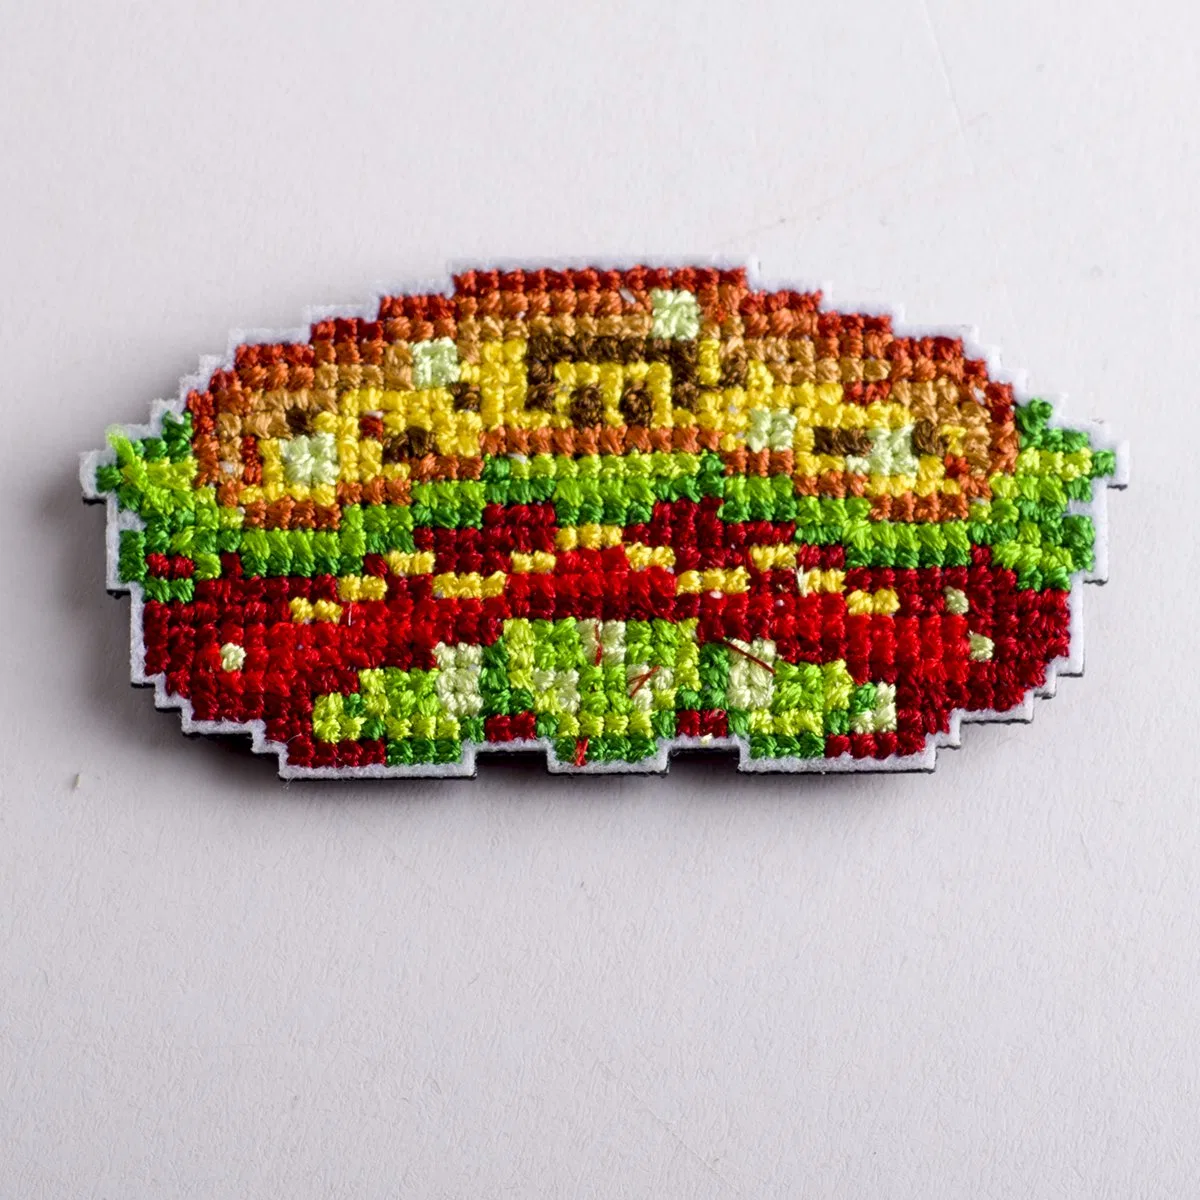
Uniform and organization mark
Prioritize exact wording, stable color naming and repeatable placement. Include the garment type, department or team variants and the viewing distance at which the badge must remain recognizable.
Develop an embroidered heat transfer badge as a combined artwork, textile and garment-application project. Teebling helps apparel brands, uniform buyers, clubs and merchandise programs define stitch detail, finished dimensions, thread colors, edge construction, backing direction, target substrate, physical approval and packing. The goal is a traceable badge specification that looks intentional on the garment and gives the application team usable information.
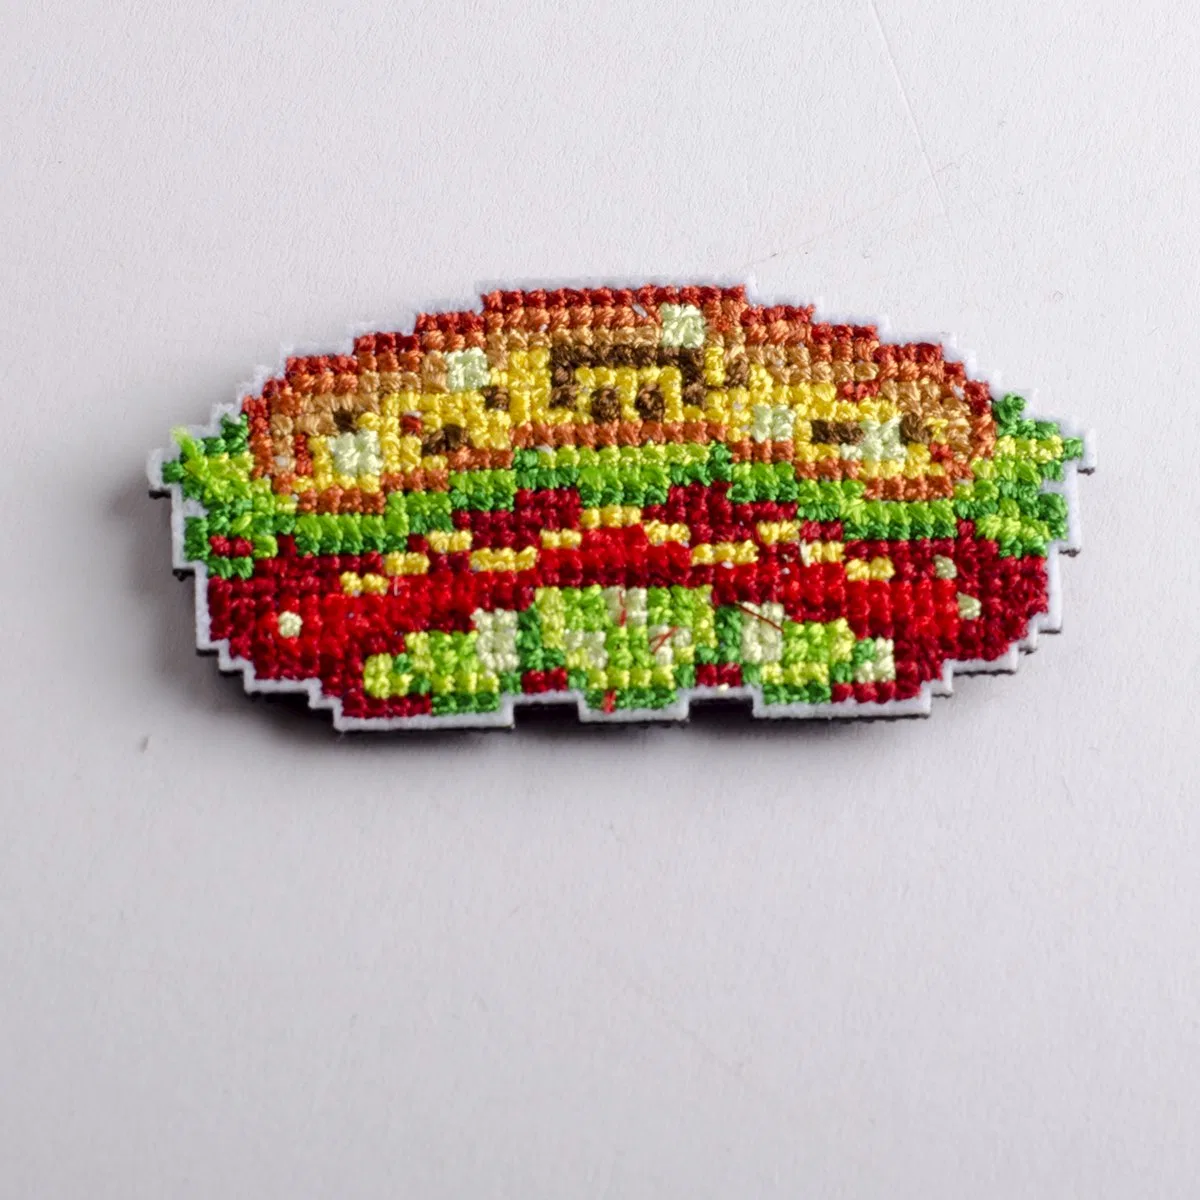
The same logo can become a quiet uniform identifier, a fashion patch or a large event emblem. Intended role controls scale, stitch priority, edge treatment and garment placement.
Prioritize exact wording, stable color naming and repeatable placement. Include the garment type, department or team variants and the viewing distance at which the badge must remain recognizable.
Coordinate the badge silhouette, thread palette and border with the garment’s trims and artwork. An exterior badge can be a major design feature, so provide a true-size placement mockup and worn-context reference.
Lock names, dates, place words and icon versions before sampling. If several groups share one layout, create a line list pairing each text version, border color and quantity.
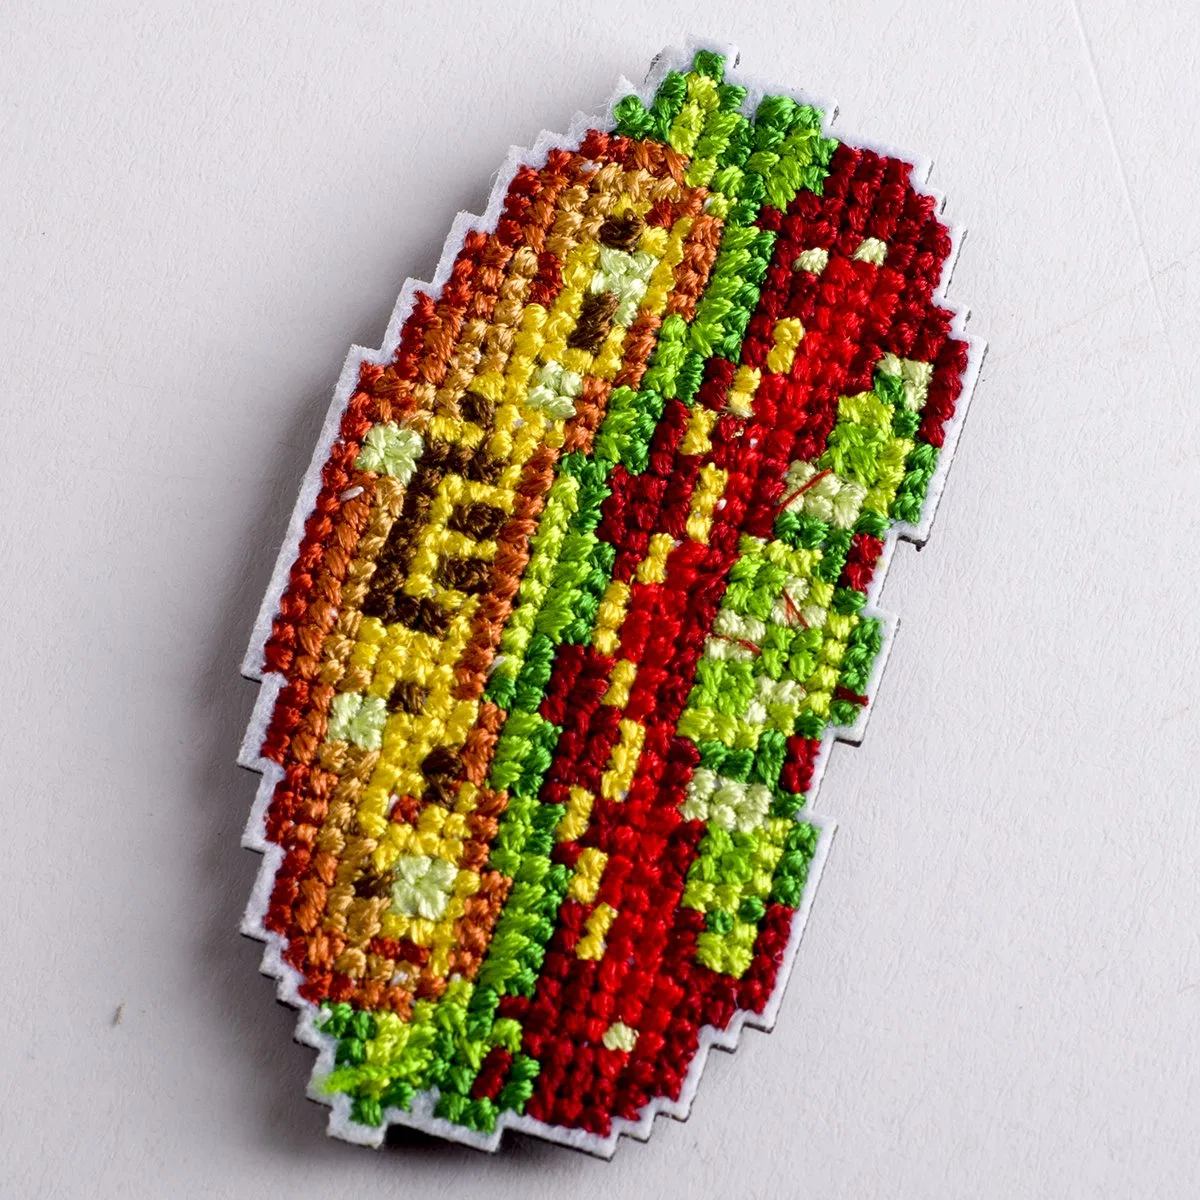
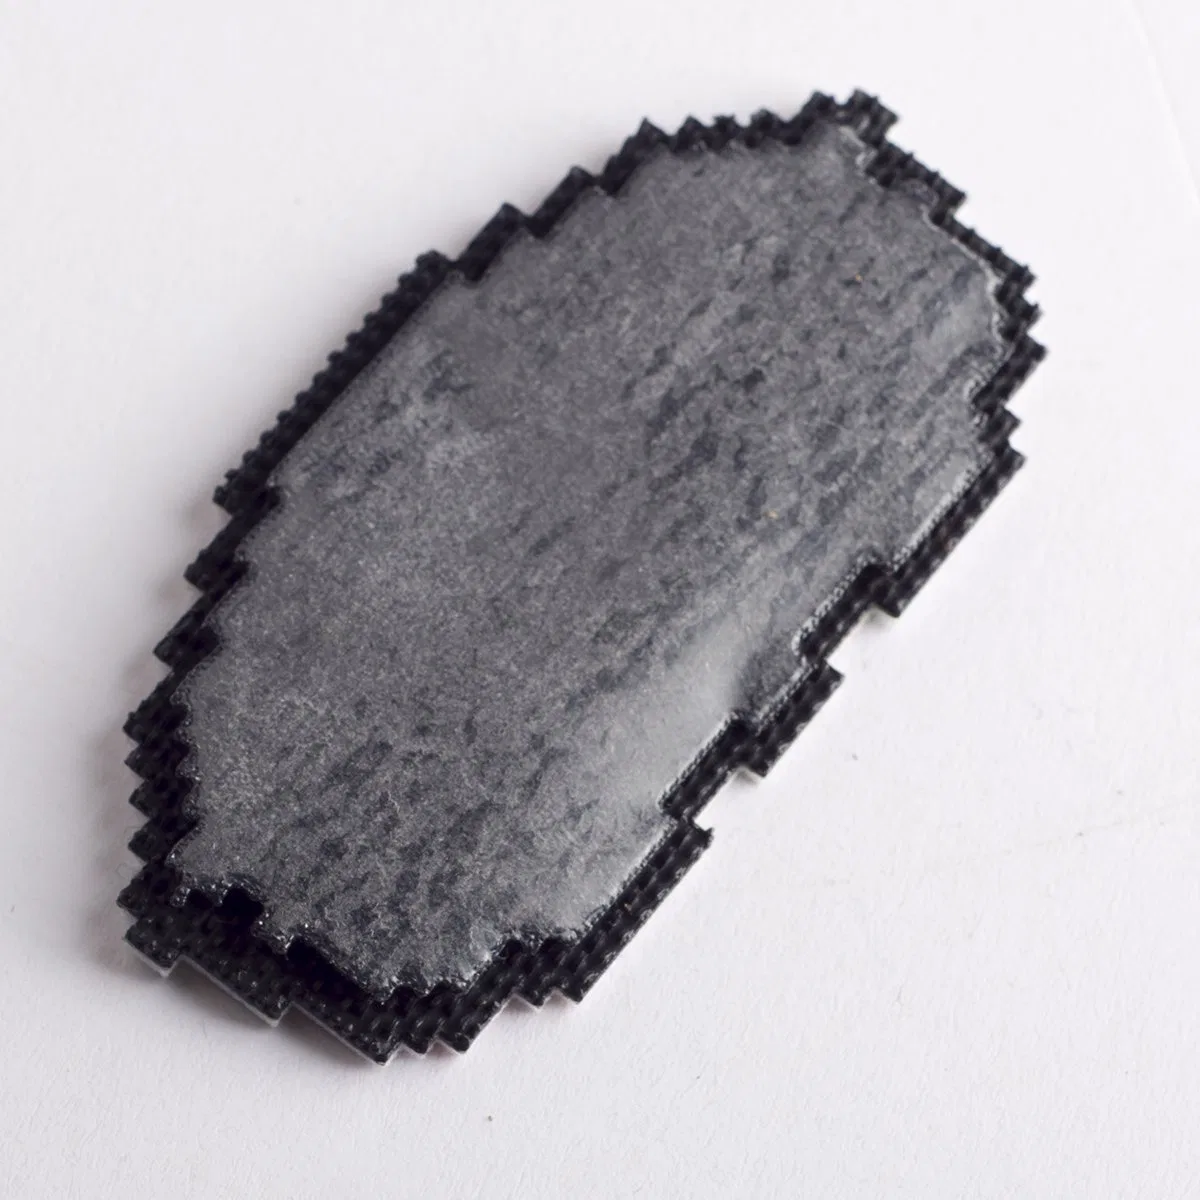
A badge request should explain which areas are stitched, which background remains visible and how the edge follows the artwork. Give finished width and height, then attach a labeled drawing showing the front, profile and reverse. If the badge shape is irregular, mark the intended outer cut path rather than asking Teebling to infer it from a colored background.
Embroidery builds an image through stitches, direction and density rather than screen pixels. Review the visual hierarchy at one-to-one scale and state what must remain exact.
Confirm spelling, capitalization, punctuation and numbers outside the artwork file. Small words may need more open spacing or a larger badge to remain readable.
Identify the feature that carries recognition. If fine internal detail becomes crowded, simplify secondary information before changing the core silhouette.
Show which areas are full fields, open ground, borders or line details. A color mockup should not leave the stitch role ambiguous.
Name each color by artwork component and provide a physical direction. Review the approved sample under consistent light rather than relying on screen display alone.
Put the project, design, size and revision on every proof and sample photo. Similar badge versions are easier to quote, approve, pack and reorder when their identity is stable.
Share the target garment, fabric information, surface finish and placement. Use a representative trial to confirm the badge and application process for that combination.
If heat is used for placement and stitching provides the final attachment, show the seam path, thread direction and visible edge allowance. Approve both steps on the representative garment.
For hook-and-loop, removable or project-specific constructions, submit the full requirement as a separate badge build. Do not treat those systems as interchangeable with a heat transfer backing.
A representative trial connects the badge specification to the garment production process. Record enough detail that the accepted result can be understood later.
GARMENTRecord product style, fabric composition, color, texture, surface finish and the exact application zone. Keep a representative panel when the final garment is not yet available.
PLACEShow the finished badge location from a stable seam, edge or pocket. Check visual level while the garment is worn or shaped, not only laid flat.
PROCESSRecord equipment, protective layers, time, temperature, pressure direction, cooling and handling used for the accepted application. Do not transfer settings from an unrelated badge or fabric without review.
INSPECTCheck the badge face, all edges, surrounding fabric and reverse. Move the garment naturally around the placement and photograph any point that needs revision.
One beauty image cannot prove the whole badge. Use a consistent photo set and label it with the sample revision so feedback remains specific.
Exact file, spelling, true-size view and protected design features.
Finished dimensions, outer shape, border and orientation.
Approved colors linked to every fill, outline and detail.
Requested construction and the exact representative garment trial.
Measured location, visual level and garment reference.
Quantity and bundle label for each design, size, color and backing version.
When reordering, quote the archived case file and identify every change. New artwork, dimensions, thread palette, backing, fabric or placement may need another Teebling review before it is treated as equivalent.
Explain the badge’s role, then attach the editable artwork, true-size construction drawing, target garment, measured placement and variant line list. Teebling can review sampling and commercial details from the complete intended system instead of an isolated logo image.
These answers frame an initial inquiry. The project-specific sample, garment trial and documented application process govern the approved Teebling order.
Provide editable artwork, exact finished dimensions, thread color direction, edge preference, target garment and placement, requested backing direction, fabric information, quantity by design, packing requirements, destination and requested delivery window.
Small text must be reviewed at the real finished size. Narrow counters, tight spacing and thin lines may need to be opened or simplified so the physical badge remains readable. Approve a sample rather than relying only on an enlarged digital rendering.
No universal process should be assumed. Fabric composition, texture, finish, construction and placement can change the trial. Use the intended garment or a representative panel and document the equipment and process used for the accepted result.
Check finished dimensions, spelling, stitch coverage, small details, thread colors, border, backing, placement and the representative application result. Photograph the face, edge, reverse and garment context under a labeled sample revision.
Separate designs, sizes, border colors and backing versions, then label each bundle with the approved project code and count. Include a garment-placement matrix when several products or application zones are involved.