


Line art
Freeze the exterior contour and center axis at physical scale.
Develop a pearl-and-crystal butterfly as a measured component, not a vague sparkle reference. This Teebling sourcing path separates wing geometry, material zones, felt support, hot-melt evidence, garment testing and packing orientation so the approved specimen remains identifiable.
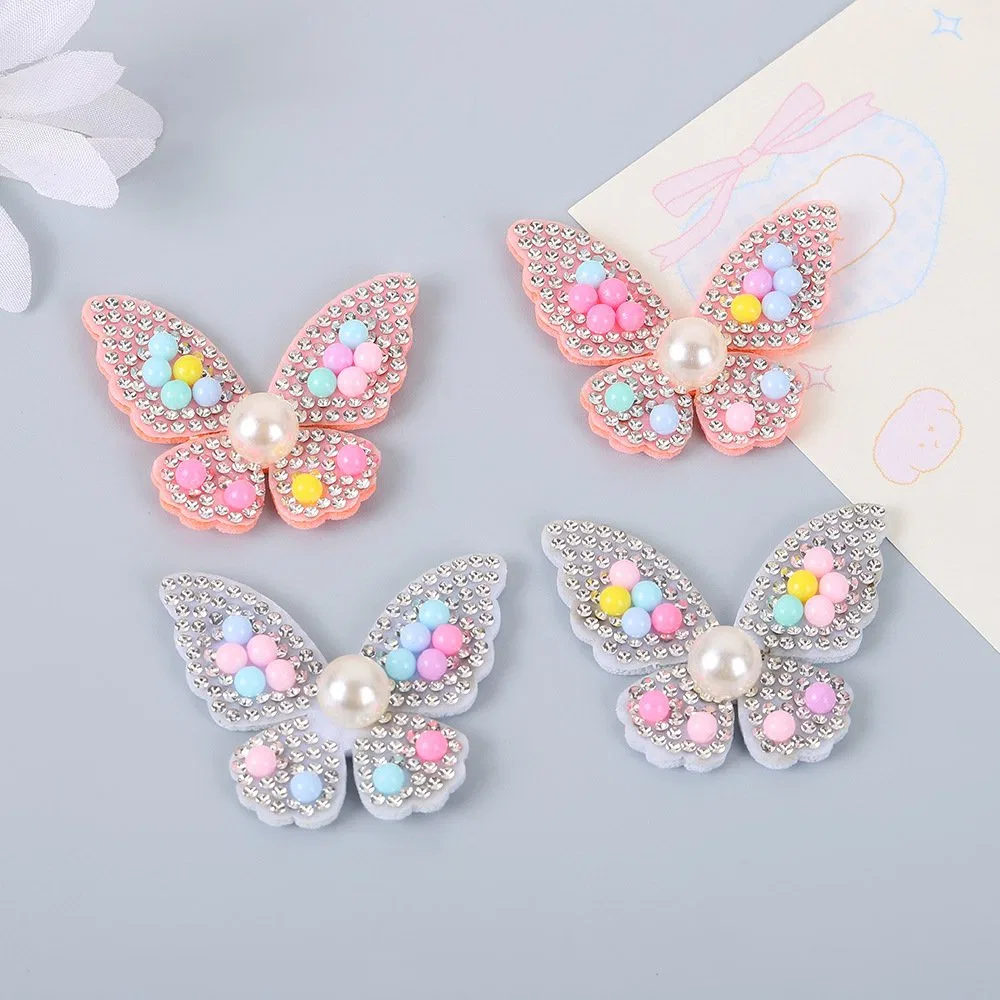
Begin with a final-size silhouette that names the head, body, upper wings, lower wings, outer perimeter and center axis. Mark which areas carry pearls, which receive rhinestones and which expose the felt ground. Indicate whether the wing tips remain sharp, rounded or intentionally irregular. A rhinestone butterfly applique request becomes production-ready only when the decorative face and its textile support can be discussed separately. Do not infer the reverse construction from a front photograph. Ask for a reverse-side image and a supplier statement naming the proposed attachment. The related butterfly applique comparison helps distinguish flat felt pieces from other dimensional butterfly formats.
Freeze the exterior contour and center axis at physical scale.
Assign pearls, crystals and visible felt to named regions.
Photograph and identify the backing proposed for the sample.
Approve orientation and position on the receiving product.
The central reference is Product 58, item YW-QS-010. Its database row lists rhinestone and pearl with felt fabric, 4.6 × 4 cm and MOQ 100. Product 56 is larger at 6 × 5 cm and records rhinestone with felt fabric but does not list pearls. Product 57 is not a butterfly; it contributes an adjacent pearl-and-rhinestone patch example at 5.3 × 3.2 cm, MOQ 100. These entries support comparison, not a promise that color, backing or detail can be exchanged between SKUs. Treat every new colorway and dimension as a sample request.
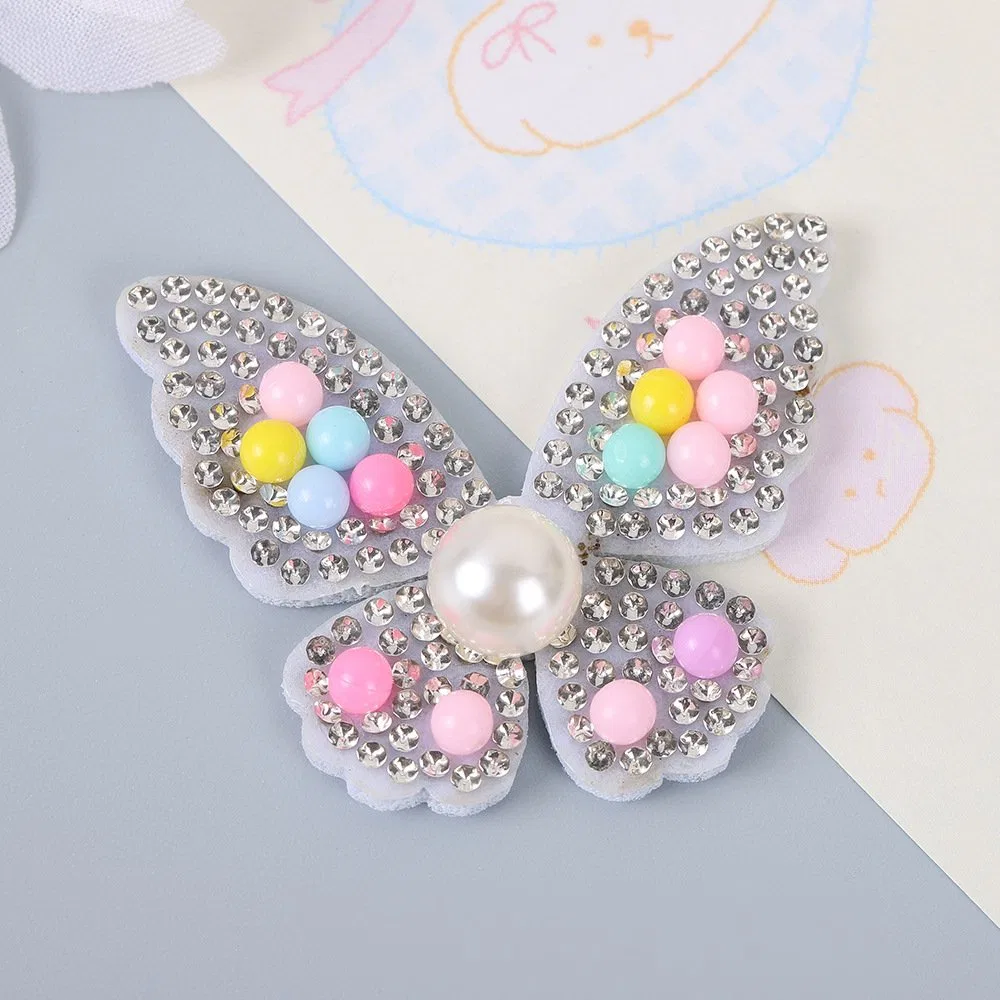
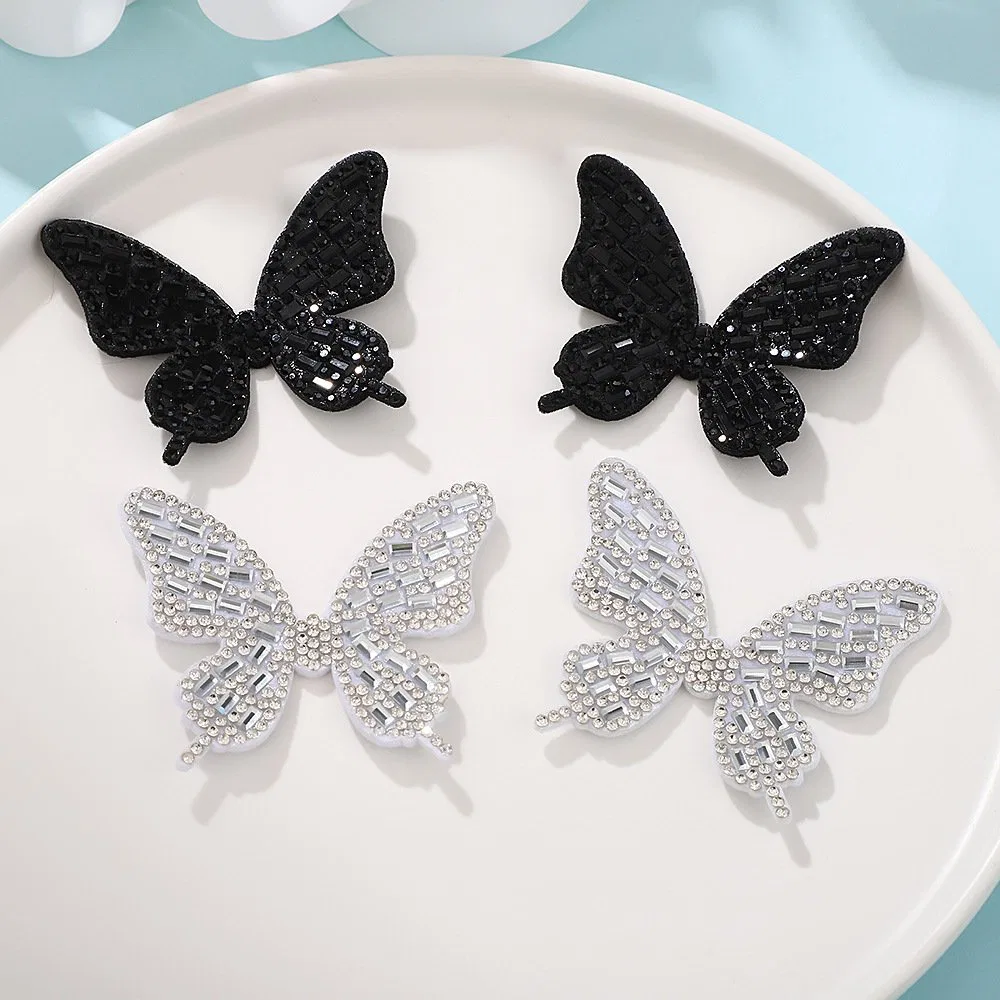
Product names and database fields establish recorded identity. Supplier drawings, reverse views and approved samples must establish the proposed variant.
Place a vertical centerline through the body and add horizontal references at the widest upper- and lower-wing points. Measure corresponding tips from the center rather than judging a tilted photograph. Pair each left-side pearl or major crystal with its intended right-side counterpart, then flag deliberate exceptions. Check negative spaces near the body because small gaps may close visually when the patch is viewed on a shirt. Review the outline at actual size and at the normal viewing distance. If the concept is intentionally dynamic, document the asymmetry so receiving inspection does not reject the approved art. Keep this geometry record with the version number supplied for tooling or placement.
Record tip reach, pearl rows, crystal anchors and felt exposure from the center axis.
Compare the paired measurements while preserving any authorized visual difference.
Use separate callouts for pearl size direction, pearl color, crystal color, crystal size mix, felt color and thread or edge treatment if present. The phrase pearl patches does not communicate how much of the face is pearl, whether crystals outline the wings or how the base appears between components. Supply reference chips or an approved physical sample when color matters, because screen images cannot establish material equivalence. Ask how the chosen elements influence minimum detail and edge clearance, then let the supplier mark limitations on the production drawing. For broader crystal-component choices, consult the pearl patch assortment guide and rhinestone felt patch guide.
Name finish, color direction and the regions it occupies.
Separate outline stones, feature stones and mixed-color accents.
Approve exposed base color, contour and reverse identity.
Print the 4.6 × 4 cm reference outline and any requested alternative at one-to-one scale. Position paper shapes on the intended garment area, then record offsets from stable construction points rather than from a changing trim edge. Decide whether the butterfly reads upright, angled or paired; include a directional arrow on every bag and work instruction. Check seams, pockets, plackets, stretch zones and curved surfaces before approving the location. An orientation that looks balanced on a flat panel may rotate once worn, so review a dressed or formed sample when placement is important. Separate approval by garment size if grading changes the relationship between patch and body panel.
Garment SKU, placement anchor, centerline angle, face direction, finished patch revision and approving party belong on one card.
Protect pearls and stones from neighboring hardware, folding pressure and uncontrolled bending during sample circulation.
Product 58 includes hot-melt adhesive wording, yet that description cannot supply universal pressing conditions. Obtain the current supplier instruction for the exact sample, then identify garment composition, surface, finish, color, placement, equipment, platen and protective layers. Mark every trial panel before application. Record the instructed sequence, observed equipment values, cooling route and release behavior without silently changing the method. Inspect face alignment, edge contact, garment marking, pearl movement and crystal movement immediately and after the buyer-defined care exposure. Approval should name the tested combination and exclude untested fabrics, coatings or placements. The garment backing selector provides a wider decision framework.
Lock sample revision, garment lot, placement and supplied application instruction.
Capture machine, support, sequence, observed values and any documented deviation.
Photograph the same marked wing, body and edge windows through the planned review points.
State exactly which combination the evidence represents before a production instruction is issued.
Pack pieces face-up on a support that prevents uncontrolled folding, with separators chosen so they do not snag pearls or stones. Define counted inner quantities, product code, artwork revision, colorway, orientation arrow, lot reference and carton allocation. If several butterflies share one order, assign a distinct SKU rather than relying on visual sorting. The quotation should identify finished size, materials by zone, requested attachment, garment test needs, total quantity, color split, unit-pack expectation and destination split. Ask the supplier to state which details remain unconfirmed and which sample evidence will close them. A clear exception list is more useful than a broad promise of compatibility.
Prevent abrasive contact across pearl and crystal surfaces.
Keep size, palette, backing and artwork revision machine-readable or plainly labeled.
Reconcile inner packs to the purchase allocation before cartons are released.
The answers below keep database facts, requested custom details and garment-trial conclusions in separate evidence layers.
Product 58 is the principal evidence: it records rhinestone, pearl and felt fabric, a 4.6 by 4 cm size, item code YW-QS-010, a 100-piece MOQ and hot-melt adhesive wording in its product name.
No. Product 56 records rhinestone and felt fabric at 6 by 5 cm without listing pearls, so buyers should identify the required material zones instead of treating all butterfly references as equivalent.
The catalog wording identifies a backing direction, not universal garment compatibility. Obtain the exact supplier instruction and test the production-representative fabric, finish, placement and equipment.
Use a centered full-size proof with a vertical datum, compare corresponding pearl and crystal positions, and record any intentionally asymmetric artwork before the physical sample is released.
Provide finished dimensions, artwork ownership, pearl and rhinestone color zones, felt color, requested backing, garment evidence, quantity, packaging orientation, assortment labels and the required sample-review sequence.