


Artwork plate
Supply vector paths, a flattened visual, intended dimensions, orientation, and a zone legend. Mark protected proportions and elements that cannot be altered without brand approval.
3D silicone label artwork needs more than a flat logo. It must communicate which surfaces rise, which areas recess, where colors stop, how the outer edge behaves, and what the supplier may adjust after reviewing the chosen size and construction. This blueprint organizes those decisions without inventing mold limits.

Preserve a clean master logo before creating manufacturing callouts. One plate should show the approved two-dimensional brand geometry with editable paths, named typefaces converted to outlines where appropriate, and a clear color schedule. A second plate should explain physical intent: base field, raised face, recessed channel, edge, and any area that remains flush. Do not distort the source logo merely to make the relief diagram look dramatic.
Supply vector paths, a flattened visual, intended dimensions, orientation, and a zone legend. Mark protected proportions and elements that cannot be altered without brand approval.
Use labels such as raised, recessed, and level as design intent. Leave numerical heights open until the supplier confirms a feasible profile for the selected product and size.
A raised silicone heat transfer is not defined by a perspective rendering alone. The TPU relief-thickness guide provides a separate way to record profile questions, while this page owns the mold-oriented artwork packet.
Catalog examples can anchor appearance and inquiry language, but their stored fields must not be expanded into a tooling specification. Product 43 records item code DG-ZK-002, material TPU silicone, size 5 cm, and MOQ 100. Product 48 records GZ-FC-007, TPU and Silicone, 6 × 8 cm, and MOQ 100. Product 50 records GZ-FC-009, Silicone, 6 × 8 cm, and MOQ 100.
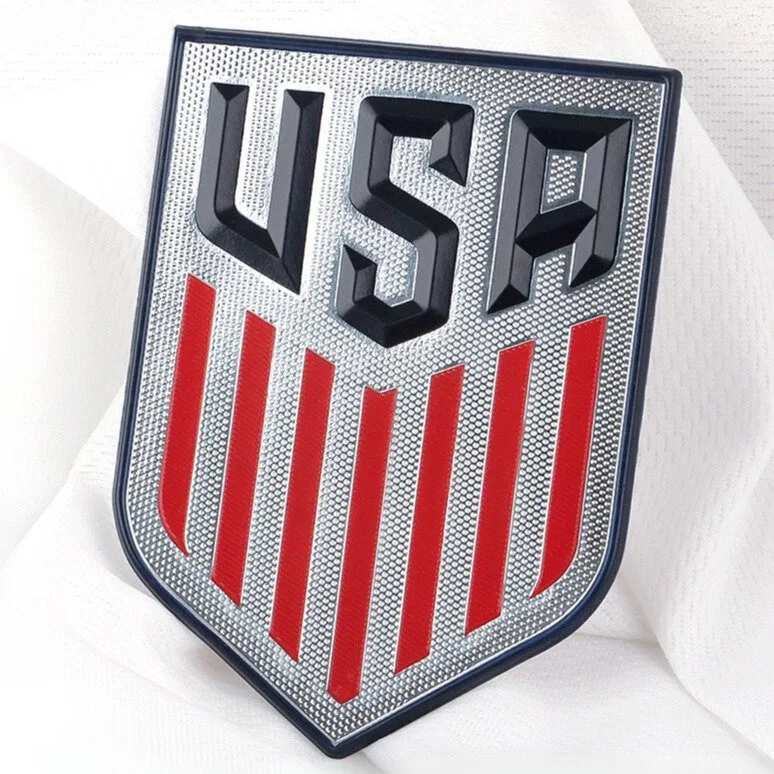
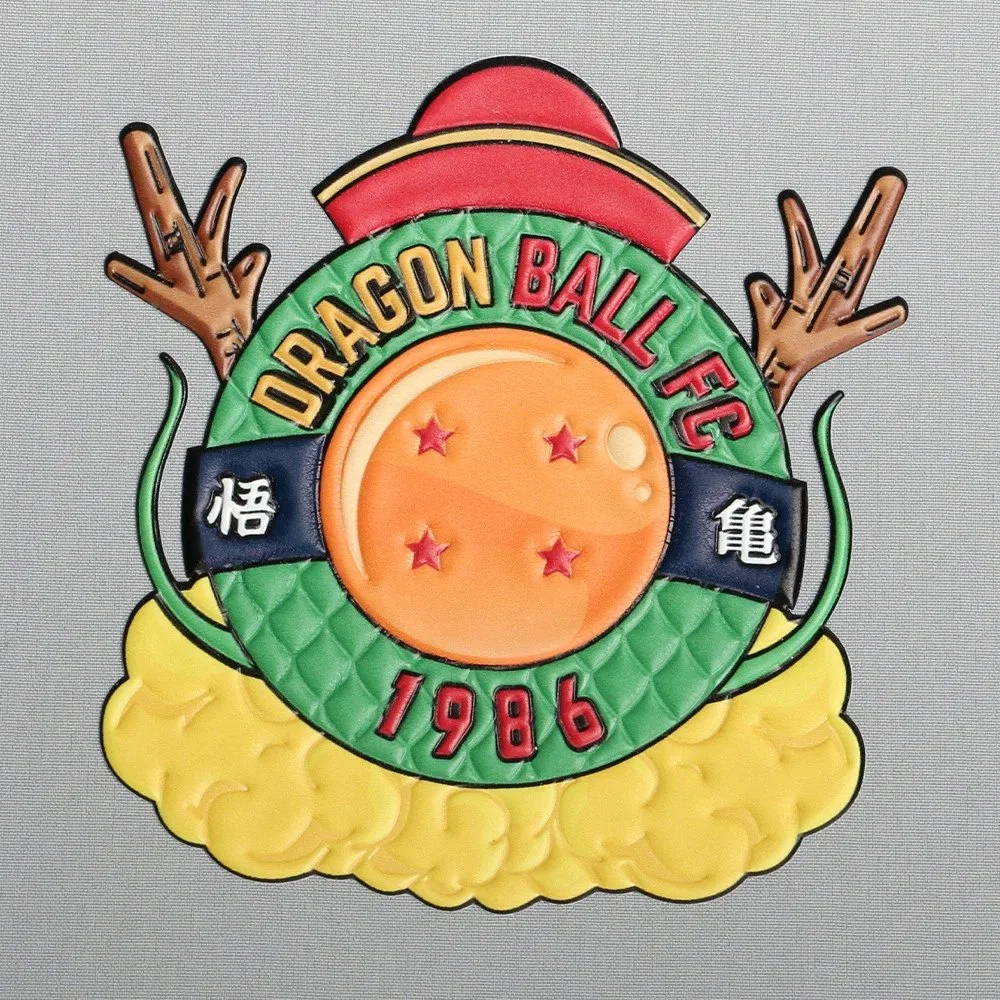
No inspected row states cavity depth, tooling method, draft, relief height, minimum wall, minimum gap, corner radius, or mold ownership. Those are project questions for Teebling and the manufacturing team after artwork and target dimensions are reviewed.
Develop a relief map that can be read without interpreting shadows. Give each level a code such as L0, L1, and L2, then connect every closed path to one code. A simple project might use a base, a raised logo, and a recessed line; a complex emblem may require supplier review to reduce the number of transitions. Indicate whether isolated islands belong to the same level even when they do not touch.
Mark the broad supporting plane and show whether it runs to the finished perimeter.
Assign the principal logo face, lettering, or icon to a clearly distinguished level.
Reserve secondary elevation for a justified detail rather than adding height to every small mark.
Draw intentional grooves as geometry; do not communicate them only with a darker fill.
Use section arrows across important transitions and show the reading direction. The numerical profile remains “supplier to confirm” unless an approved technical drawing provides it. A dramatic 3D rendering can accompany the packet, but it cannot replace the coded plan and cross-section.
Color separation in custom 3D silicone patches should be visible in the vector construction. Close every intended fill, number each region, and flag boundaries where one physical level meets another. If a narrow line exists only to separate colors, label that function so the supplier can assess whether the line survives at final size. Avoid raster effects, soft gradients, transparent blends, and shadows unless they are explicitly reference-only.
The TPU color-matching guide explains reference control. This mold-artwork page does not promise that different material surfaces will reproduce the same reference identically.
Small lettering, narrow gaps, sharp internal corners, and thin free-standing shapes deserve a marked review list. State the intended finished dimensions before asking whether a detail is feasible, because the same vector geometry behaves differently when scaled. Enlarge critical areas in the drawing and identify which visual relationships matter most if the supplier proposes simplification. Never accept an untracked cleanup that changes a protected trademark shape.
Show the final silhouette, edge color, and any required clear space around the logo. Ask how the proposed attachment construction affects that edge.
Circle enclosed spaces and punctuation that must remain recognizable. Request a proof at actual size rather than judging a magnified screen.
List spikes, tight corners, islands, and narrow bridges so manufacturing feedback can cite exact feature IDs.
Supplier feedback should return as a redline or revised proof, not a verbal “artwork adjusted.” The buyer can approve the alteration, supply alternative art, or change finished size while retaining a clear revision trail.
The artwork packet should invite specific production answers. Request confirmation of achievable levels, treatment of fine features, color-boundary construction, perimeter solution, proposed dimensions, and any required artwork modifications. If tooling is involved, ask for current commercial terms, revision consequences, sample sequence, and ownership or reuse conditions. Those answers vary by project and are not supplied by the catalog fields cited here.
Which files will control production? What geometry has been changed? Which dimensions are supplier-proposed? Does a new size or revised relief require another review? What physical sample will be supplied, and what constitutes buyer approval? How should the approved component be identified on a repeat order?
Keep cost and timing as quoted variables. This guide does not assert a tooling fee, lead time, sampling duration, delivery date, or guaranteed number of revisions.
Once a construction is nominated, the application guide helps frame a separate garment trial. Mold approval alone does not establish application compatibility.
Review the first sample with the flat artwork, relief map, color schedule, critical-detail enlargements, and supplier-approved technical revision open together. Verify item identity before assessing appearance. Measure the finished outline using the agreed method, orient the piece consistently, and inspect each coded level and boundary. Photograph findings with feature labels so comments remain actionable.
Geometry: does the outline and protected brand shape correspond with the approved art? Relief: do raised, level, and recessed areas follow the coded hierarchy? Color: are all numbered areas present and correctly assigned? Detail: are the buyer-designated features legible at actual size? Disposition: accept, revise, or reject with one consolidated list.
If the sample changes, issue a new revision and identify whether existing tooling or artwork is superseded. Retain the accepted physical piece as a controlled master rather than relying on memory or a compressed image.
Use these responses to keep the design conversation precise while leaving production limits and tooling decisions with the supplier responsible for the selected build.
No. Vector paths help define geometry, but the supplier still needs intended finished size, positive and recessed zones, color boundaries, edge treatment, profile direction, and permission to resolve details that cannot be manufactured as drawn.
None of the inspected product rows records cavity depth, relief height, wall angle, draft, minimum line, corner radius, or tooling dimensions. Request a project-specific manufacturability review.
No. Keep the confirmed material wording attached to the selected reference. Product 43 records TPU silicone, Product 48 records TPU and Silicone, and Product 50 records Silicone.
Mark it as a critical feature, provide the editable source, state whether simplification is allowed, and ask the supplier to identify a feasible solution at the intended finished size before approving tooling.
Confirm project identity, finished outline, dimensions, relief hierarchy, color boundaries, edge behavior, fine-detail legibility, garment placement, and correspondence with the supplier-approved artwork revision.
A complete request includes authorized vector art, actual-size proof, intended dimensions, L-coded relief plan, cross-sections, numbered color map, critical-feature register, receiving garment, quantity, and sample approval owner. Cite the catalog item only for facts actually recorded.
Release only one active artwork revision, with superseded files clearly archived. The quote and purchase documents should cite the same dimensions, construction reference, relief drawing, color schedule, sample requirement, and approval path. Mark unknown production limits as supplier confirmations rather than filling them with assumptions.
This disciplined packet gives a silicone logo patch solutions inquiry enough structure for meaningful review while protecting the distinction between buyer design intent and manufacturer-owned feasibility decisions.