


Normal-light pane
Judge outer shape, letter counters, color boundaries, edge, scale and contrast with the receiving textile. Use neutral, repeatable lighting and include the complete label rather than a cropped highlight.
A reflective mark must remain a coherent logo before any directed light reaches it. Develop the ordinary-view silhouette, spacing and color relationships, then define a separate physical sample observation for the intended reflective effect without inventing performance from a screen simulation.
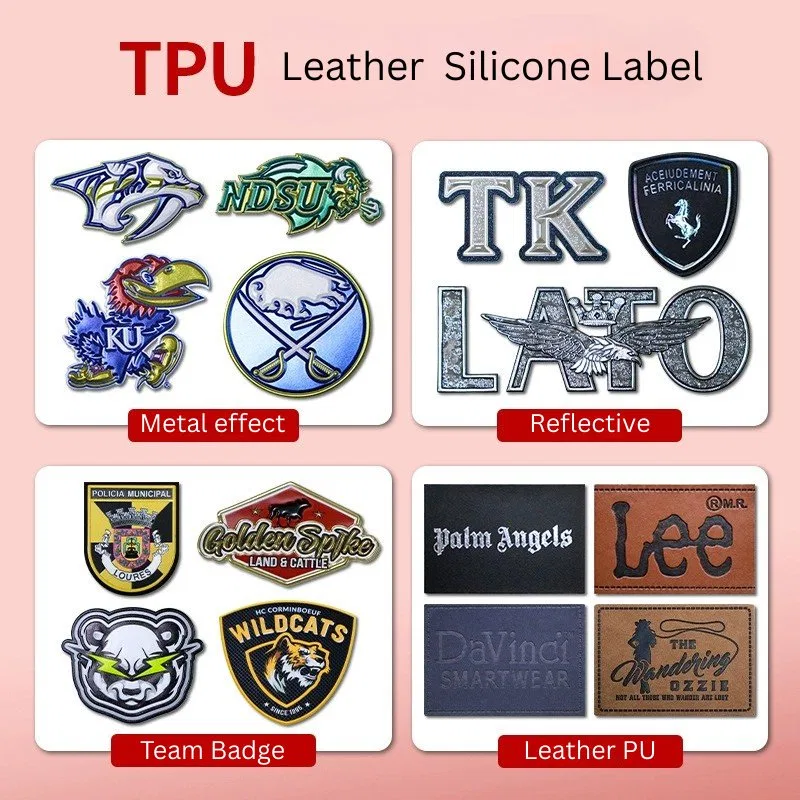
Separate the two review questions. First ask whether the logo is readable under ordinary display conditions on the chosen garment color. Then ask how the sampled reflective area responds under a documented directed-light arrangement. A strong flash photograph cannot rescue an unclear everyday silhouette.
Judge outer shape, letter counters, color boundaries, edge, scale and contrast with the receiving textile. Use neutral, repeatable lighting and include the complete label rather than a cropped highlight.
Record source position, camera position, distance, angle and ambient context selected by the buyer. Describe visible observations without converting them into an unverified safety or certification statement.
Reflective heat transfer label artwork should carry one revision across both panes. If the reflective zone moves after the ordinary view is approved, advance the composite proof and review it again.
Product 51 is Custom Reflective TPU Heat Transfer Labels, recorded as TPU and PVC at 5 × 8 cm, MOQ 100 and code GZ-FC-010. The Product 44 listing names TPU Heat Transfer Logo Labels for Clothing; its fields record TPU and silicone, 5 × 3 cm, MOQ 100 and item code GZ-FC-003. Product 44's name does not state reflective performance.

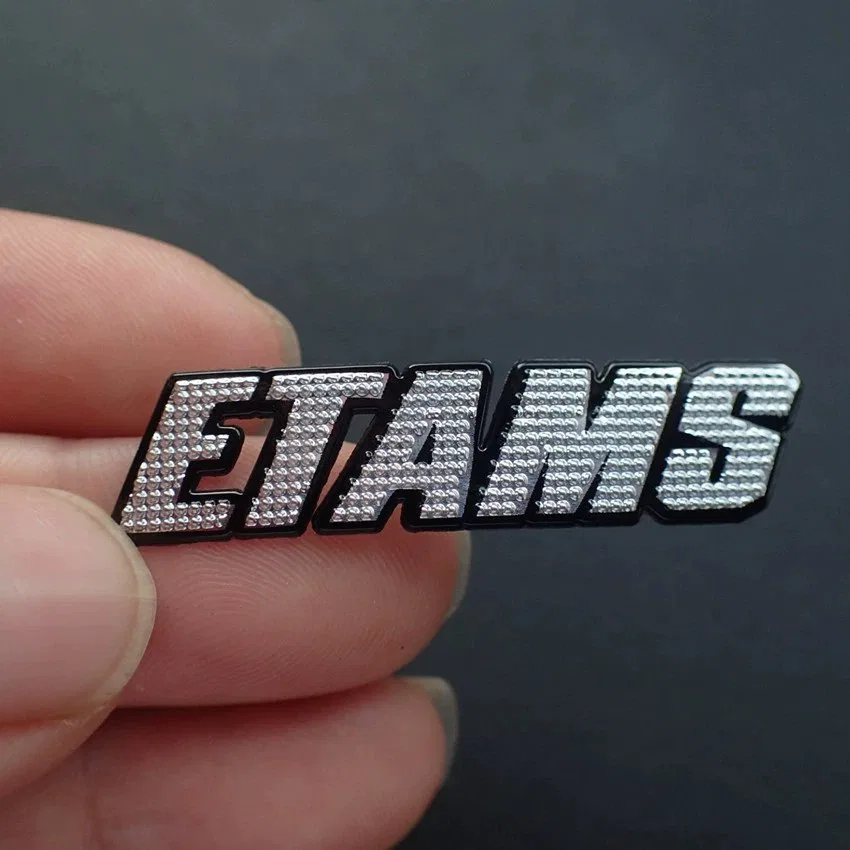
Inspect Product 45, Product 51 and Product 44 before citing their records.
Reduce the artwork to one solid shape and inspect it at finished physical size. If the brand becomes unrecognizable without internal color, simplify the boundary, strengthen distinctive projections or reconsider the requested footprint. The silhouette should also remain clear against every garment color included in the order.
Use a closed, editable path with intentional corners, curves and cutouts.
Review the mark at the actual product scale and intended viewing context.
Place the outline on light, midtone and dark ordered colors rather than a transparent grid.
Mark top, left and any directional relationship that must survive packing and application.
Specify whether a visible border belongs to the art or only to a digital selection box.
A TPU heat transfer logo with a clear silhouette gives the reflective zone a stable visual container; material response remains a separate sample observation.
Letter counters, narrow gaps and small garment-visible openings can disappear when artwork is reduced or when a border expands. Print the proof at 100 percent, circle every critical opening and ask the supplier to show any manufacturing adjustment on the same revision. Do not authorize blanket cleanup without seeing which shapes changed.
Check A, B, D, O, P and R forms as complete openings rather than screen pixels.
Measure negative paths that separate adjacent symbols or reflective fields.
Identify places where two colors or relief regions must not merge.
State which holes intentionally reveal the receiving textile.
Use callouts to show every accepted enlargement, bridge or removal.
The label artwork requirements page covers source-file packaging around this contrast map.
Create a numbered flat-color map before adding gloss, glow or lens effects. State which zones should appear reflective, which remain ordinary and how the visible body relates to the garment. A custom heat transfer label may contain several material directions, so the supplier proposal must repeat the actual construction rather than relying on the preview's appearance.
Use physical references or defined brand targets, identify the receiving textile color and approve boundaries in ordinary light. Do not let a bright screen mode stand in for a sample.
Hatch the intended reflective regions on a separate layer and show their relationship to text, borders and negative space. Request current supplier evidence for the chosen build.
If the order includes several label colors or garment grounds, issue a matrix and name which combinations need separate samples. Custom TPU labels should not inherit contrast approval from a colorway that was never evaluated.
A reflective photograph depends on the relationship among source, label, camera and ambient light. Write the buyer's observation setup so samples can be compared consistently. This is an appearance review unless a separate, applicable standard and qualified evidence are explicitly part of the project.
Use the reflective label sourcing guide for broader commercial questions and evidence boundaries.
Deliver the authorized vector master, expanded or clearly defined critical paths, physical dimensions, flat color map, response-zone overlay, garment mockup and a locked PDF at finished scale. Give every file the same project and revision code. A composite rendering may accompany the package, but it must not be the only record of production geometry.
Project owner; artwork rights; product reference or custom request; width and height; material direction; ordinary color targets; reflective zone legend; edge and relief intention; garment style and color; placement coordinates; quantity per version; sample setup; approval owner; requested milestone.
Ask Teebling to identify proposed material wording, achievable detail changes and the sample route on the returned proof. Preserve any supplier-adjusted vector separately from the buyer's source.
The TPU label application workflow should receive the approved art code and exact garment pairing.
The answers keep ordinary legibility, reflective intent, catalog facts and physical sample evidence in separate review lanes.
Approve the silhouette, counters, line relationships and ordinary-light colors first, then inspect a coded physical sample under the buyer-defined directed-light setup. Keep both observations linked to one revision.
No. Catalog images identify references but do not establish intensity, viewing distance, angle, certification or service performance. Those requirements need written supplier evidence and a defined sample test.
Product 45 records 6 by 8 cm with TPU and silicone leather wording. Product 51 records 5 by 8 cm with TPU and PVC wording. Both list MOQ 100 and distinct item codes.
Product 44 helps separate general TPU-and-silicone label geometry from a specifically named reflective listing. It does not serve as a reflective performance control.
Send authorized vectors, physical dimensions, silhouette proof, open-space map, color zones, ordinary-light preview, reflective intent, garment placement, revision log and sample acceptance method.
Attach the ordinary-light proof, response-zone overlay, dimensioned file, garment placement and coded physical sample record to the purchase line. State exactly which visual observations were accepted and which technical or performance properties remain subject to written supplier confirmation.
A new size, color boundary, reflective allocation or garment ground requires an updated review. That discipline lets the artwork evolve without allowing an impressive photograph to become unsupported evidence for a different label.