
Read Our Refund & Return Information
Brand mapping studio / wholesale hotfix

Custom Rhinestone Logo Transfers That Preserve Identity

A successful rhinestone logo is not a ready-made motif with a name added. It is a physical interpretation of approved brand artwork, mapped around silhouette, negative space, finished scale and garment placement. Teebling helps buyers turn that identity into a reviewable stone plan before a sample or wholesale order is approved.

Review custom transfer planning
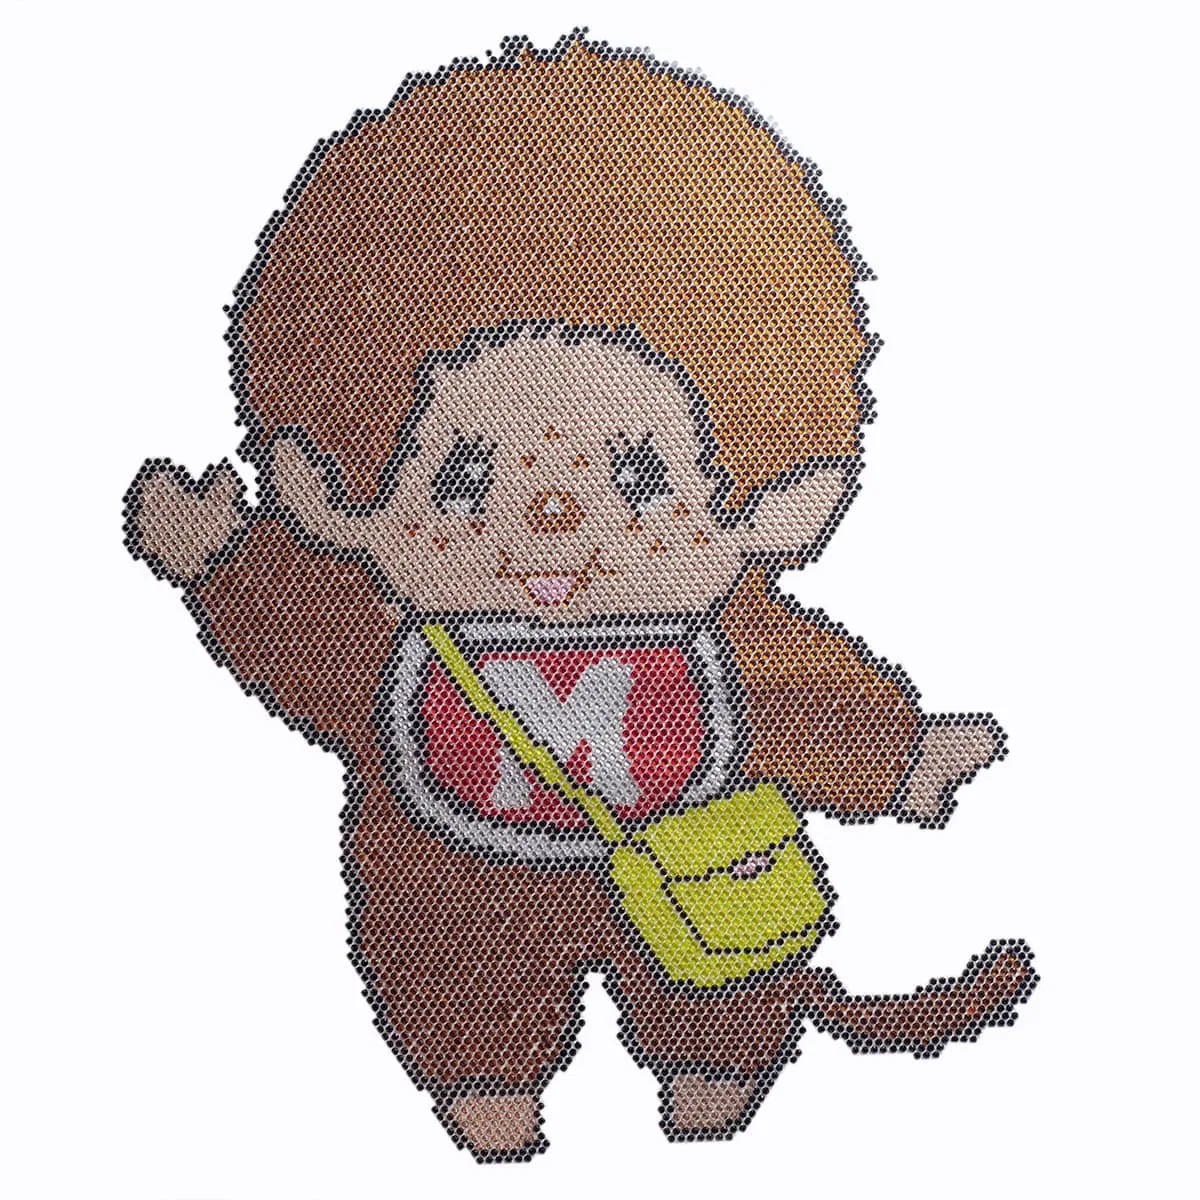
Custom rhinestone transfer used as a logo stone-mapping reference
Map the logo at its intended physical size, not only as an enlarged screen graphic.
Primary contour

Identify the outline that carries recognition at normal viewing distance. If the mark has several lockups, state which approved version belongs on the garment rather than asking the mapper to choose.

Visual hierarchy

Rank the symbol, wordmark, initials and secondary text. That order guides which elements must survive when the finished transfer is smaller than the original brand artwork.

Restricted changes

Record elements that may not be redrawn, moved or simplified. If an adjustment is needed for a feasible map, it should appear in the proof for explicit approval.

Recognition check

View the proposed map at actual size and on a placement mockup. A correct outline on a large monitor can still lose its identity on a chest or sleeve.

Detail zoom

Negative Space and Fine Detail

Rhinestones create discrete points rather than continuous printed strokes. Counters, gaps and separations need enough physical room to remain visible between neighboring stones.

ZOOM / 01

Letter counters

Inspect the open spaces inside letters and symbols. When a counter closes at finished scale, the character may read as a different shape. The mapped proof should show any widening or removal rather than hiding it inside a technical conversion.
ZOOM / 02

Narrow intersections

Where strokes cross or taper, decide whether the map follows both paths, prioritizes one, or creates a simplified junction. Protecting the visual direction often matters more than copying every vector point.

ZOOM / 03

Isolated details

Small dots, punctuation and detached symbols need a clear purpose and sufficient separation. Confirm whether they remain essential to brand recognition or can be omitted with the brand owner’s approval.

Keep the original artwork beside the mapped version during review. Redline the differences, name the revision and show both an enlarged inspection view and an actual-size view. This makes the approval about a known physical interpretation rather than a vague promise to “match the logo.”

Node-map sequence

Stone Map Rhythm

Spacing and alignment create the visual flow of a rhinestone logo. The plan should use intentional rows, curves and transitions instead of filling every available area without hierarchy.

Anchor points

Place important turns, terminals and corners first so the structure of the mark remains stable.

Curve cadence

Review how point spacing follows arcs and whether the curve appears smooth at intended distance.

Density zones

Use denser and lighter regions only when they support the approved visual hierarchy.

Transitions

Avoid abrupt changes that look accidental where lines widen, narrow or meet color boundaries.

Edge discipline

Check every outer row against the accepted silhouette and garment placement field.

A stone map is also an identification artifact. Give it a stable file name, finished dimensions and a revision number. When an arrangement changes, issue a new proof instead of overwriting the old image and relying on email chronology.

Color-zone bands

Brand Color Zones

Screen color is a direction, not a complete physical specification. Name each intended zone and connect it to the buyer’s approved reference so feedback can identify the affected area precisely.

ZONE A

Primary identity color

Mark the area that carries the strongest brand recognition and confirm how it should appear beside the garment color.

ZONE B

Secondary contrast

Identify supporting lines, borders or symbols and document whether their purpose is separation, emphasis or a distinct brand color.

ZONE C

Neutral or highlight

State whether clear, metallic-looking or other highlight areas are intended to merge visually or remain visibly separate.

Ask for representative physical references when color appearance is important. Review the mapped sample under the buyer’s relevant lighting context and against the actual garment color. Preserve photographs with the zone names so later comments do not depend on subjective labels such as “the brighter pink.”

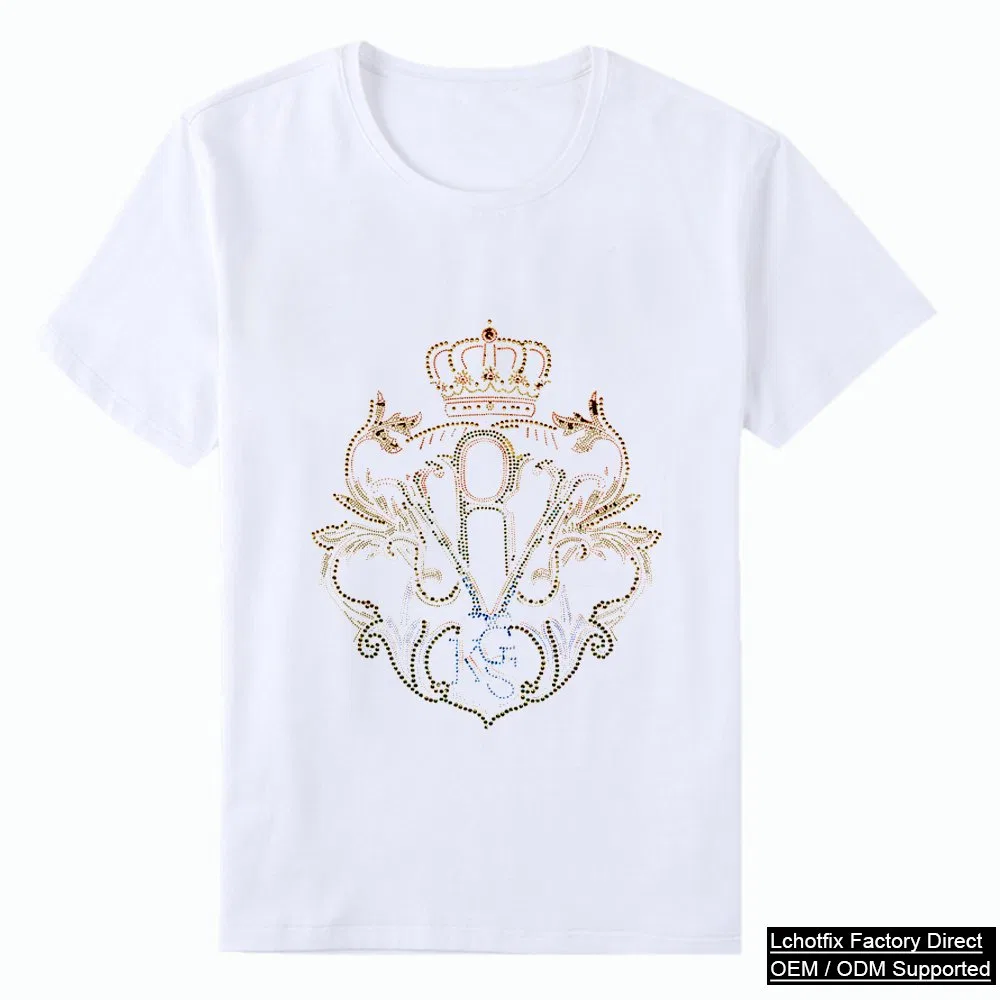
Crown monogram rhinestone logo transfer used for apparel placement planning
A monogram reference shows why outline, spacing and placement must be evaluated together.
Garment field

Finished Size and Placement

Specify the transfer in physical units and show its intended location on the garment or accessory. The usable field should account for seams, openings, curves and any nearby decoration.

Chest mark

Confirm the measured field, relationship to seams and expected viewing distance. Small type may need a dedicated simplified lockup.

Back graphic

Map the available panel and decide how the logo sits relative to shoulder, side and lower boundaries.

Sleeve or leg

Consider narrow geometry, orientation and the movement of the receiving area before approving scale.

Accessory panel

Identify curves, pockets, straps or hardware and show the logo on the actual product outline.

If one logo is ordered at several sizes, treat each map as a separate configuration. Reducing the dimensions may change point spacing and detail, so a large approved map should not be scaled down automatically.

FILE / 01

Approved source

Provide the current vector logo with editable paths where available. Keep type information and licensed brand assets under the buyer’s control.

Required context
FILE / 02

Placement reference

Add a garment photograph or technical drawing with the intended area, orientation and physical dimensions marked.

Scale context
FILE / 03

Color reference

Name each visual zone and attach the buyer-approved reference that should guide physical sample comparison.

Zone context
FILE / 04

Variant schedule

List every logo lockup, size and colorway with its expected quantity so separate maps are not combined accidentally.

Order context
Mapped proof

Mapped Proof and Garment Sample

The digital proof and applied garment sample answer different questions. Use the proof to inspect mapping logic, then use the sample to judge physical scale, appearance and placement in context.

Compare source and map

Check silhouette, hierarchy, negative space, color zones and any simplified feature. Review enlarged detail and actual-size output, then record numbered comments against the current revision.

Inspect the transfer object

Confirm the mapped arrangement and carrier identity represented by the sample. Keep the face protected from casual changes while the application pairing is tested.

Apply to the intended fabric

Use a documented, construction-specific trial on the actual or representative garment. Do not infer universal settings from another fabric or transfer.

Approve in placement

Photograph the full garment and close details. Name the approved map, garment, placement and trial so the evidence remains useful for production release.

Specification vault

Locked Production Specification

Close development with a compact record that identifies exactly what the buyer approved. The vault should answer questions without asking a team member to remember an old conversation.

Identity lock

Logo source, mapped artwork revision, finished dimensions, orientation and stone-layout direction.

Color lock

Named zones, accepted physical references and any garment-color relationship represented by the sample.

Application lock

Receiving garment, placement, trial identity and buyer-approved process record for that pairing.

Commercial lock

Configuration quantities, packing identity, destination details and accepted sample evidence. Reopen the record when any of these inputs changes.

Brand mapping questions

Buyer Questions for Custom Rhinestone Logo Transfers

These answers help prepare a factual brief. Final mapping, application and order decisions should remain tied to the buyer’s approved artwork and garment.

What should I send for a custom rhinestone logo transfer?

Send the approved logo source, intended finished width and height, garment or accessory, placement, color references, quantity by version and any restricted artwork changes. An editable vector file is useful, while a placement photograph helps explain scale and context.

Will every small logo detail become an individual rhinestone?

Not automatically. Fine strokes, tight counters and narrow gaps must be evaluated at the requested physical size. A mapped proof should show which features remain, which are simplified and how negative space preserves recognition before the buyer approves the interpretation.

Can a rhinestone logo transfer use several colors?

Several color zones can be discussed when each zone is named and linked to an approved visual reference. The map should make boundaries clear and identify any intentionally shared or alternating areas so color feedback is not left to a screen impression alone.

Why does garment placement matter during logo mapping?

Placement establishes the usable field, viewing distance, nearby seams and the amount of movement in the receiving area. The same logo may need a different physical scale or mapping approach for a chest, sleeve, back panel or accessory.

What becomes the approved production reference?

The buyer should retain the named artwork revision, mapped proof, finished dimensions, color-zone references, stone-layout direction, transfer identity, garment placement, sample evidence and packing instructions. Any later change should open a clearly identified revision.

Upload station

Upload the Logo Transfer Brief

Send Teebling the approved vector logo, intended physical sizes, placement references, garment details, named color zones, quantity by configuration and any restricted artwork changes. The first review can then focus on the real mapping decisions.

View a transfer reference

Continue the transfer brief

Welcome Guest!