


Primary yarn field
Choose the letters or motif regions that should carry the raised chenille character and dominate the design.
Develop custom chenille patches around bold artwork, tactile yarn zones, embroidered detail, base, border, backing and the product that will receive the patch. Teebling can review varsity letters, fashion motifs and merchandise programs when the request defines physical dimensions, material direction, quantities, sample approval and packing instead of relying on a mood image alone.
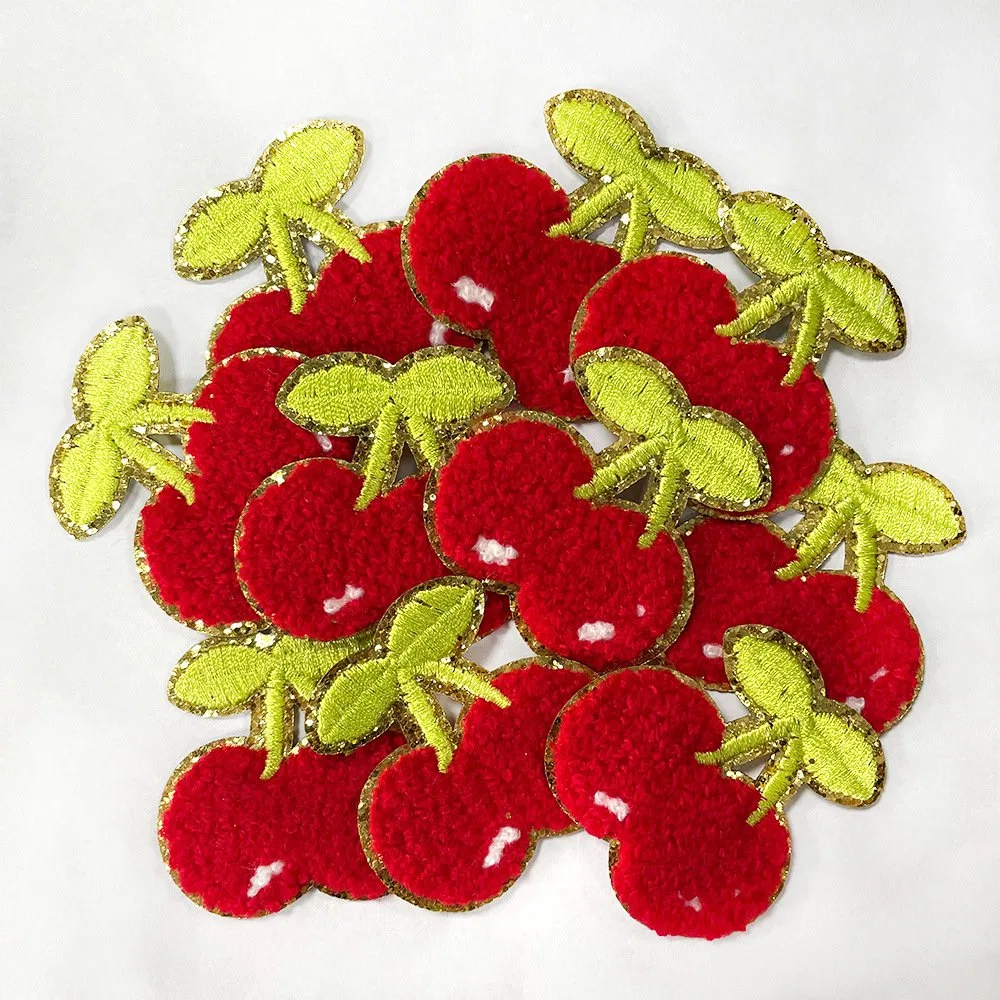
Chenille texture is most legible when broad shapes and letter areas are planned for it. Mark those zones in the artwork rather than asking for the entire design to be “fuzzy.” Fine outlines, facial features, small text and internal separations may be better interpreted with embroidery after the construction is reviewed at finished scale.
Choose the letters or motif regions that should carry the raised chenille character and dominate the design.
Assign outlines, small lettering and controlled interior marks to embroidery where it improves definition.
Decide where the foundation fabric intentionally shows as negative space or a contrasting layer.
Provide the finished shape, top orientation and complete width and height including the edge.
A mixed chenille-and-embroidery patch should be designed as one intentional construction. Create labeled artwork layers and a color key. This avoids interpreting every vector shape with the same technique and helps the sample establish a clear hierarchy.
Use broader areas, substantial strokes and simplified silhouettes. Review pile direction, color relationship and whether narrow channels remain open enough to read in the physical sample.
Use thread for outlines, compact wording and features that need a more defined edge. Confirm every fine element at physical size instead of assuming the original illustration can be reproduced without adjustment.
A front-view mockup cannot show every construction choice. Include a labeled cross-section or written schedule describing the proposed base, visible color zones, edge treatment and backing direction. Material availability and feasibility should be confirmed in the quote and sample.
Foundation material and visible field direction, selected in relation to garment color and attachment.
Raised yarn regions, approved color references and boundaries between neighboring zones.
Thread outlines, small details, lettering and any transitions that define the motif.
Finished silhouette, requested perimeter construction and attachment method for review.
Print the artwork at true size and place it on the selected jacket, sweatshirt, bag or accessory. Check the complete silhouette and the width of each chenille stroke. If the patch is reduced, simplify the artwork rather than compressing every element.
Review stroke weight, counters, outline thickness and the way adjacent characters align. Specify whether letters are individual pieces or part of one connected patch.
Map the available chest, sleeve or back area, including seams and pockets. Approve orientation and physical coordinates on the garment.
Balance chenille texture with embroidered line work and base reveal. The sample should be judged as part of the collection, not as an isolated swatch.
Different wholesale programs need different attachment, labeling and pack-out. Identify whether Teebling supplies patches, finished garments or packaged components. Break quantities down by motif, color, dimension and backing.
Separate shared letters or mascots from variable names and numbers. Provide garment size and color breakdowns when patches are supplied on finished apparel, and identify who owns roster approval.
Connect every patch colorway to the correct garment and collection style. Define branding, hang tags, folding and retail presentation where included.
State the intended receiving products, whether backing is permanent or repositionable in use, and the unit-pack instructions.
Measure curved or narrow panels and confirm sewing or application access before approving size.
List every design in the assortment and how pieces must be grouped, labeled and counted.
Backing is not only a menu option. It affects how the patch will be applied, removed or sewn and should be reviewed against the exact product. Confirm materials and test heat or adhesive application where relevant.
Provide seam access and desired stitch position. Preserve a usable perimeter and review how the completed edge sits against the garment.
Identify the substrate, finish and responsible applicator. Validate the proposed combination rather than assuming all apparel accepts one process.
Measure the receiving panel and patch together, define paired sides and orientation, and confirm whether the panel is supplied or already on the product.
The sample should represent the proposed base, yarn, thread, edge and backing. Look at it flat, on the receiving product and from normal viewing distance. Check that chenille fields appear intentional, outlines remain clear and letters or motifs maintain their identity.
Record the accepted sample identifier, finished dimensions, material directions and every approved adjustment. When several versions differ in size or construction, decide which require separate samples rather than allowing one to stand in for the whole range.
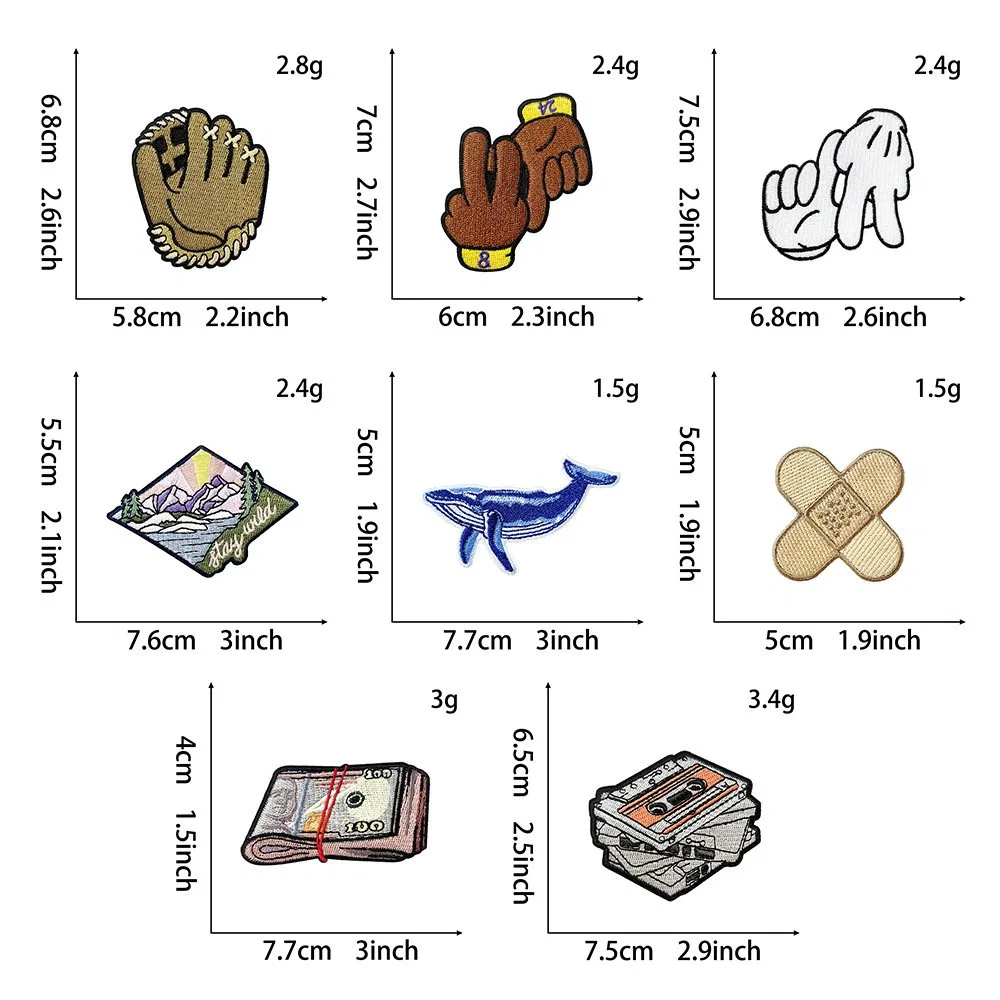
Outer shape, edge and orientation match the dimensioned proof.
Chenille zones have the approved visual mass and separation.
Embroidered outlines, text and features remain legible.
Yarn, thread and base references work with the receiving product.
Backing and application direction match the approved program.
Attach vector artwork, finished dimensions, labeled chenille and embroidery zones, color references, base and edge direction, backing, receiving product, quantity by variation, sample requirements, packing and destination. Teebling can review the complete construction and confirm which specifications need further decisions.
Scale, shape, yarn fields and stitched details.
Base, colors, edge, backing and attachment.
Receiving products, variations and quantities.
Sample, packing, destination and required date.
Bold letters and simplified motifs often give chenille texture enough visual space. Fine outlines, small wording and detailed features can be assigned to embroidery after review at the proposed physical size.
A mixed construction can be reviewed when the artwork clearly identifies raised chenille areas, embroidered detail, base, border and color zones. Approve the complete physical sample before bulk release.
Choose backing and attachment around the receiving garment or product, intended use and application process. Sew-on, heat-applied, adhesive or hook-and-loop directions require separate confirmation and testing where applicable.
Supply brand or garment color references, then review current yarn, thread and base options in a physical sample. Screen images communicate direction but do not replace material approval.
Send vector artwork, finished dimensions, yarn and embroidery zone map, color direction, base and edge request, backing, quantity, receiving product, sample, packing and destination information.