Transfer cue
Specify delivered sheet, motif boundary, orientation, face elements, carrier removal stage and supplier-confirmed attachment system.
Two decorations can descend toward the same shirt yet leave different objects behind. Name the visible layer, carrier, perimeter and reverse before deciding which route belongs in the sample brief.
The primary decision behind iron on transfer vs iron on patch is what remains attached after the documented process. Ask the supplier to describe the decoration as a stack of layers. A transfer route may use a temporary carrier or liner and deposit a mapped face on the garment. A patch route leaves a discrete component with an observable edge and may include a textile base. These descriptions are starting questions, not universal definitions. Record the exact product or custom sample, because two sellers can use “iron-on” for different assemblies. If a buyer says T-shirt sticker patch, pause and collect material, edge, carrier and reverse evidence before categorizing the request.
Specify delivered sheet, motif boundary, orientation, face elements, carrier removal stage and supplier-confirmed attachment system.
Specify finished component, visible base, perimeter, edge treatment, reverse, placement and individual or sheet packing.
A flat front photograph cannot explain an entire assembly. Request a reverse photograph and a labeled section drawing when the construction is not obvious. The receiving garment is part of the system, so record its style, fiber statement, color, surface, seams and stretch direction. Distinguish the decoration face from any base, adhesive or carrier. Identify whether the visible perimeter follows individual art elements or one shared silhouette. Finally, state which parts are removed during application and which remain. This sequence prevents a thin-looking mockup from being treated as proof of low thickness, soft hand or suitability for an untested fabric.
Print, stones, embroidery or other verified visible material.
Present only when the sampled construction actually includes one.
Supplier-confirmed attachment layer or sewing path.
Temporary support, liner or sheet with removal instructions.
The exact receiving product used for the approved trial.
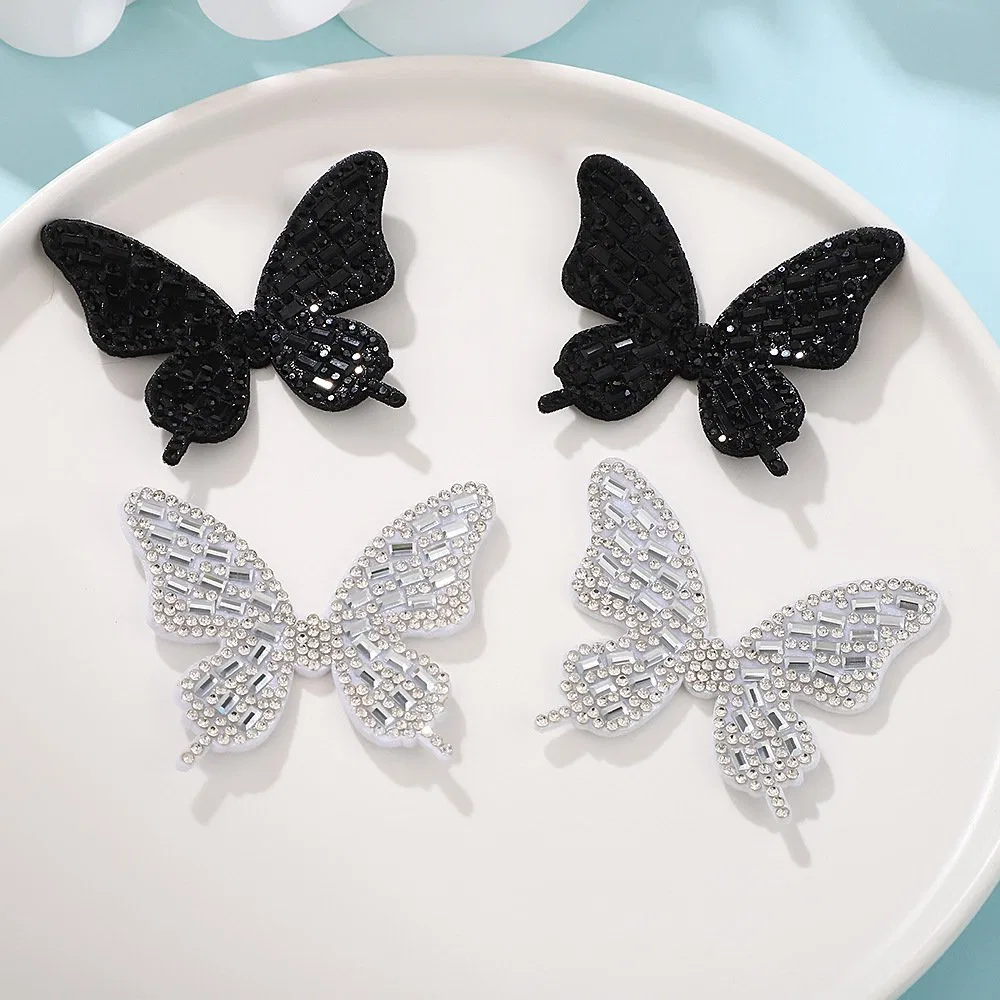
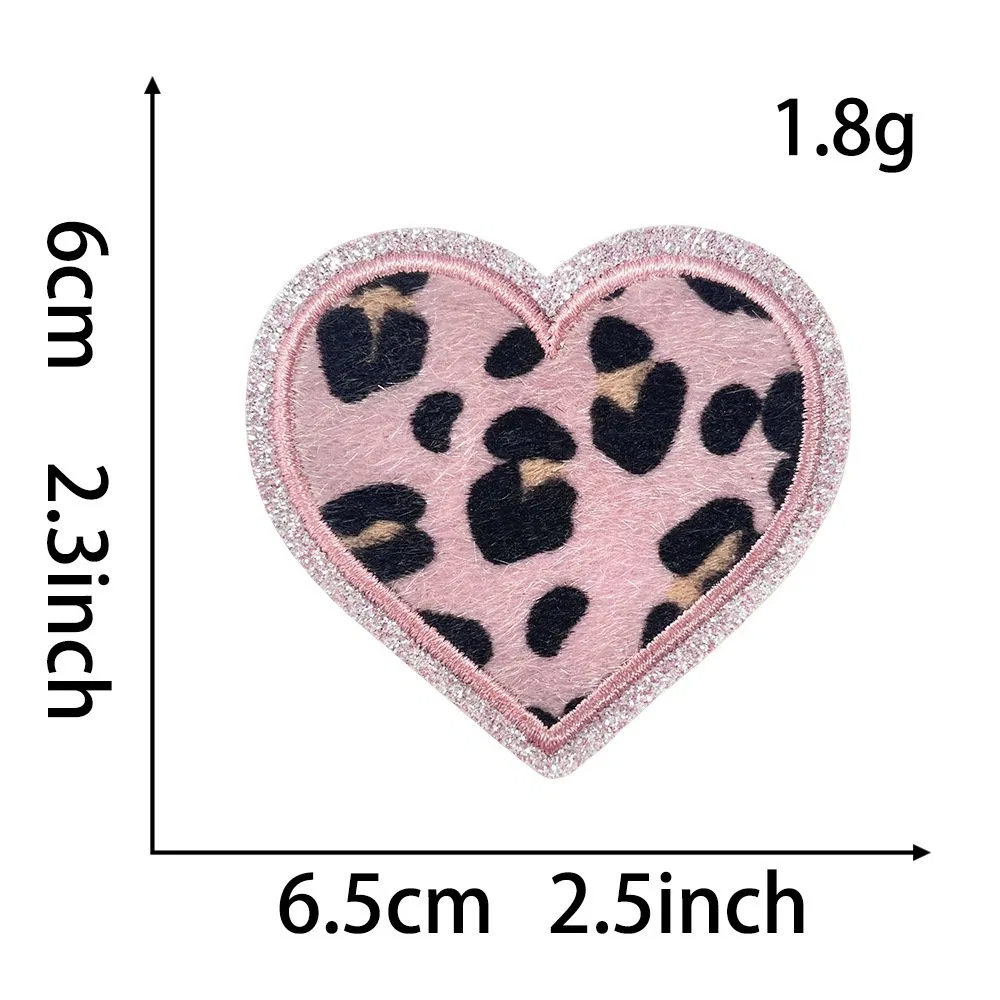
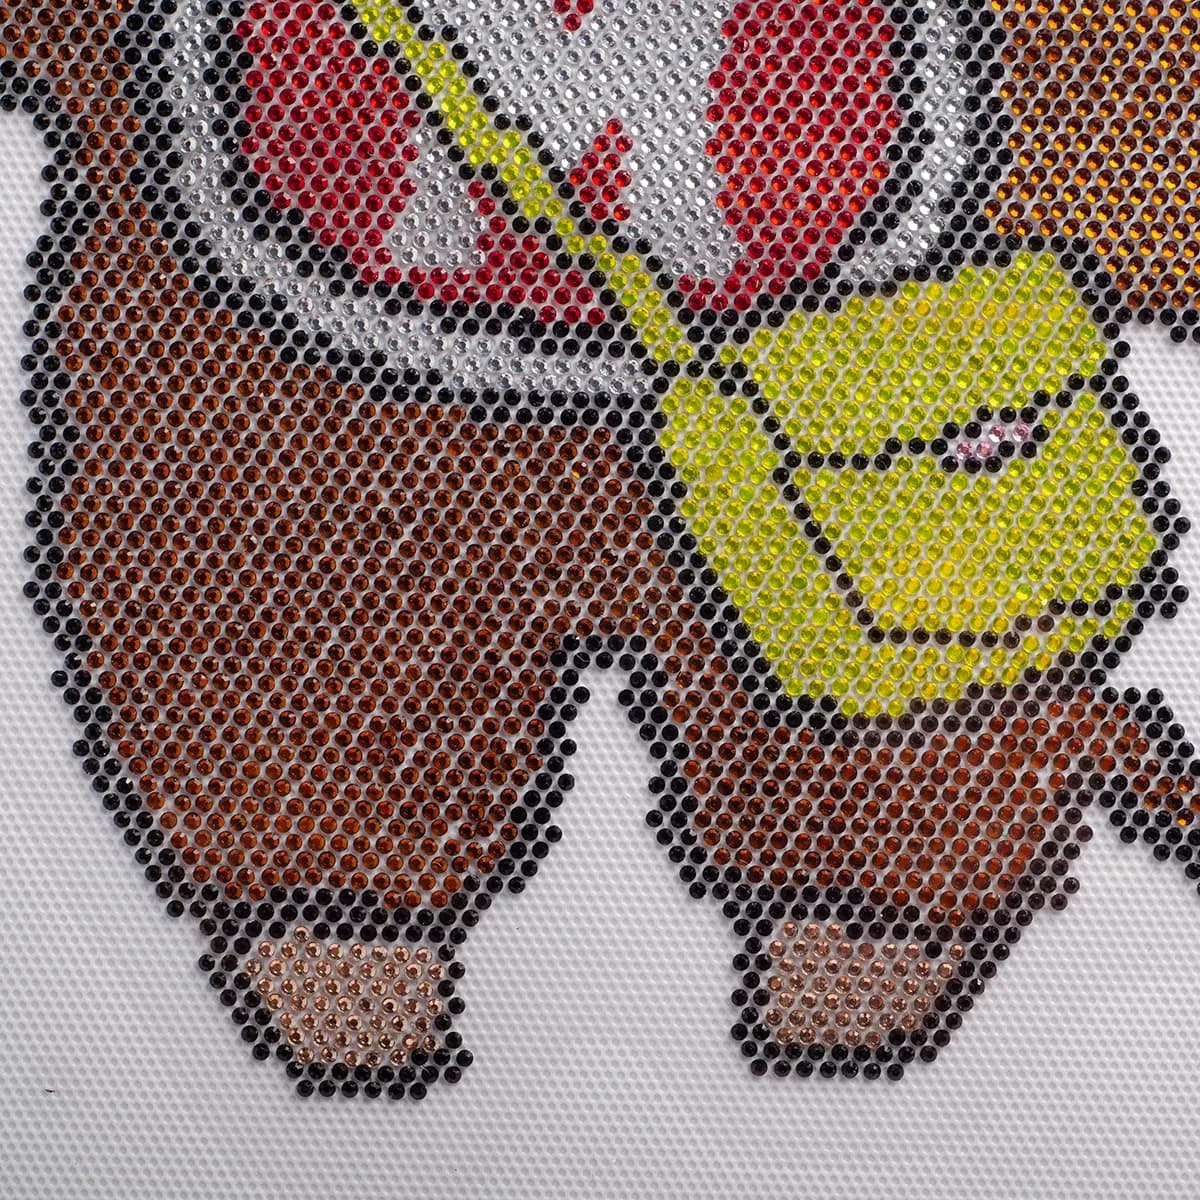
Product 26 records DMC rhinestone at 30 × 21 cm, MOQ 50 and item code TB-65107DD80631. It is a useful wholesale iron on transfers reference, but its record does not describe every conventional printed transfer. Product 56 records rhinestone and felt fabric at 6 × 5 cm, MOQ 100 and item code YW-QS-008. Product 16 records thread embroidery at 2.3 × 2.5 inches, MOQ 100 and item code TB-65DA4FC5D5C9. The latter two use iron-on patch wording, yet their different faces show why a “patch” column still needs material and construction detail.
Set one finished placement box and prepare two honest mockups at that scale. On the transfer mockup, show all intentionally open garment areas inside the motif. On the patch mockup, show the complete base contour, edge color and any margin outside the face artwork. Review narrow gaps, corners, internal holes, letter counters and clearances from seams. A patch silhouette may strengthen a small emblem, while a dispersed transfer can preserve open garment space; the preferred result depends on the actual design. When sourcing bespoke iron on patches bulk, include the approved edge and base in the item identity so later substitutions cannot silently change the visual boundary.
Check recognition from the intended selling distance before focusing on small surface details.
Inspect edge regularity, open areas, small gaps and the relationship between face and substrate.
Measure from stable garment landmarks rather than the edge of a photograph.
Approve every garment color separately where contrast changes the result.
Ask for the current instructions supplied with each coded specimen. Do not copy a temperature, dwell, pressure or peel step from one format to the other. Log the receiving garment, equipment, protective layers, operator, actual inputs and application sequence. Photograph the face and surrounding textile before and after the trial. Inspect alignment, unintended surface change, edge behavior and any movement at the buyer's chosen checkpoints. If laundering or wear simulation matters, define the protocol before testing and limit the conclusion to that specimen combination. The transfer test guide offers a traceable record format, while the badge wash-test guide organizes later observations.
Decoration code, artwork revision, garment SKU, color, size and instruction revision.
Equipment and actual supplier-directed inputs captured by the named operator.
Dated photographs, measured placement and an accepted, revise or reject decision.
The long query personalized rhinestone iron on transfers vs regular iron on transfers mixes customization with construction. Personalization describes variable artwork or outputs; it does not by itself change the attachment system. Ask how names, initials or variants are grouped for proofing and MOQ, then evaluate the selected construction separately. Removal should never be promised from the word transfer, because the database records do not define a reversible process. Care performance also requires a documented test, not a category assumption. Keep these questions on separate approval lines so a positive answer about variable artwork is not misread as evidence about reuse, wash resistance or compatibility.
Roster, spelling, output codes, proof owner and quantity by approved version.
Exact sample, receiving garment and current supplier instruction set.
Request evidence if this is a requirement; do not infer it from terminology.
State the buyer's protocol, checkpoints and acceptance rules before the trial.
Provide original or authorized artwork, finished dimensions, garment specification, placement map, face-material direction, quantity matrix, colorways, packing unit and destinations. For a transfer, add carrier boundary, orientation and requested output grouping. For a patch, add visible base, perimeter, edge and reverse questions. Request separately coded samples and current application instructions. Ask the quote to state what is confirmed, proposed or awaiting testing. Continue terminology work with the sticker-versus-patch guide, compare applique sourcing through embroidered heat-transfer badges, and use the MOQ planning guide before allocating variant quantities.
The answers below preserve the difference between search vocabulary and an approved, testable construction.
The distinction must come from the quoted construction. A transfer may be supplied on a carrier and leave the mapped decoration on the garment, while a patch remains a shaped component with its own perimeter. Product names alone do not establish every layer or application detail.
No. Obtain current instructions for the exact sampled item and document the garment, equipment and actual process. The database records used on this page do not provide a universal temperature, dwell, pressure or peel rule.
No. T-shirt sticker patch is informal search language that may point to a thin transfer, a shaped applique or another system. The request should identify visible material, edge, carrier or liner, reverse and intended attachment.
Product 26 is a 30 by 21 centimeter DMC rhinestone transfer with MOQ 50. Product 56 is a 6 by 5 centimeter rhinestone-and-felt butterfly iron-on patch with MOQ 100. Product 16 is a 2.3 by 2.5 inch thread-embroidered iron-on patch with MOQ 100.
Use one artwork objective, one receiving garment and one placement box, then request separately coded transfer and patch specimens. Each approval record should preserve its construction, dimensions, application instructions, observations and packing identity.