


Contour 0
Unobstructed surface available for the complete transfer and equipment support.
Treat seams, zippers, plackets, pockets and curved panels as raised terrain. Survey the exact garment, overlay the complete transfer boundary and validate access on production equipment before releasing an obstruction-sensitive placement.
Lay the garment in its production orientation and mark every elevation, opening and change in layer count around the proposed field. Include seam allowances hidden beneath the face, zipper teeth and pull, pocket bags, plackets, linings, drawcord channels and curved joins. Photograph the front and accessible reverse with a scale.
Unobstructed surface available for the complete transfer and equipment support.
Single seam or small layer transition that requires a specific clearance review.
Placket, pocket edge or reinforced area with increased thickness.
Zipper teeth, pull, snap, button or eyelet that cannot be treated as a flat textile.
Opening or inaccessible rear zone where ordinary platen contact may not exist.
Heat press transfer placement on shirts should cite stable landmarks and the finished transfer dimensions. Centering on a digital shirt silhouette does not reveal the real terrain.
The Product 28 database row identifies Adhesive Rhinestone Transfers for T-Shirts and Hats. Its recorded fields list DMC rhinestone, a 20 × 18 cm size, MOQ 50 and item code TB-B6638275B13E. Product 94 is Korean-Style Rhinestone Baseball Cap, recorded as rhinestone and cloth with a 53–58 cm head-circumference range, 7 cm brim, 11 cm crown depth and MOQ 50. The cap is not a loose transfer specification.
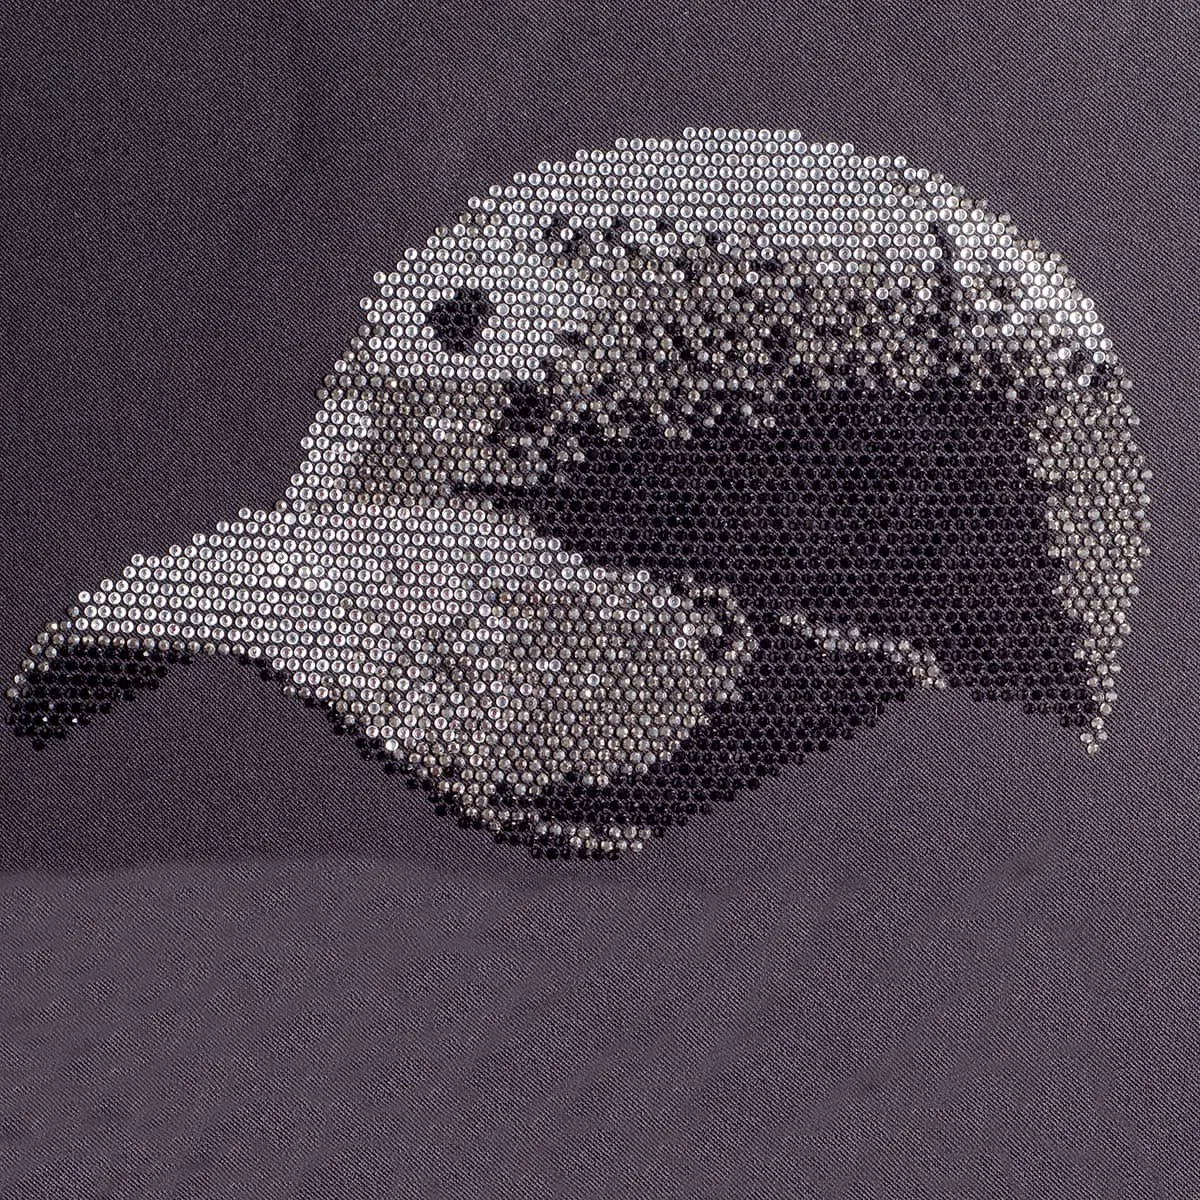
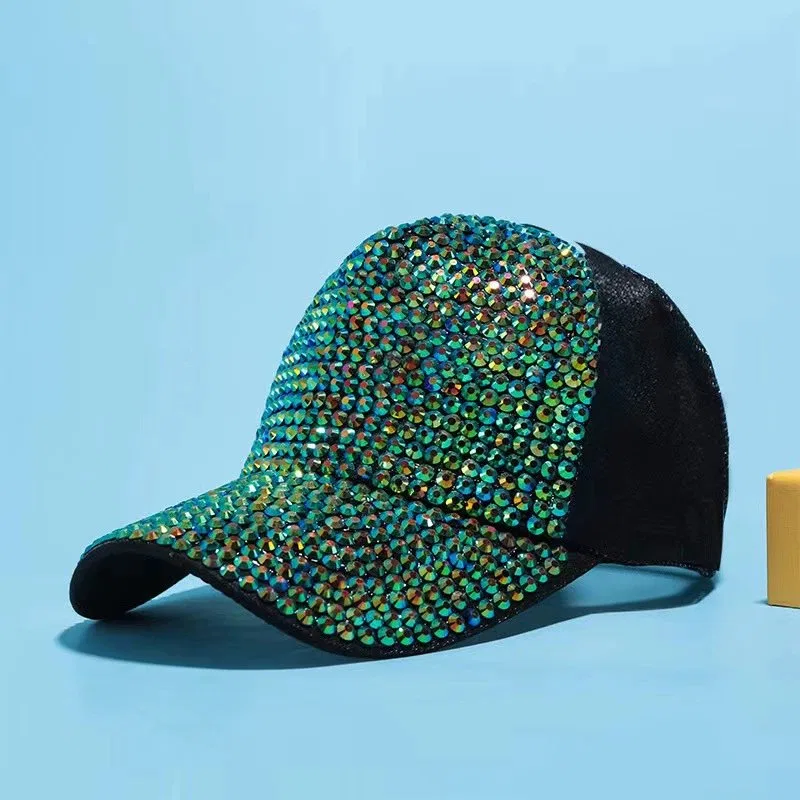
Review Product 26, Product 28 and Product 94 as separate catalog identities.
Overlay the transfer outline and mapped decoration on the seam survey at true size. Ask the supplier or process owner to evaluate clearance for the actual component and equipment. Do not publish one distance for shoulder joins, side seams, cover stitching and reinforced yokes; their layer geometry and access differ.
Measure the transfer edge from the finished seam and confirm alignment across garment sizes.
Inspect the nearest stone or printed detail where artwork moves toward a raised line.
Hold for redesign or documented trial because the transfer spans a change in surface height.
Check how the available flat field changes around an armhole or crown panel.
Use the reverse view or pattern information to find bulk that is not visible from the face.
Repeat the overlay when construction or proportion changes by size.
Wholesale heat transfers for T-shirts need a placement drawing that names the seam used as origin and the exact point on the artwork being measured.
Zipper teeth, pulls, tape and placket layers create both height and heat-access questions. Mark the closure open and closed, identify the wearable reading of the artwork and confirm whether the design remains on one side or intentionally forms a coordinated pair. Do not press across metal or molded hardware without an approved process.
Use one placket edge as a stable origin and keep the complete component on an accessible panel.
Create left and right artwork identities, dimensions and quantities instead of cutting one proof informally.
Review the closure through its ordinary range so hardware does not cover or abrade the design.
A bulk hotfix shirt design near a zipper should include an opened-garment flat view, a closed worn view and a profile photograph. If any position changes, revise the measured map before production.
A pocket face, welt, flap and bag can create separate elevations in one small area. State whether the decoration belongs on the pocket component before assembly, on the completed pocket or beside it. A sample made on an unassembled panel does not automatically approve the finished garment if the production stage changes.
Measure the clear field inside edge stitching and account for usable support beneath it.
Map moving parts in open and closed positions so the design remains intentional.
Identify hidden layers and whether they can be isolated during the application sequence.
Check visual alignment with the pocket while keeping the transfer on stable terrain.
Specify which garment construction stage the approved trial represents.
The cotton blank planning page provides a broader garment-specification framework for these placement decisions.
Document the platen, support arrangement, protective layers and equipment access specified for the exact transfer-garment pair. The objective is even, repeatable contact over the intended field without forcing raised construction into an unapproved setup. This page supplies no universal pad, pillow, pressure or temperature instruction.
Heat press bling transfers around obstacles should move through the garment trial workflow before a placement becomes standard.
Photograph the full garment, complete transfer and every point near a mapped ridge. Inspect alignment, missing or displaced elements, edge contact, surrounding textile and the closure or pocket in ordinary use. Record observations by coordinate so a local issue is not misreported as a whole-transfer failure.
Inspect the side nearest a seam or layer change and compare it with the flat control area.
Check clearance and surface response around zipper tape, pulls, snaps or buttons.
Operate the closure, pocket or curved panel through the buyer-defined evaluation.
Rhinestone transfers for hats require cap-specific support and panel evaluation. The hat placement guide should own that final decision rather than a shirt-based result.
The answers keep clearance, support and application decisions tied to the measured terrain of one receiving product.
Map the finished garment topography, define the transfer boundary and ask the supplier or process owner for project-specific clearance and support instructions. No universal seam distance is stated here.
Do not assume it can. Raised hardware and layered construction can interrupt access, alignment and support. Reposition, resize or redesign the artwork unless a controlled trial approves the exact arrangement.
Product 94 demonstrates that curved panels and crown seams create a different placement environment. It is a finished cap reference, not evidence that a flat shirt transfer fits or applies to that cap.
Product 26 records DMC rhinestones at 30 by 21 cm; Product 28 records DMC rhinestones at 20 by 18 cm. Both have MOQ 50 and separate item codes.
Include transfer identity, garment style and size, measured placement, seam and hardware map, support setup, equipment, current instructions, operator, photographs, observed result and signed disposition.
Send authorized artwork, transfer dimensions, garment supplier and style, size groups, measured placement, obstruction overlay, application instruction reference, trial record, quantities and packing destination. Ask Teebling to identify the proposed transfer construction and any product-specific information needed before sampling.
The approved packet should show the exact terrain, support arrangement and inspection windows used. A new zipper, pocket, seam geometry, garment size group or application stage triggers review instead of inheriting the old placement by name.