


Garment identity
Style code, cut, size range and color.
Define where the badge belongs by garment code, size band, stable landmarks, measured offsets, orientation, operator tool and approved pilot rather than by visual guesswork.
This guide answers where a badge on shirt belongs and how the location is repeated. It does not choose backing, press settings or sewing construction. Start with the exact shirt style, size range, badge code, finished badge dimensions and orientation. Identify seams, placket, pocket, neckline and decoration zones that constrain the usable field. Create a separate placement record for materially different garments instead of assuming one coordinate transfers between cuts. Teebling can quote products and application requirements, but the buyer must approve the intended visual position on representative receiving products.
Style code, cut, size range and color.
Product or custom code, revision and dimensions.
Zone, anchors, offsets, orientation and approved pilot.
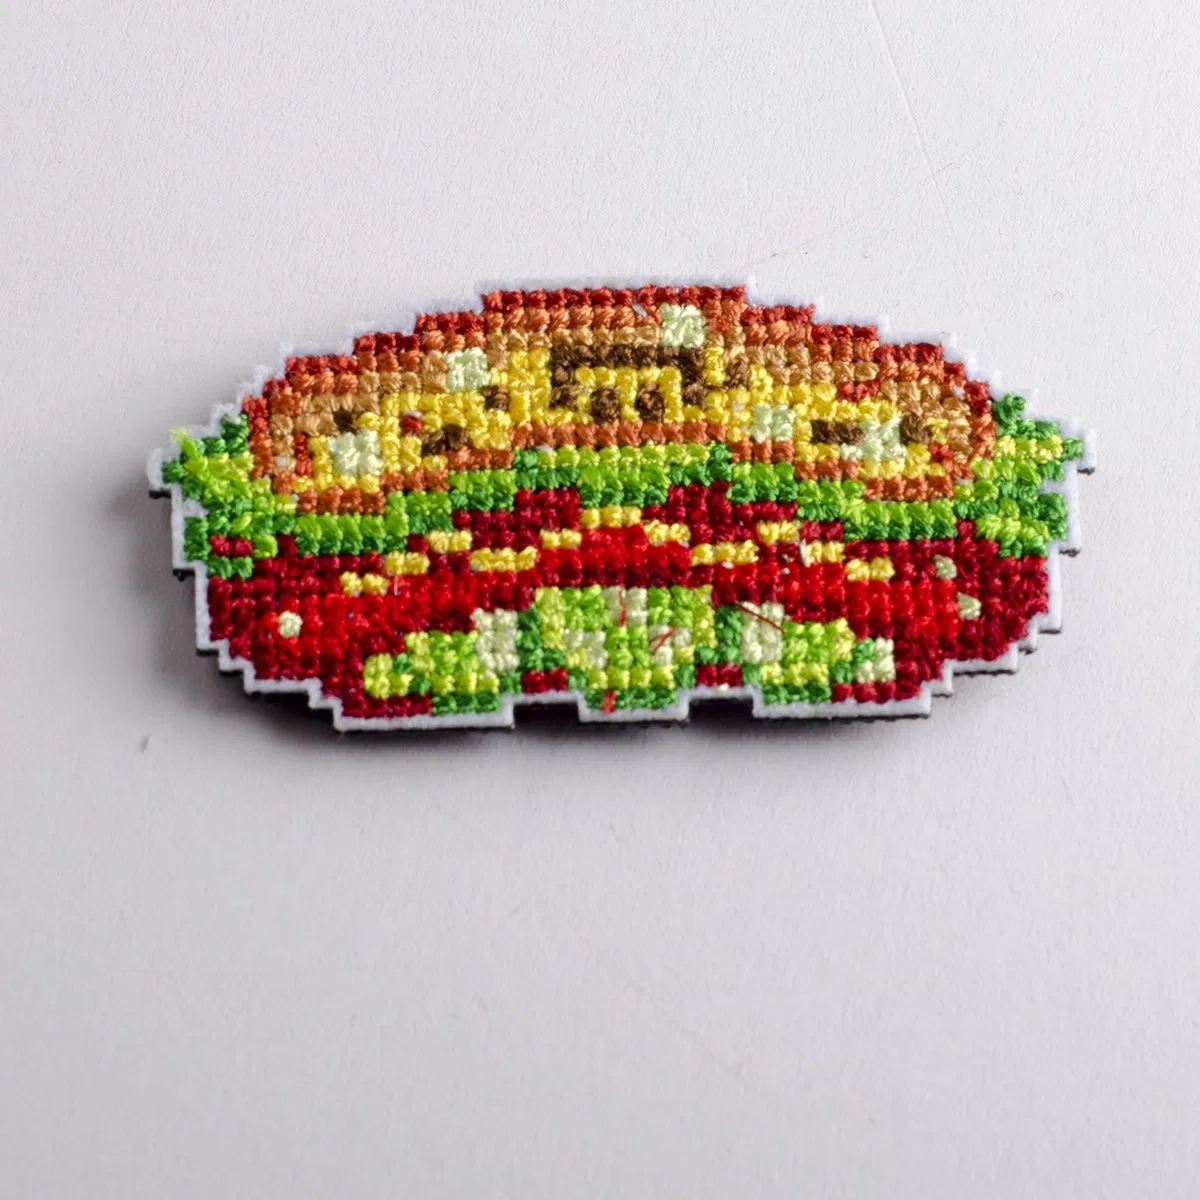
Product 12 is a thread embroidered T-shirt badge at 5 x 6 cm, MOQ 100. Product 22 is a thread-embroidery outdoor patch at 2.1 x 2.1 inches, MOQ 100. Product 17 is a rhinestone-and-felt star at 4.8 x 4.8 cm, MOQ 100. Their different envelopes demonstrate why a coordinate must be approved with the exact badge, not merely a category name.
Product 12 thread badge reference.

Product 22 thread-embroidery reference.
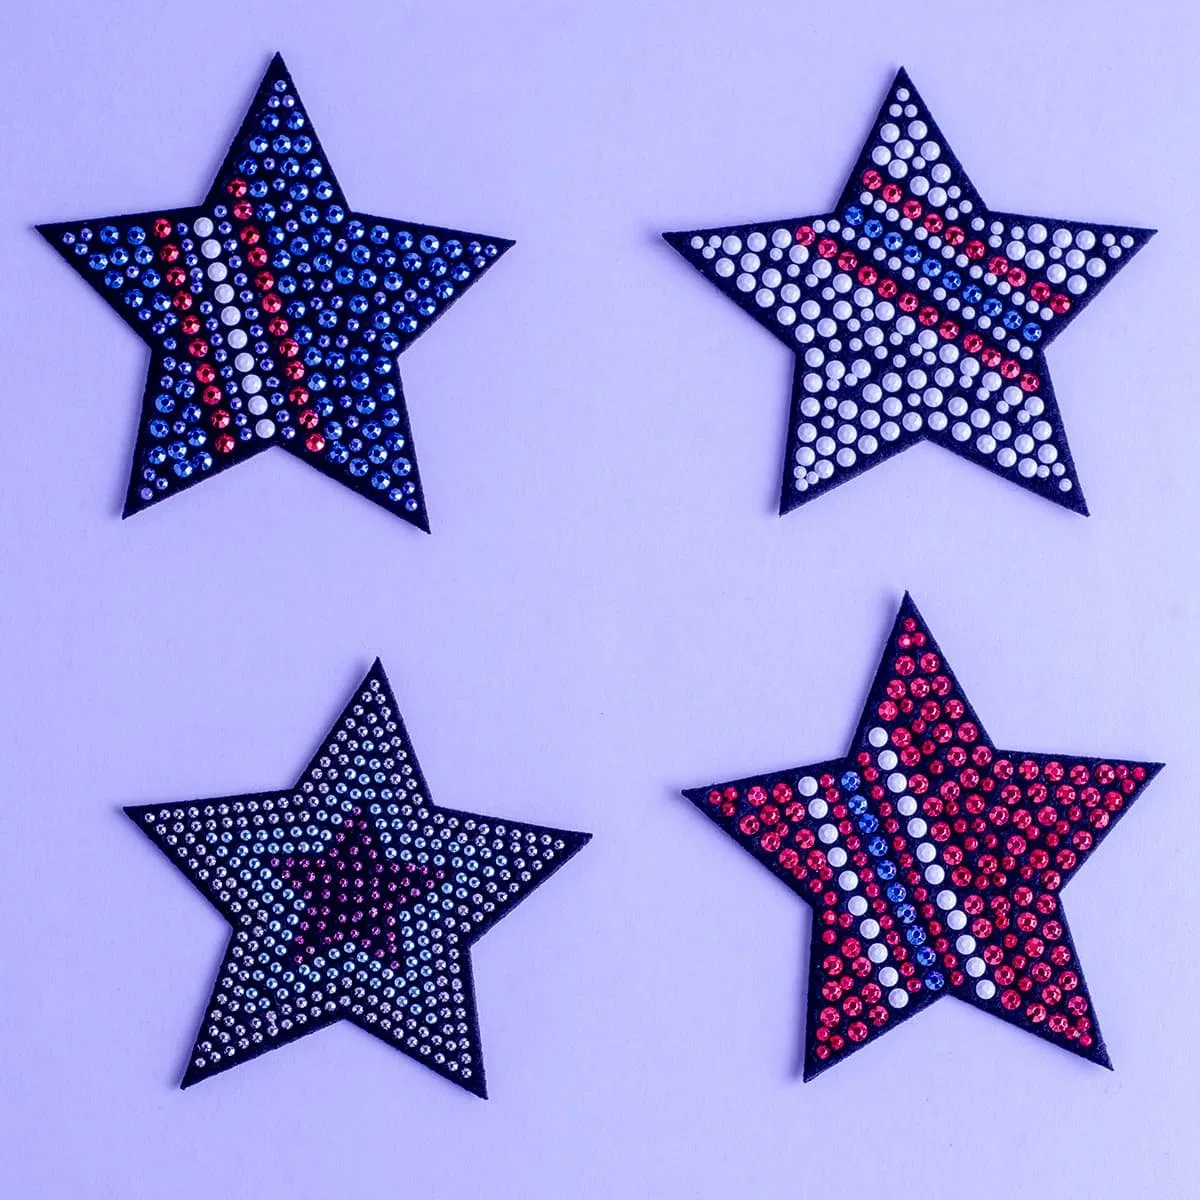
Product 17 rhinestone-and-felt reference.
Choose landmarks an operator can find consistently: center-front line, neckline seam, shoulder seam, sleeve seam, pocket edge or hem. Avoid measuring from a folded shipping edge or a visual crop. Define which point on the badge is being located, such as its center or top-left bounding-box corner. State whether seam allowance, rib edge or visible stitch line is the reference boundary. A placement described only as left chest is incomplete. The operator card needs horizontal and vertical offsets, badge orientation and the order in which measurements are taken.
Named garment landmark.
Second axis or center line.
Center or declared boundary point.
Top direction and rotation rule.
A constant offset may work for one shirt program, while another needs size bands. Lay representative garments flat using the same preparation method, mark the proposed position and review them on form or body as the program requires. Check proximity to seams, pockets and print zones. Preserve a readable visual relationship as the chest width and neckline geometry change. Approve either one common rule or documented small, medium and large-size bands. Do not interpolate beyond the tested range without a review rule. Store the size map beside the exact garment pattern or style code.
Review balance and seam clearance.
Confirm the standard coordinate.
Check crowding and visual scale.
A shirt badge on the chest interacts with neckline and placket; a sleeve emblem interacts with sleeve seam and arm rotation; a hem mark interacts with edge and drape; a back badge interacts with center line and yoke. Create one record per approved zone. Include the viewing orientation so a sleeve badge is not rotated when the garment is laid flat. When multiple decorations share the garment, map their exclusion areas and application sequence. The result should make overlap, crowding and inconsistent rotation detectable before production.
Neckline, center and pocket relationship.
Seam, cuff and worn orientation.
Side seam, bottom edge and drape.
Center line, yoke and collar clearance.
A transparent guide, laser reference, printed template or fixture can support repetition, but the aid must have an ID and a verification method. Mark garment landmarks, badge outline and top direction. Prevent the template from stretching or shifting with the fabric. Run a first-piece check at the beginning of a lot and after style, size band, badge or tool changes. The badge backing comparison should control the reverse-side decision, while this placement card remains stable regardless of the chosen attachment route.
Revision-controlled and linked to garment plus badge.
Landmarks align before the badge is attached.
Position, orientation and appearance approved before the run continues.
Place a representative badge on each selected size before irreversible application. Approve the coordinate and visual balance first. Then execute the separately confirmed attachment process on the exact receiving material and inspect the completed result. This split makes a location problem distinguishable from a bond, stitch or heat problem. Record garment code, size, badge code, tool ID, operator, date, coordinate result and attachment record. Use the application-test guide as a process-record model when controlled trials are required, without treating TPU instructions as instructions for these badges.
Anchor, offset, orientation, size band and visual sign-off.
Exact patch, receiving material, confirmed method and observed result.
Production example checked against both approved records.
New style, size band, badge, tool or process requires defined review.
Define the buyer-approved tolerance and measurement method before inspection. Sample finished shirts according to the documented plan, then measure from the same landmarks used in set-up. Record horizontal offset, vertical offset, rotation and any interaction with seams or other decoration. Separate placement findings from badge-construction findings. Photograph the whole garment with measurement context rather than only a close crop. The OEM shirt production guide connects this coordinate record to broader stage gates when badges form part of a complete decorated garment program.
Use declared anchors and one consistent method.
Position, rotation, garment or badge condition.
Accept, rework only if authorized, or quarantine.
These answers keep placement coordinates, patch construction and application evidence from being confused.
No. Garment pattern, size, seam, placket, pocket, drape and badge geometry affect the visual result. Define repeatable anchors and approve representative sizes for the exact shirt program.
Product 12 is a 5 by 6 cm thread badge with MOQ 100, Product 22 is a 2.1 by 2.1 inch thread-embroidery outdoor badge with MOQ 100, and Product 17 is a 4.8 by 4.8 cm rhinestone-and-felt star patch with MOQ 100.
Not automatically. Build a nested size map, check representative garments on form or body as appropriate, and approve either one coordinate rule or documented size-band changes.
No. It controls placement. Backing, heat application, sewing and receiving-material compatibility require their own confirmed specification and test record.
Include shirt code and size band, badge code and orientation, anchor landmarks, horizontal and vertical offsets, tool or template ID, tolerance, approved sample and escalation rule.