


Simple geometry
Use a clean dimensioned outline and identify the top orientation. Confirm whether the logo remains centered after the edge is added.
An embroidered patch border for shirts should frame the actual silhouette, protect important artwork spacing, coordinate with the confirmed edge stitch path, and suit the proposed attachment. This workshop evaluates the visible edge as part of the whole patch rather than choosing a border from a name alone.
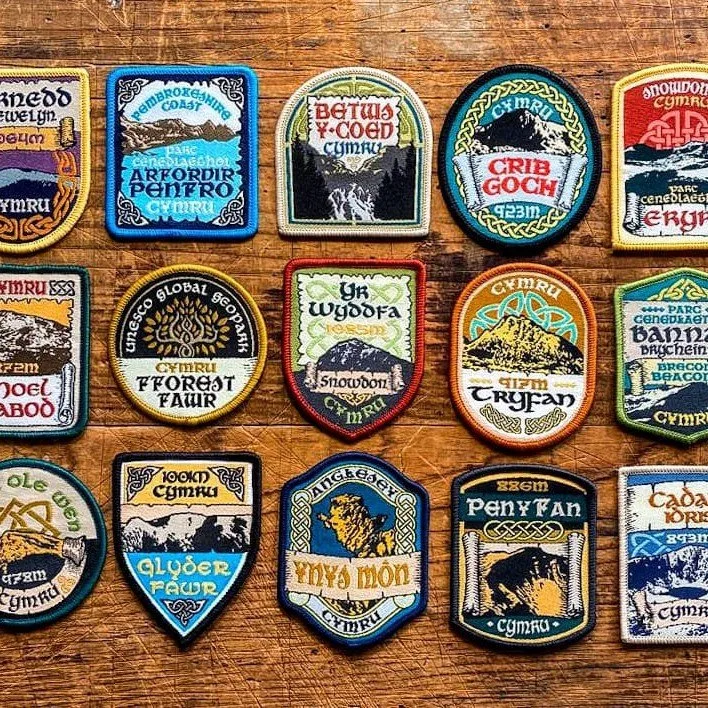
Begin with the outer path at actual size. Decide whether the patch follows a simple circle, shield, rectangle, or custom contour, and mark protrusions, deep notches, narrow necks, and acute corners. The border must follow a production-feasible outline, so give the supplier permission categories: protected shape, adjustable detail, or optional feature. Do not let an automatic trace become the approved perimeter.
Use a clean dimensioned outline and identify the top orientation. Confirm whether the logo remains centered after the edge is added.
Number every lobe, notch, and narrow bridge that affects brand recognition or attachment access.
Ask whether interior cutout-looking areas are artwork, exposed base, or true geometry before they enter the edge drawing.
Place an actual-size paper proof at the shirt location to judge proportion independently from screen zoom.
Custom fabric patches need a dimensioned outline even when Product 8 lists “Custom sizing.” That field means the catalog row does not provide one fixed reference dimension; it does not remove the need to specify the new project.
Product 8 records High-quality Embroidery Thread, custom sizing, item code TB-EF3334FD9DC1, and MOQ 100. Product 12 records Thread, 5 cm × 6 cm, TB-2FEE31D63C73, and MOQ 100. Product 22 records Thread embroidery, 2.1 inches × 2.1 inches, TB-D55470503F66, and MOQ 100.
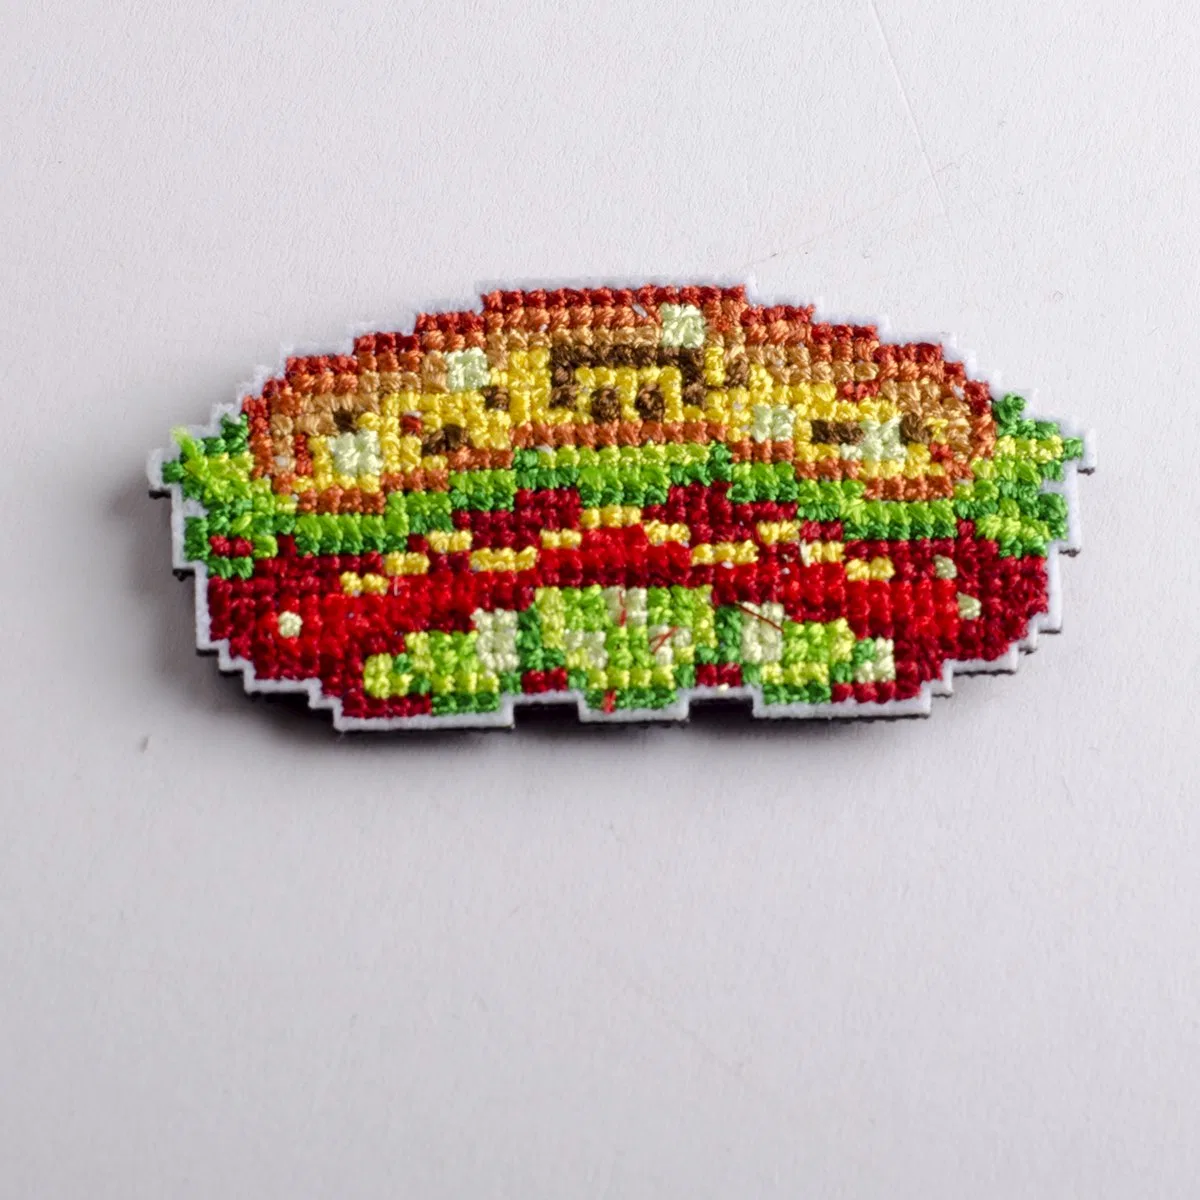

The database does not state merrowed, overlock, satin, laser-cut, heat-cut, stitched, raw, or another border construction for these items. Use the photographs for visual inquiry, then request the proposed edge in writing.
The border question is geometric as well as visual. A rounded perimeter may accept a continuous treatment differently from a contour with tight internal corners or abrupt width changes. Supply editable outline paths and ask the manufacturer to return the proposed finished edge, stitch route, and any required simplification. Keep the response linked to the actual finished dimensions.
Border names can be used differently across suppliers and constructions. Ask for a close image, written description, sample reference, and confirmation of how the edge interacts with the base fabric and reverse. A phrase such as embroidery badges describes a product family, not a complete edge specification.
The custom embroidered patches guide provides sourcing context; this page concentrates on translating silhouette and artwork clearance into an edge review.
Artwork that crowds the edge can appear pinched after the proposed border is added. Mark the closest letter, icon, and color boundary in every direction. Ask the supplier to overlay the expected edge footprint on the actual-size proof and identify conflicts. If space is insufficient, choose deliberately among enlarging the patch, reducing or repositioning the artwork, changing the outline, or reviewing another edge proposal.
Identify sharp points whose silhouette is essential. Request a supplier redline when rounding or thickening is proposed.
Check whether the edge can enter a concave area without closing negative space or obscuring a fine line.
Judge clear space at finished size and on the garment, not only on a magnified artwork board.
No universal clearance is asserted because thread, base, edge construction, size, and geometry vary. The approved technical proof should contain the project-specific relationship, with any numerical allowance attributed to the supplier proposal.
A patch is a layered object. The embroidered face, visible base, finished edge, and reverse each need their own confirmation. A border that looks appropriate from the front may still conflict with a proposed backing, sew path, or garment placement. Ask for front, edge, and reverse evidence before approving a bespoke iron on patches wholesale line.
Confirm artwork revision, thread color schedule, stitch appearance, critical details, and intended areas of visible base.
Record proposed construction, color, width or footprint when supplier-confirmed, corner treatment, and finished silhouette.
Name the backing or attachment only after written confirmation. The cited rows do not record backing for Products 8 or 12.
The embroidered badge backing comparison keeps candidate reverse options conditional, while the garment backing guide starts from the receiving textile and required permanence. Neither guide permits a border photograph to stand in for reverse evidence.
Prepare an actual-size paper proof and position it on the intended garment. Record chest side, measured origin, shirt style and size, nearby seam, stretch direction, print or embroidery, and whether the patch crosses a contour. Check several garment sizes when grading could make the same patch appear crowded or misplaced. A badge centered on a flat board can behave differently beside a placket or pocket.
Do not assume that an embroidered garment badge on one shirt transfers unchanged to a cap, bag, jacket, or stretch performance knit. Each receiving surface needs its own attachment and appearance review.
Compare the first sample with the supplier-approved outline overlay, actual-size artwork, color schedule, edge proposal, backing confirmation, and garment placement. Rotate the patch through strong and soft light to inspect coverage and exposed base without claiming a universal inspection standard. Examine the complete perimeter, then place the sample on the garment and judge the intended viewing distance.
Does the physical silhouette follow the approved path and preserve protected corners or notches?
Are letters, icons, and color fields visibly separated from the confirmed edge as approved?
Are changes in the edge route documented, especially around internal corners and narrow connections?
Does the delivered backing match the written construction identity and planned garment trial?
Retain the accepted sample under a unique code and cite it on the order. If the outline, edge, base, backing, artwork, or dimensions change, issue another revision instead of treating the previous approval as transferable.
These answers prevent an edge name, catalog image, or attachment word from being treated as a complete construction specification.
There is no universal choice. The outline, corners, artwork clearance, stitch path, base exposure, proposed backing, garment placement, and supplier-confirmed construction must be reviewed together.
No. The inspected rows record product names, item codes, material wording, size fields, and MOQ, but do not classify the border construction or stitch path.
No. Product 22 is named Outdoor Adventure Logo Iron-On Patches, yet the database does not state its border type or application settings. Request face, edge, and reverse details separately.
Ask the supplier to confirm a feasible clearance for the exact size, shape, thread construction, and edge proposal. This guide does not publish a universal millimeter allowance.
Include artwork revision, finished outline and dimensions, edge construction confirmation, thread colors, critical corners, visible base expectations, backing, garment placement, sample code, and disposition.
A practical inquiry contains editable artwork, final outline, dimensions, protected features, thread and base color intent, desired edge appearance, proposed backing, garment specification, placement, quantity, and physical-sample milestone. Ask Teebling to return a written edge proposal for the exact shape.
Lock the artwork revision, dimensions, finished silhouette, supplier-confirmed border, thread colors, visible base, reverse, garment placement, quantity split, and accepted sample code in one release. Keep alternative edges as separate proposals so none silently replaces the tested construction.
This record gives embroidery badges a controlled visual frame while preserving the production details that still require supplier and buyer approval.